


Fireplace Makeover Before & After

by
Sabrina
10 Materials
The fireplace makeover is complete and we did it all within our tight deadline (less than one week to be exact!). With time ticking and multiple projects on the go, we are happy to move forward with the rest of our family room design.
This before and after transformation is huge and personally I don’t think these pictures do it justice. From the glistening marble tile to the sparkling glass pieces in the fireplace, to the pillars on the mantel—the end result just feels so luxe.
This before and after transformation is huge and personally I don’t think these pictures do it justice. From the glistening marble tile to the sparkling glass pieces in the fireplace, to the pillars on the mantel—the end result just feels so luxe.
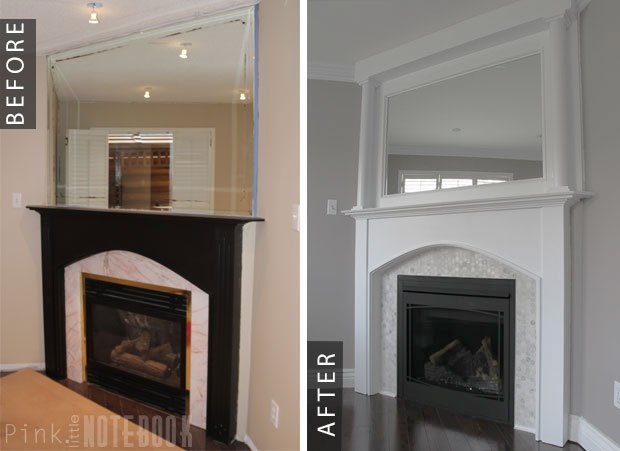
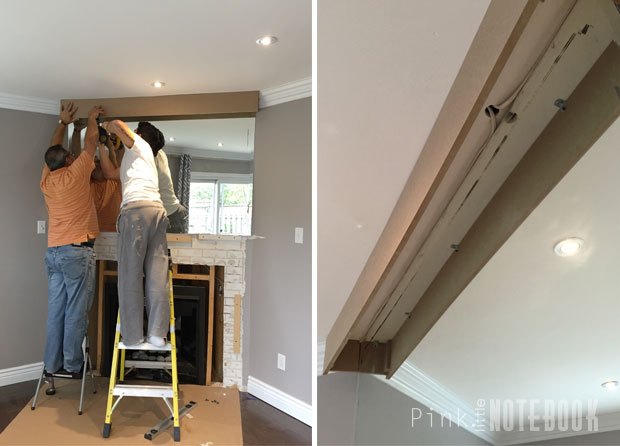
Coming up with a plan to update this corner fireplace was quite the challenge. There were two things we had to consider and work into the design, 1) the giant mirror; and 2) the crown molding already installed on the ceiling.
Here’s what we did.
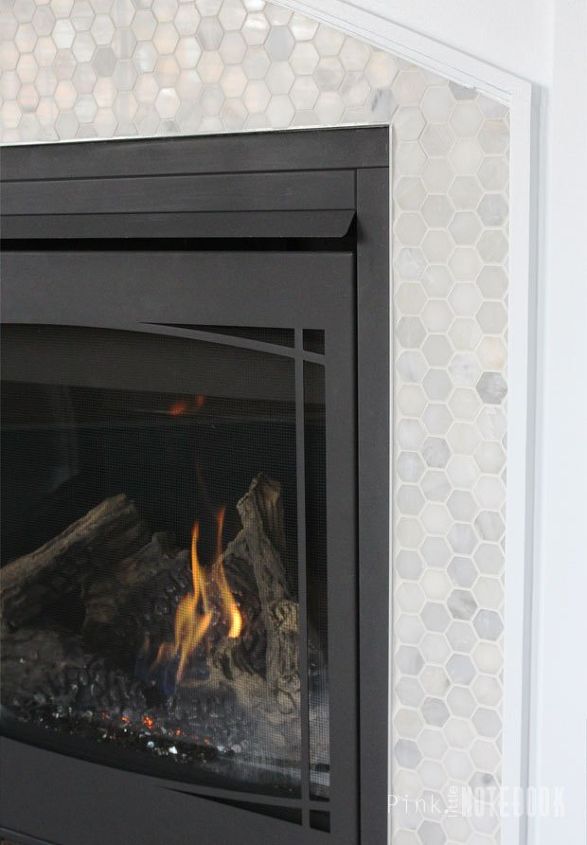
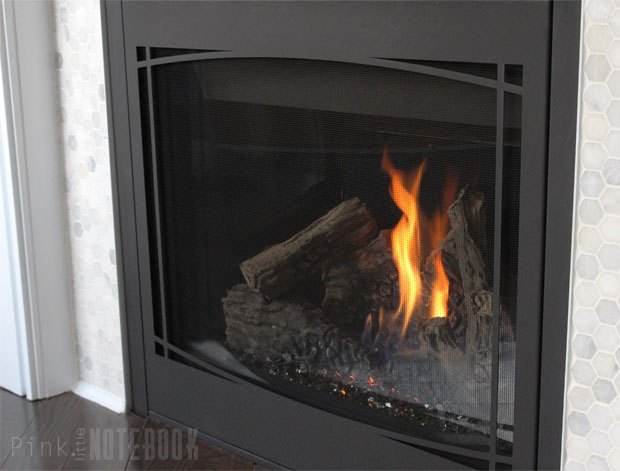
Since our new Napoleon Ascent 36 fireplace is installed and working properly, we could patch up the surround. It’s always important to refer to your fireplace’s manual to make sure your meeting the minimum clearance for combustible and non-combustible materials.
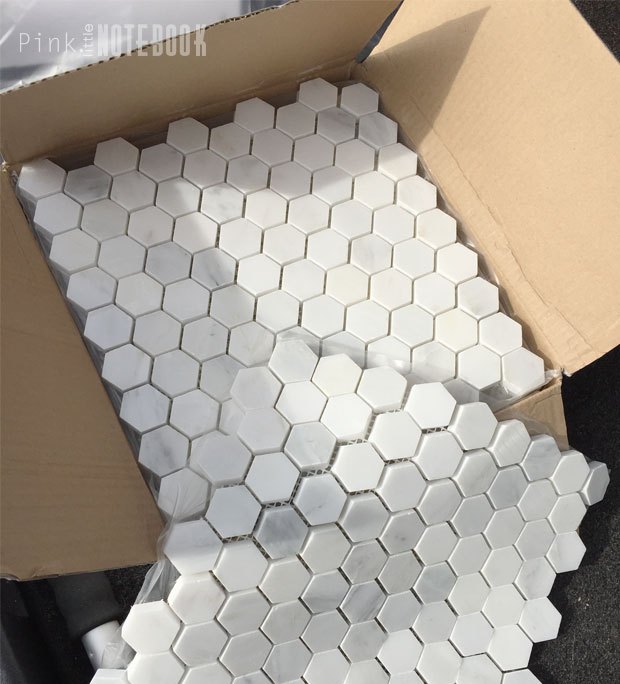
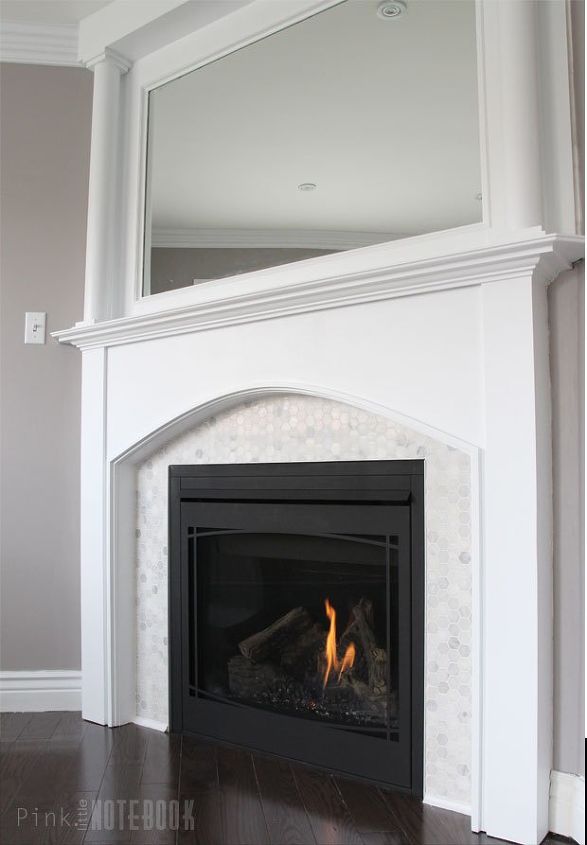
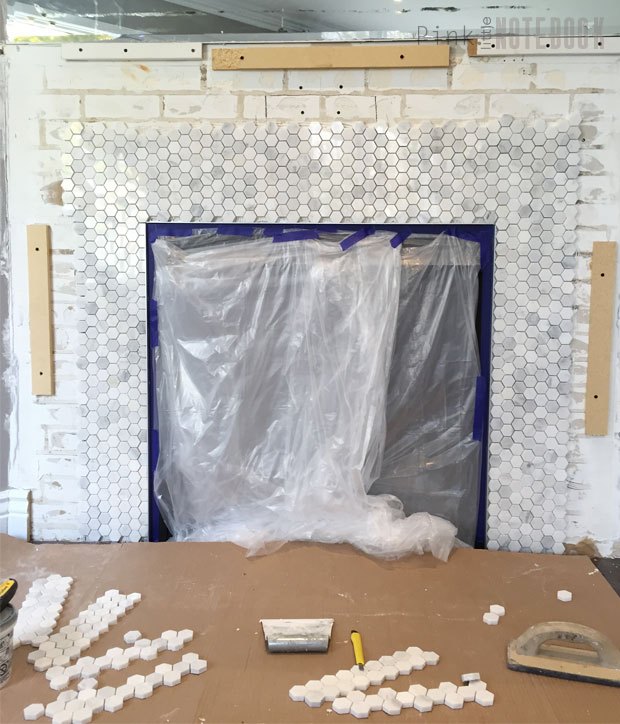
Before the mantel can be put back in place, tile needs to be installed. I picked out a classic marble hex tile.
Once everything dried, the mantel was nailed back up and we began working on the mirror.
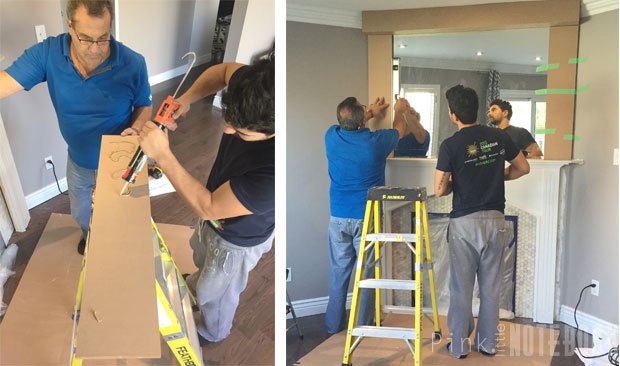
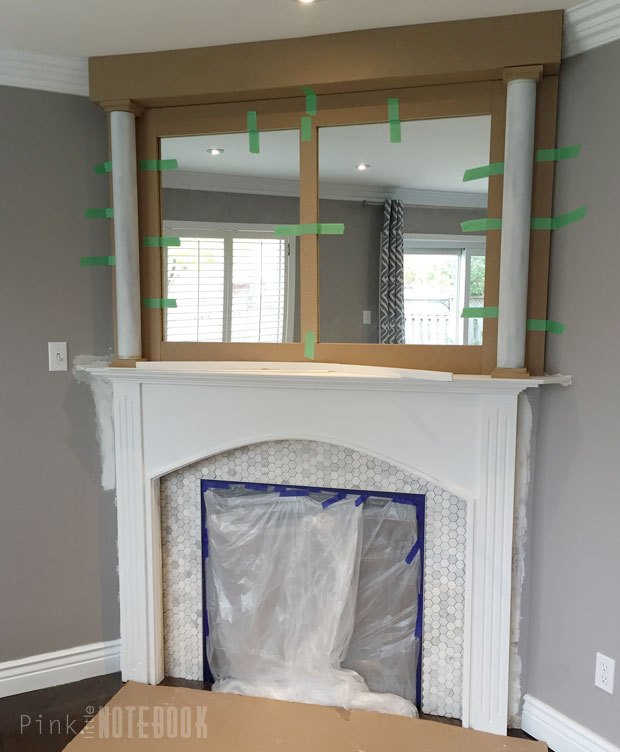
To add some visual interest, we decided to try something a little different. We added pillars on either side of the mirror using 3″ plastic pipe.
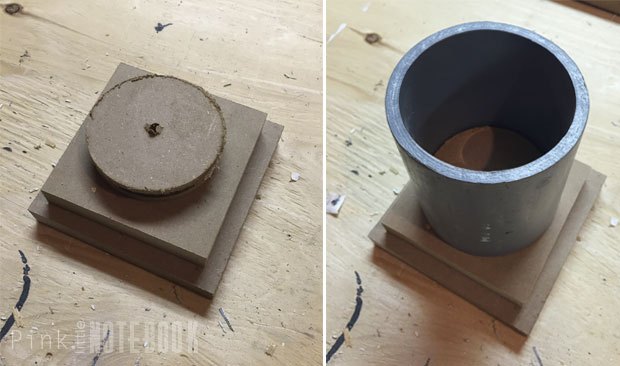
Mike and Big Joe came up with these very clever decorative bases so that we can easily secure the pipe to the mantel using glue and nails.
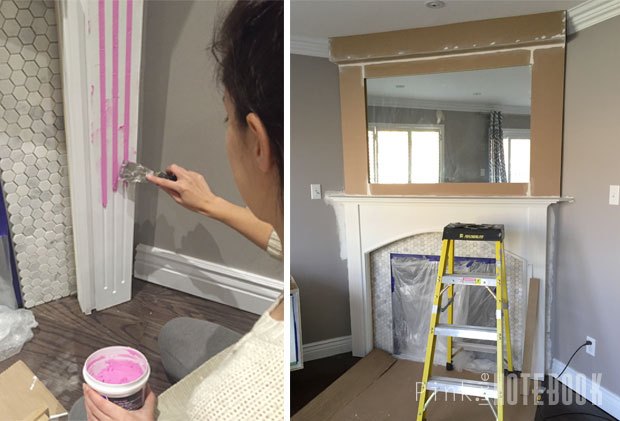
For a sleek and more contemporary look, I patched up the existing grooves on the legs of the mantel. I also made sure all seams and nail marks were filled with putty before we began painting.
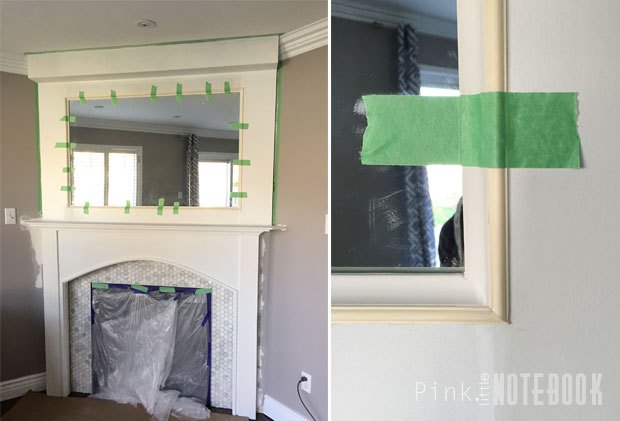
To give the mirror a finished look, we also added cove molding around the perimeter of the mirror. For extra detail, we glued a small decorative trim over the seam where the cove molding meets the MDF. As I constantly remind my husband, it’s the little details that make all the difference!
We couldn’t be more pleased with the finished product!
Be sure to watch our video showcasing the transformation from start to finish! Check out the Pink Little Notebook's blog post for further images and details.
Want more details about this and other DIY projects? Check out my blog post!
Comments
Join the conversation
2 of 61 comments
-
ABSOLUTELY FREAKING STUNNING~ I £OVE IT! Your idea of using the 3"pipes to make Pillars on the sides is GORGEOUS! If I had my own home, DIDN'T live in Hot, Humid Florida, And Therefore Had A Fireplace... I'd Copy YOUR Design!
I guess no one really installs Real Wood~Burning Fireplaces any longer, huh... cuz, gee I £OVE Them. But I suppose the mess~ AND That Possible Kitty~Flambe (sp?)~ makes it easy to make the decision to go with The Gas One. Still have to deal with dumb~I mean Curious~ Cats, but a Beautiful & Strong Screen will take care of that.
ENJOY🔥& HAPPY🎇NEW🎉YEAR!🎆
🐈
-
So very beautiful!!! Just love it!!!


Frequently asked questions
Have a question about this project?
Hi,
Where did you get the fireplace doors/surround? I am attempting to update my own 80's fireplace.
Did you put up any backing prior to tiling? I didn’t see that in the steps and thinking of doing this to mine. It’s brick also.
My gosh, did you think of this design yourself, or did you see it somewhere and borrow it? Either way, amazing!! 😅 I’m going to attempt this, only I’m going to leave my old school brick 🧱 up behind it. Btw, mine is a real fireplace.... ugh the mess.