


DIY Christmas - Wooden Projects #1
$2.00
3 Hours
Easy
My dilemma was that I had a ton of extra wood material left over from the Pergola/deck remodel, wood that I didn't want to go to waste mostly because it had already aged itself properly.
A few weeks ago I started compiling projects that I wanted to do for Christmas. I perused Pinterest and got some ideas.
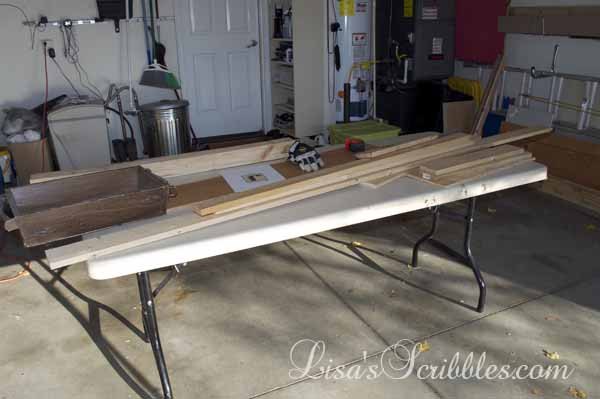
My dilemma was that I had a ton of extra wood material left over from the Pergola/deck remodel, wood that I didn't want to go to waste mostly because it had already aged itself properly.

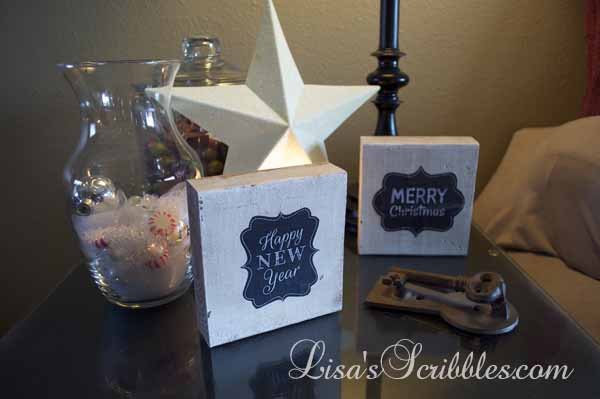
First I took a pin off Pinterest for DIY block letters and ran with it on my own terms, as always. I cut the wood to my dimensions (started with a 4x6x12 piece of lumber). The hubby was happy to help, he was helping rid the garage of my stock pile of wood after all.
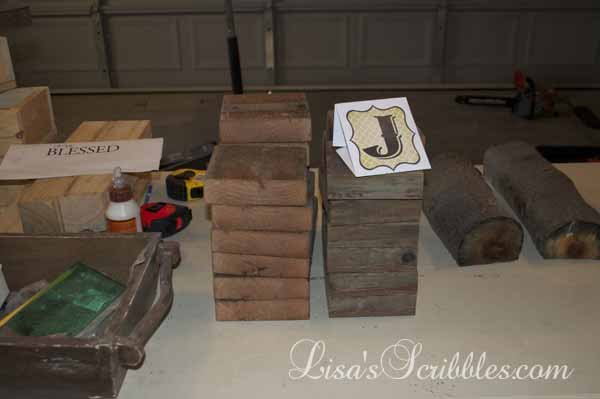
After the pieces were cut, I lined them up and went in search of pre-made letters I could just print off. No need to reinvent the wheel after all. (links are included on my blog for the letters)

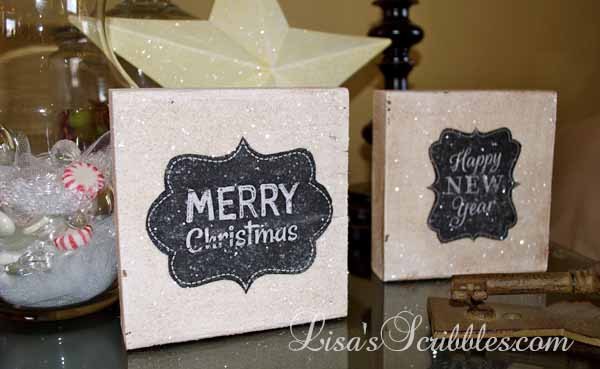
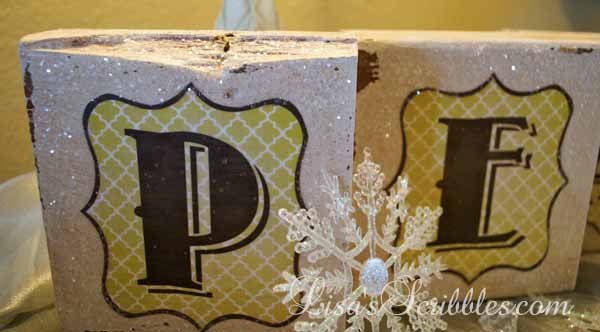
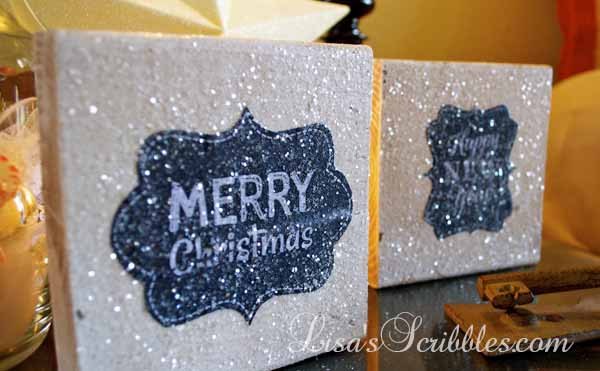
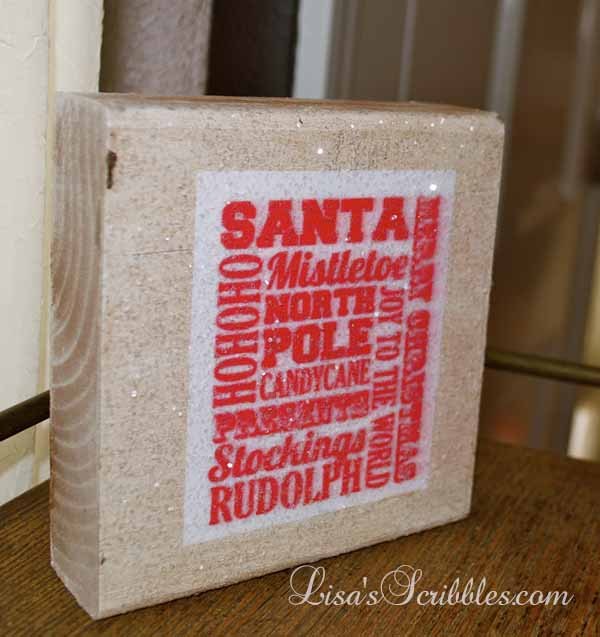
I painted them with a coat of white paint, aged them using a mixture of brown paint and water, and then wiped it off.
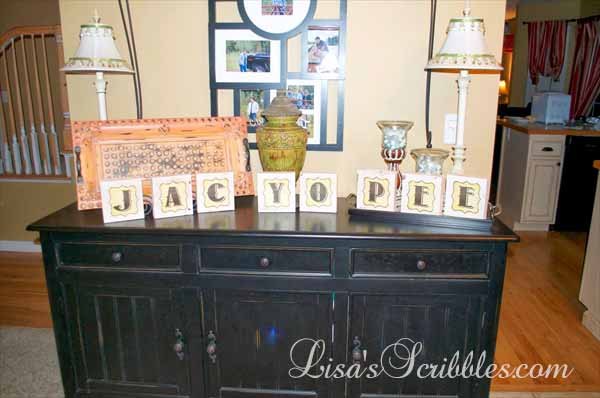
I laid the letters out to see where I wanted to place them, and when I came back, here's what I found...boys!

As you can see, the letters were nice, but I felt like something was missing.
I searched through my craft supplies and found glitter. Yup, glitter truly is a girls best friend!
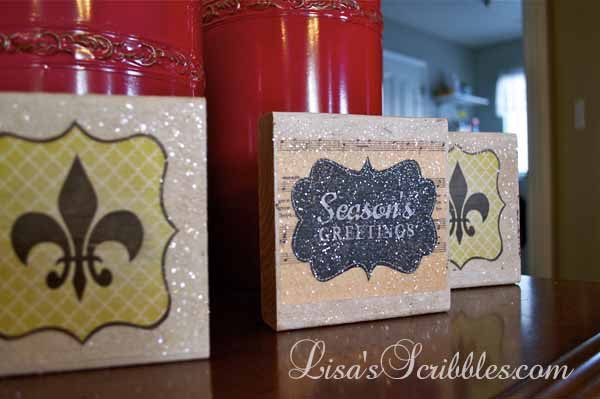
A little Mod Podge over the top and a quick sprinkle later produced a beautiful, cheap, piece of Christmas decor to spread the cheer!
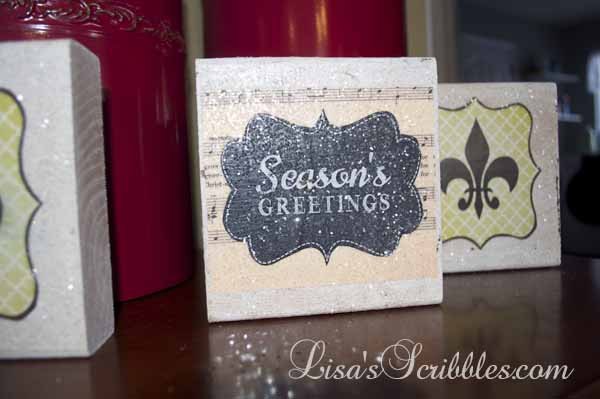
See that glitter sparkle?

Who can't use a little more bling in their life?

I even made extra's and gave some away as Christmas presents.
Pretty cute, right?

Want more details about this and other DIY projects? Check out my blog post!
Comments
Join the conversation
2 comments
-
I also have some leftover wood. Will give your cute idea a try!!! (Boys will be boys - LOL)
-
These are awesome!! I love the ones with a little bling :)


Frequently asked questions
Have a question about this project?