


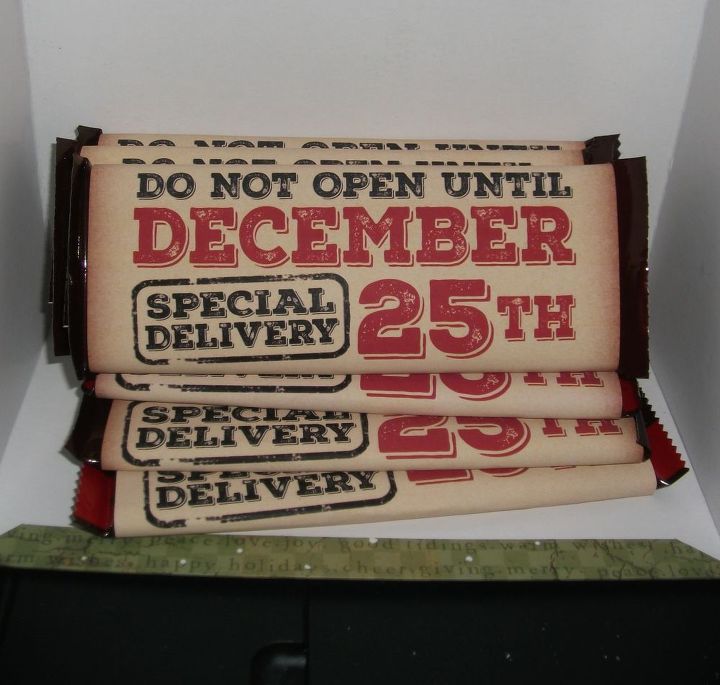
Do Not Open Until December 25th Candy Bar Wrapper
These Christmas candy bar wrappers are so simple to make you can have a couple dozen created within the hour. You never know when unexpected guests will arrive during the holidays and they are affordable gifts to hand out.
Materials You Will Need:
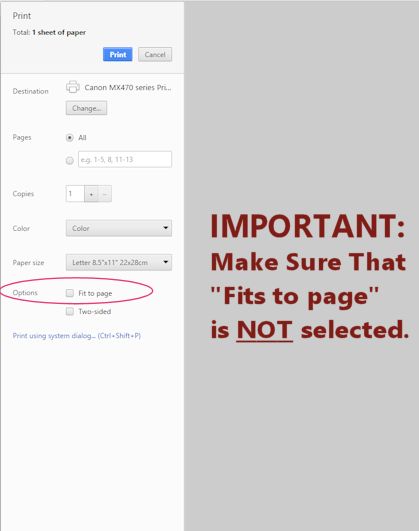
Step Two: Before printing make sure that the “fit to page” selection is NOT selected so they print out the correct size.
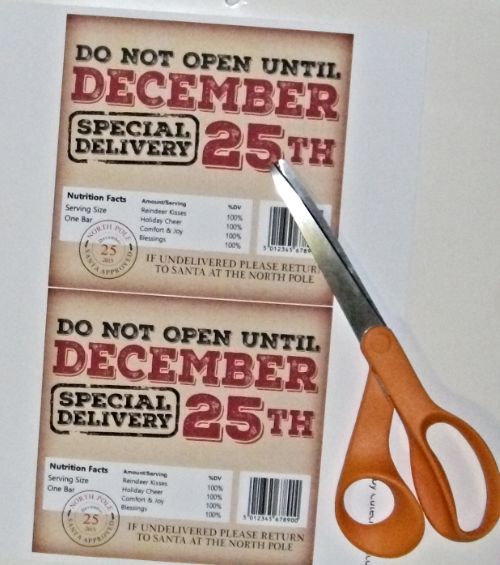
Step Three: Load your printer with your cardstock or matte photo paper and print the wrapper.
Step Five: Start with the top of the wrapper and pull the paper off the double sided tape. Lay your candy bar on the inside of the wrapper and fold the top portion of the wrapper over about a half inch. You can look to make sure the wording on the wrapper is aligned where the top front folds over so your words aren’t up too far on the fold. I’ve goofed a few times and it easily pulls up to adjust as long as you don’t press down too hard on the tape. Once it is aligned where you want it, press down on the wrapper so the tape is adhered well.
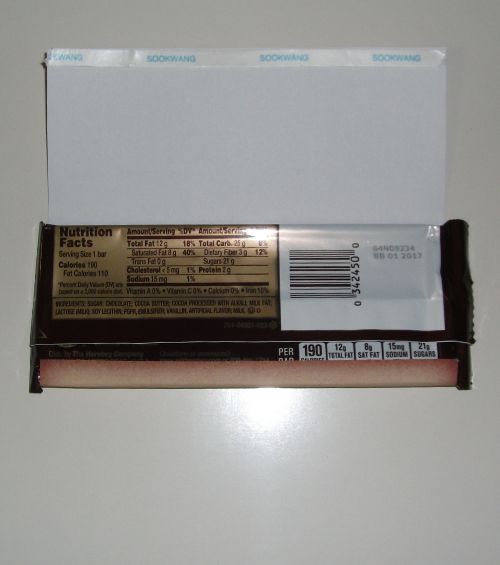
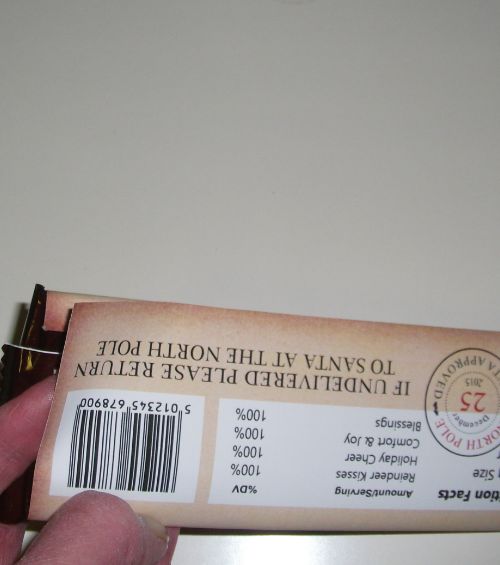
Step Six: Remove the paper from the double sided tape from the bottom side of the wrapper and fold over the candy bar. Align the straight edge of the bottom up with the top and press down to seal. See image above.

Want more details about this and other DIY projects? Check out my blog post!
Comments
Join the conversation
4 of 9 comments
-
This is such a great idea! I'm going to make some to add to everyone's stockings and to have on hand for gifts. Thanks so much for sharing.
-
Great idea! Thanks


Frequently asked questions
Have a question about this project?