


Breakfast Nook Table Makeover

by
Anna M
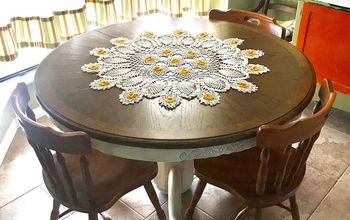
Check out how I transformed this outdated table into the beautiful table you see now! It's now the focal point in our breakfast nook and is used daily by our family!
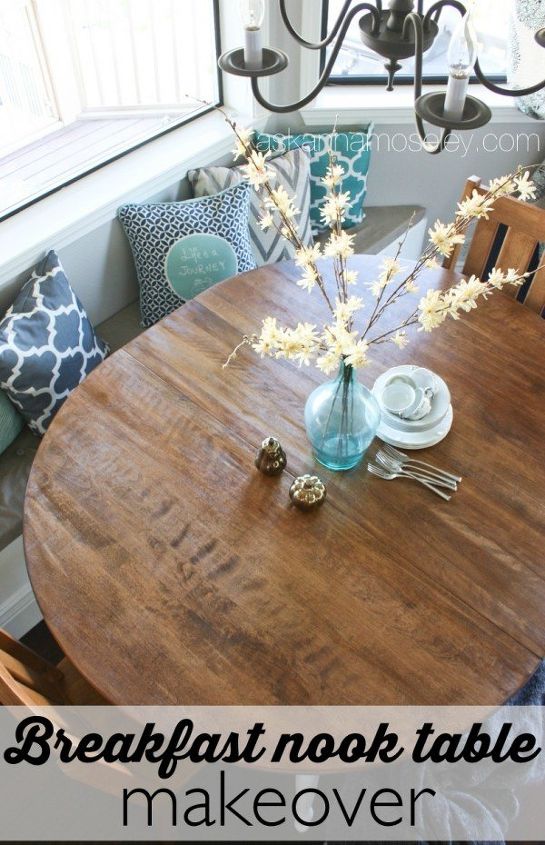
When I bought this awesome table, my husband hated the color and all the scratches, but it fit perfectly in our space! I knew it could be something beautiful with a little elbow grease!

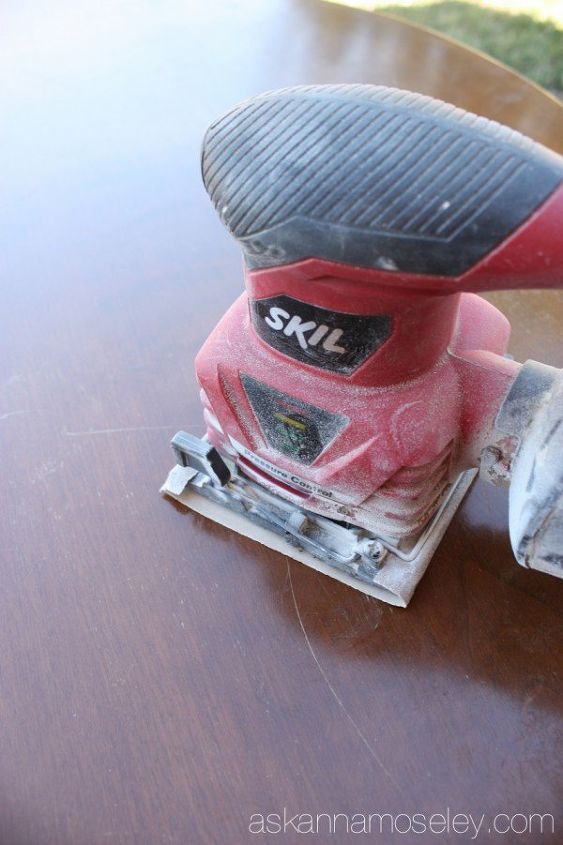
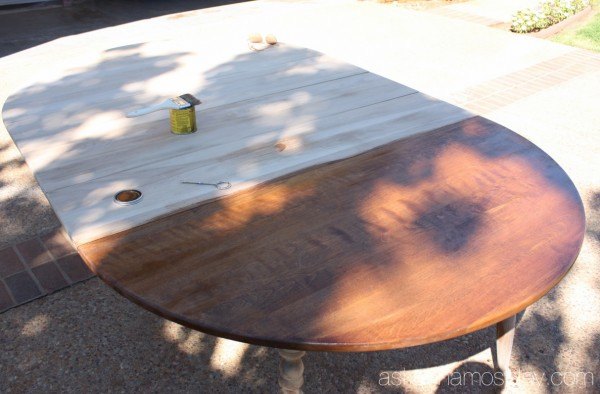
First, I used a belt sander to strip off the layers of lacquer. You can see those scratches I mentioned, but I sanded those right off!
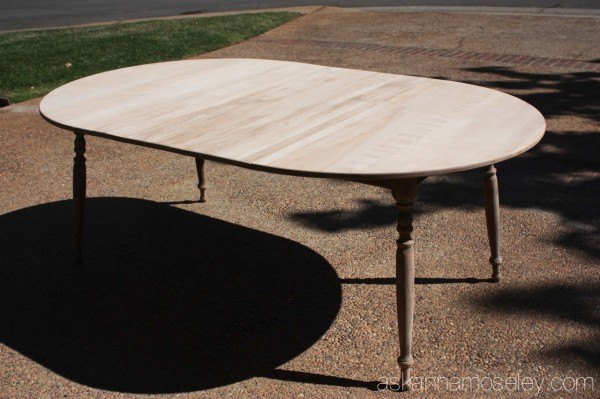
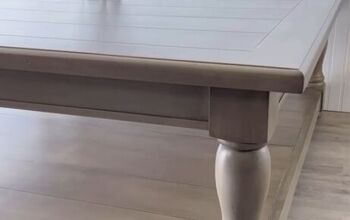
Look at how gorgeous that wood grain is! It's amazing how different the table looked once that orange color was removed!
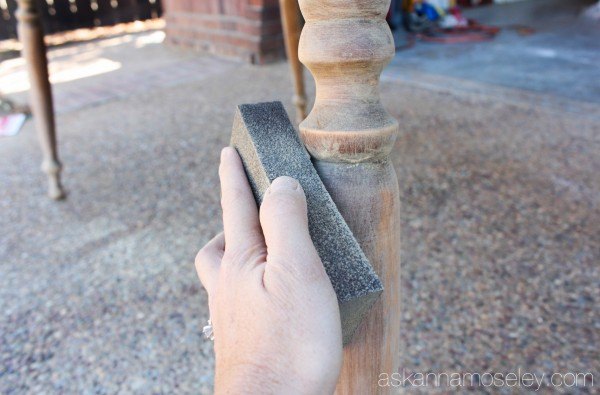
Next, I scuffed up the legs slightly to prepare them for the paint. This is where that elbow grease comes in!
Next, I stained the tabletop because I was so excited to see how a different stain would change the look of this table. I was not disappointed!
For the rest of the steps, detailed instructions, and for information on stain and paint colors, head on over to the blog!
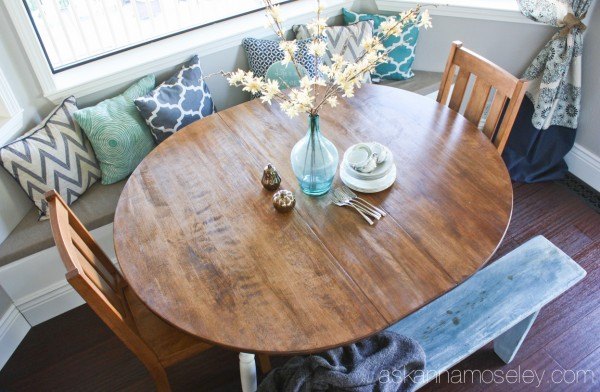
I love how this table turned out, and my husband loves it, too! What do you think of the new look?
Want more details about this and other DIY projects? Check out my blog post!
Comments
Join the conversation
2 of 42 comments
-
THIS IS ABSOLUTELY BEAUTIFUL !!!
I love natural wood. I has a beauty all it's own.
Great job !!!
-
I know you said to go to your blog for the stain color, but would you mind sharing it here. I have an oak kitchen table that needs to be restrained. Love the color you chose.


Frequently asked questions
Have a question about this project?
Please include sand paper grit size> What technique and how many coats of polyurethane. Do you use steel wool between coats?
Tom