


Entertainment Center Turned Kids Closet Armoire Furniture Makeover
9 Materials
$26.20
1 Week
Easy
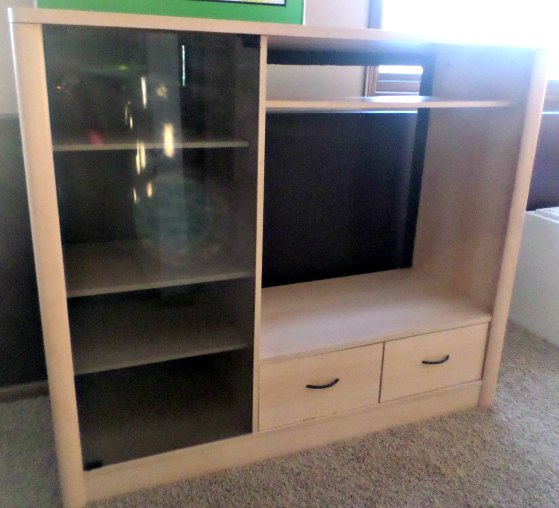
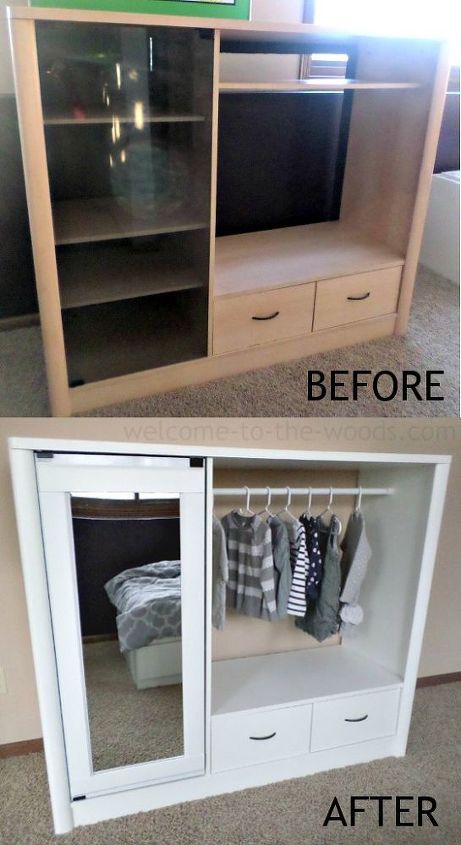
Hey everyone! I've been away from Hometalk for a while now, and I'm so glad to say I'm back with a fun furniture makeover I completed last week! I picked up an old tube TV entertainment center off a Facebook garage sale site for $10 including delivery. These pieces of furniture have become almost obsolete as everyone upgrades to large flat screens, but I had an idea to recreate this laminate loser into a useful storage solution for my daughter's bedroom.
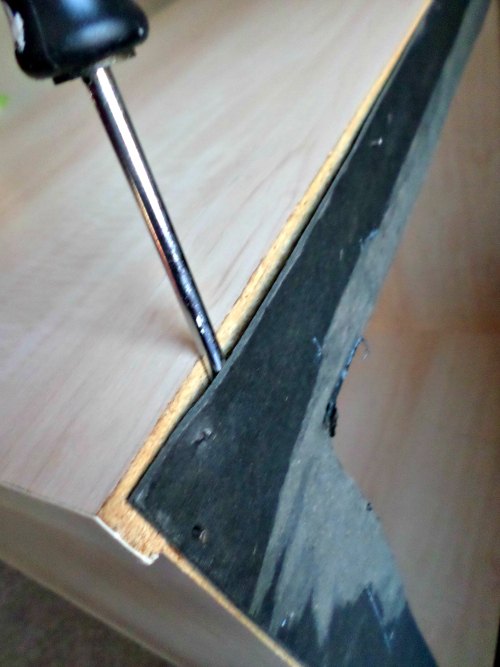
The first thing I did was wipe it down to clean off dirt and dust. Then I removed the back panels with the cable holes in them by wedging a screwdriver between them and prying them off.
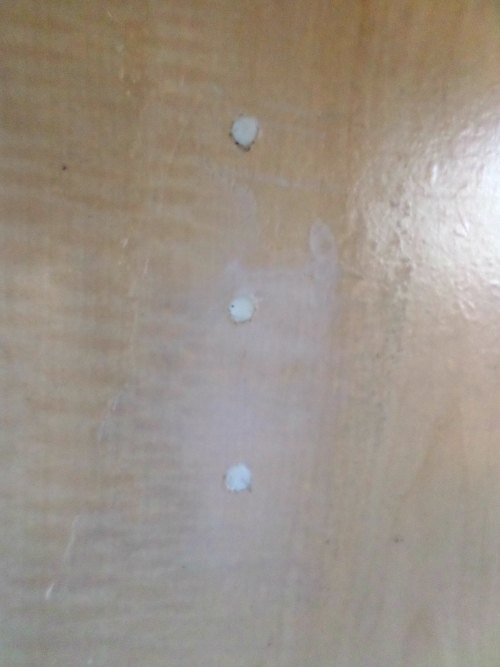
I removed all the hardware and the glass door. I took out all the shelves and caulked the holes for ones I would never use in the future.
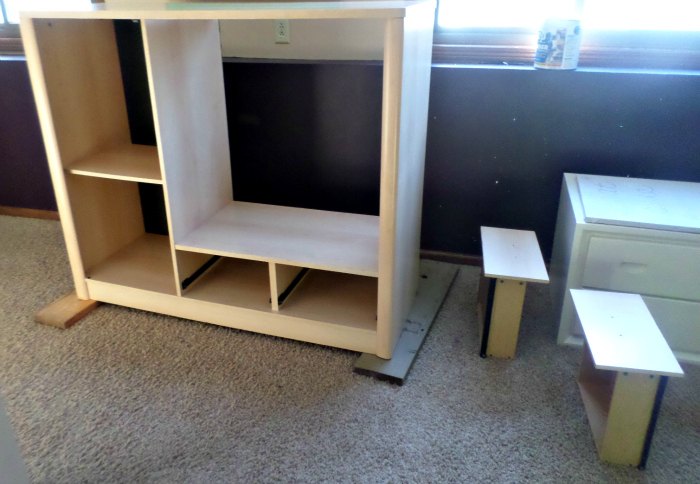
Next, I began the painting process with my favorite Zinsser primer. As you can see, I was working indoors, so I propped the furniture onto 2 by 6's and was careful to open windows and fan out the toxic air after each paint coat.
While waiting for coats of paint to dry, I transformed a piece of the black cardboard backing that went behind the shelving part of the unit. All I did was cover it in wedding wrapping paper with white & silver stripes. It turned out great!
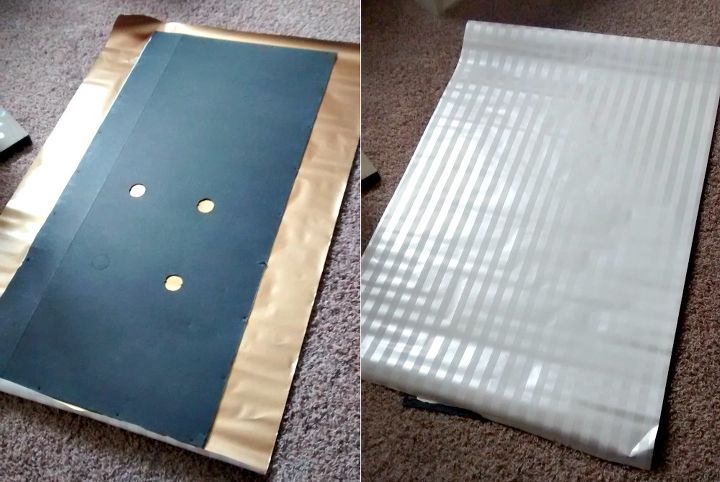
For the glass door, I really wanted to turn it into a mirror somehow. I looked for multiple ways to do this, but they were all quite expensive and yielded less than desirable results. I got the idea to use one of those cheap $5 mirrors from Walmart and break it so it was the right length. I fortunately had one that I had picked up at a garage sale for $1 I was willing to take a gamble on. I read about breaking a mirror using a scoring tool, a metal square, clamps, and a clean surface. It didn't turn out so well for me, but I think it's because I couldn't clean off all the glue on the back of the mirror so it interfered with the break.
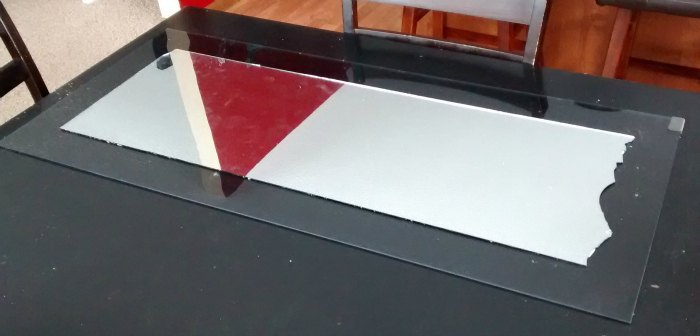
I also glued on the wood casing (purchased and cut to size at Home Depot) with the same adhesive glue. When the glue was dry, I brought the glass door outside to spray paint the back so you couldn't see through to my hideous glue marks and mirror mistake. Then I touched up with paint and reattached the glass door to the entertainment center.
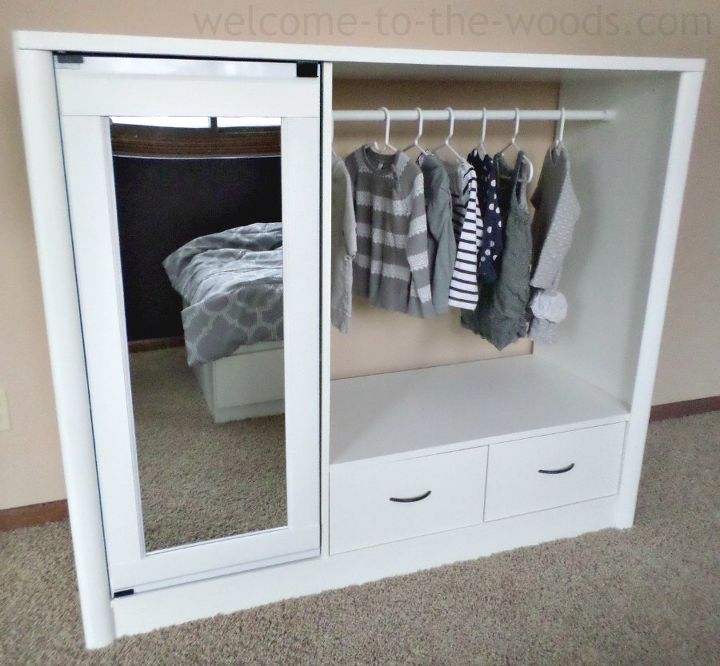
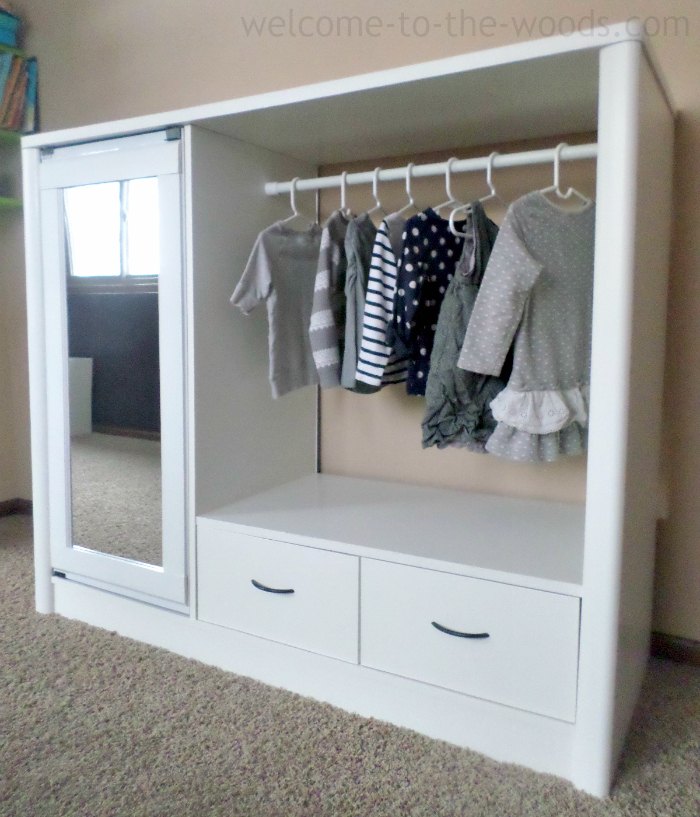
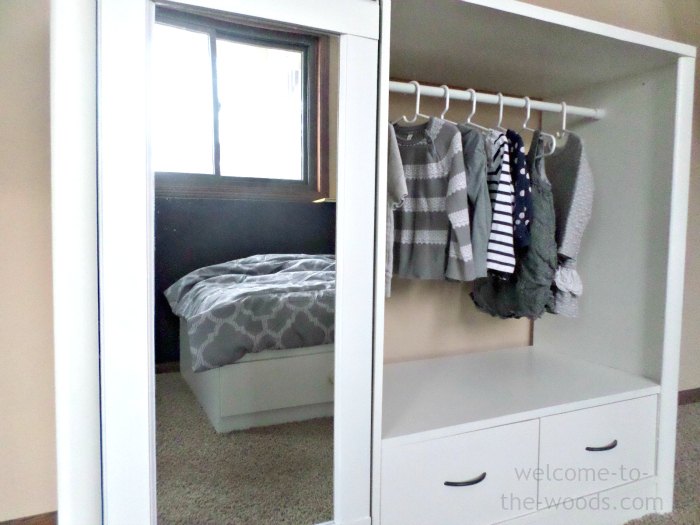
As you can see, I installed an adjustable closet rod where the old tube TV used to go. I did have to cut the metal rod slightly shorter to fit inside. The wood casing completely camouflaged my mirror mistake on the glass door. I think it looks great and very chic!
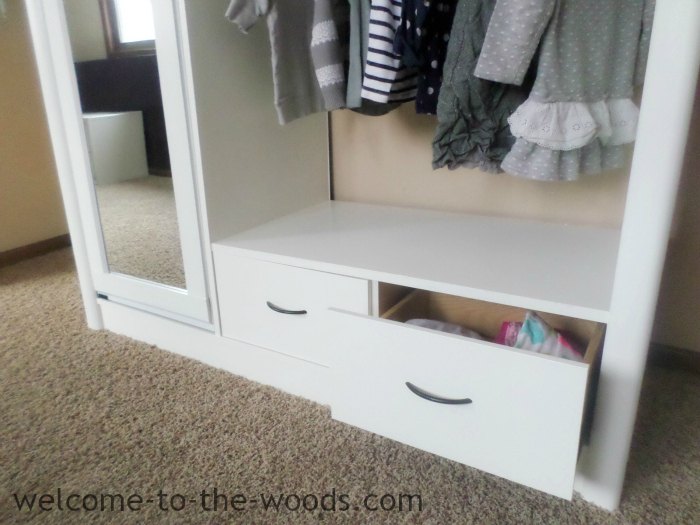
The drawers at the bottom hold pajamas and socks & underwear.
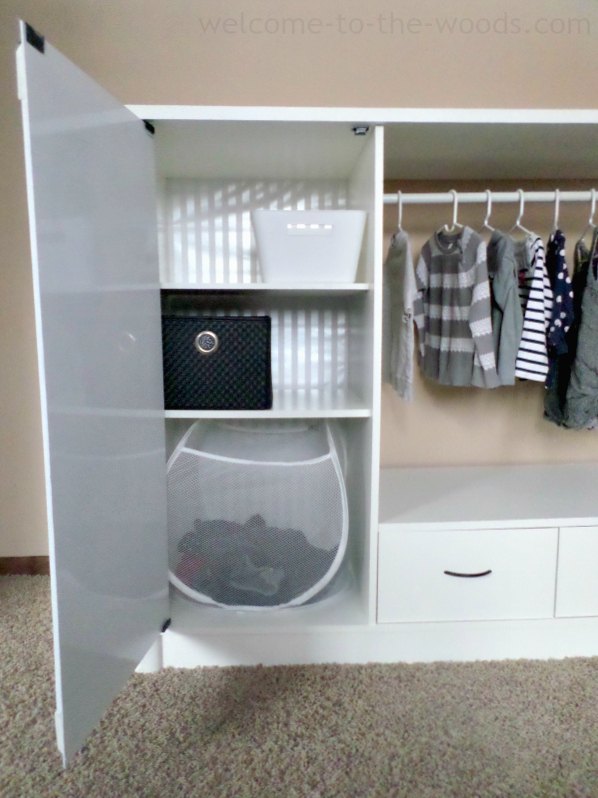
Inside the mirrored door, you find bins to hold more clothes or toys. At the bottom is a hamper I found at IKEA for laundry. I'm so glad I spray painted the back of the door so you couldn't see through to the glued on casing and mirror! I also am very pleased with how my wrapping paper looks on the old backing.
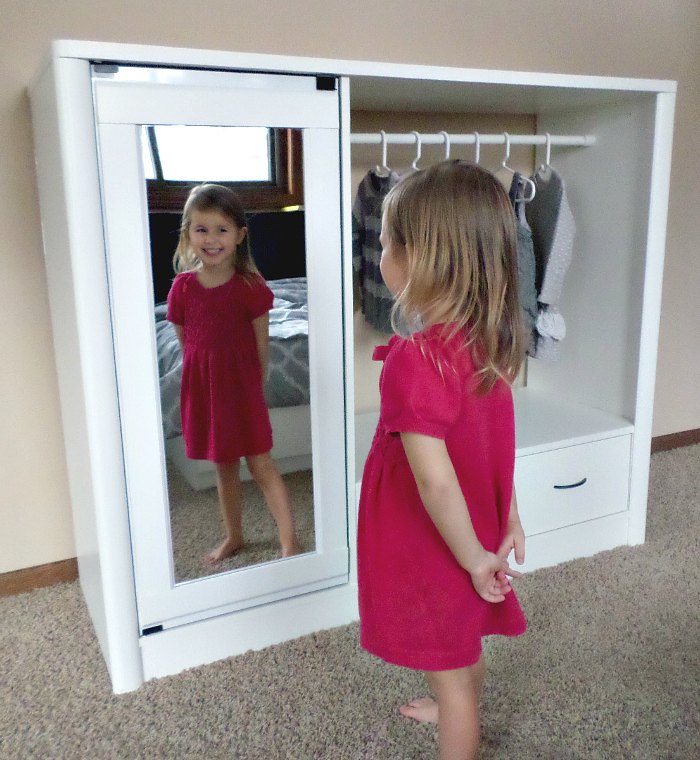
Most importantly, my little girl loves her new closet!
The breakdown of costs for this project are as follows:
Please share with your friends if you enjoyed this idea! Have you ever seen a cool idea for an entertainment center redo?

Want more details about this and other DIY projects? Check out my blog post!
Comments
Join the conversation
2 of 207 comments
-
I LOVE this & just as soon as I get our (already bought) replacement painted & put to use, I'm going to do this with our old one, like yours!! Thanks for the inspiration!
-
Beautiful!


Frequently asked questions
Have a question about this project?