


Upcycled Stenciled Bathroom Stool

by
Emily
Last consignment sale season, I found a step stool that was perfect for the boys’ bathroom. It cost just $4, and the finish on the wood was a little faded, but I thought that it wouldn’t take long to fix it up. I knew all it needed was a coat of chalk-style paint, and a detailed stencil pattern to make it beautiful.

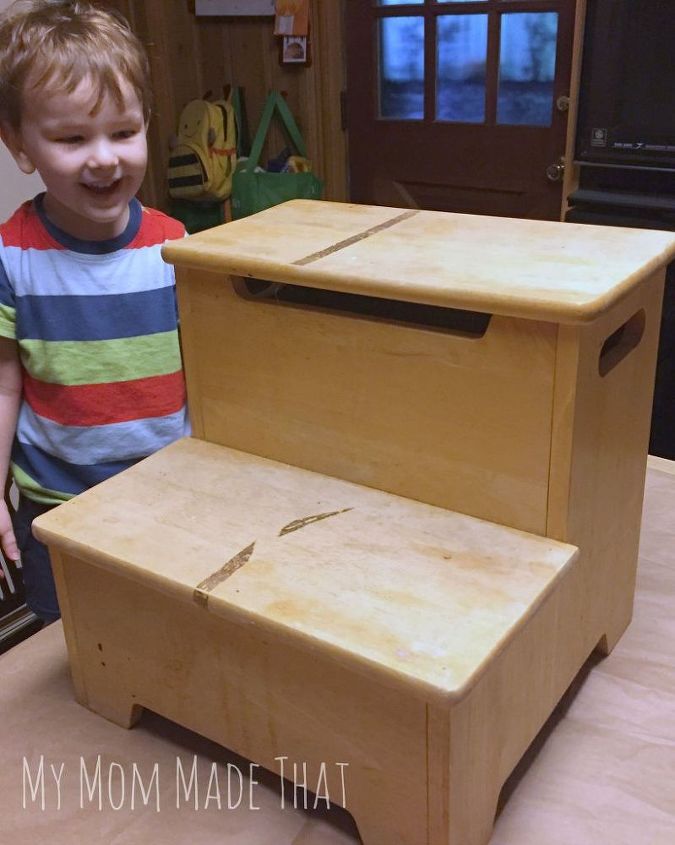
Here's what I began with. It was pretty rough, but nothing some good paint couldn't fix.
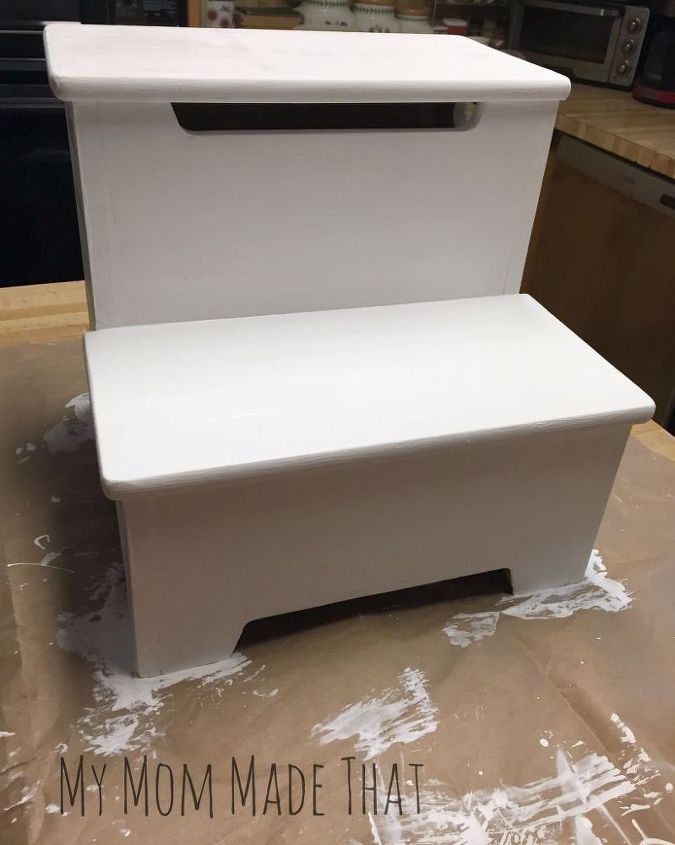
Before starting with the stencil, I painted the entire step stool with a chalky-style white paint. After I got the white paint on the step stool, and it dried, I lightly sanded and smoothed the entire stool. Then I took a very lightly damp rag, and wiped the stool to remove the excess dust.
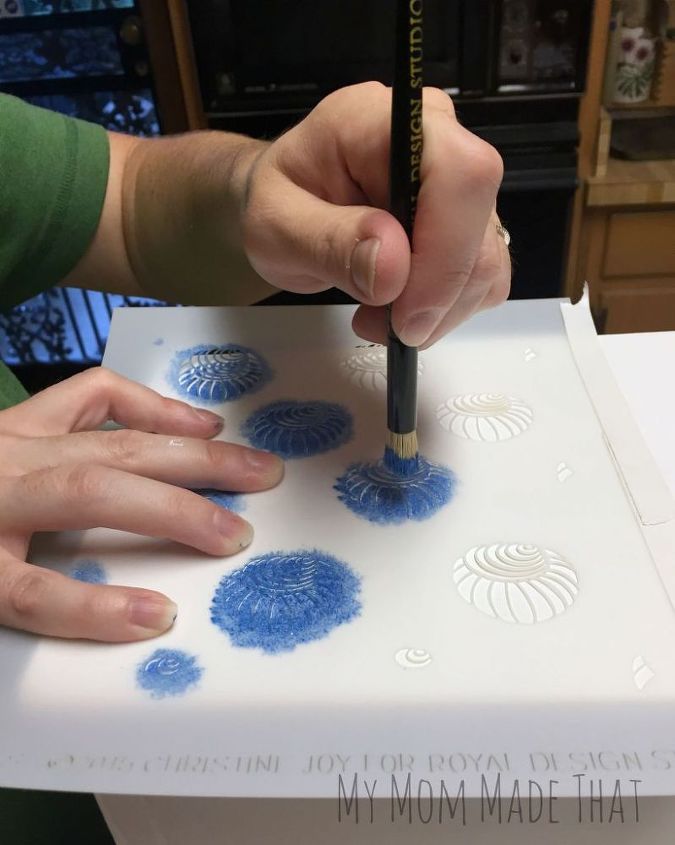
I was trying to go for a beach theme in the bathroom, so I chose a seashell stencil.
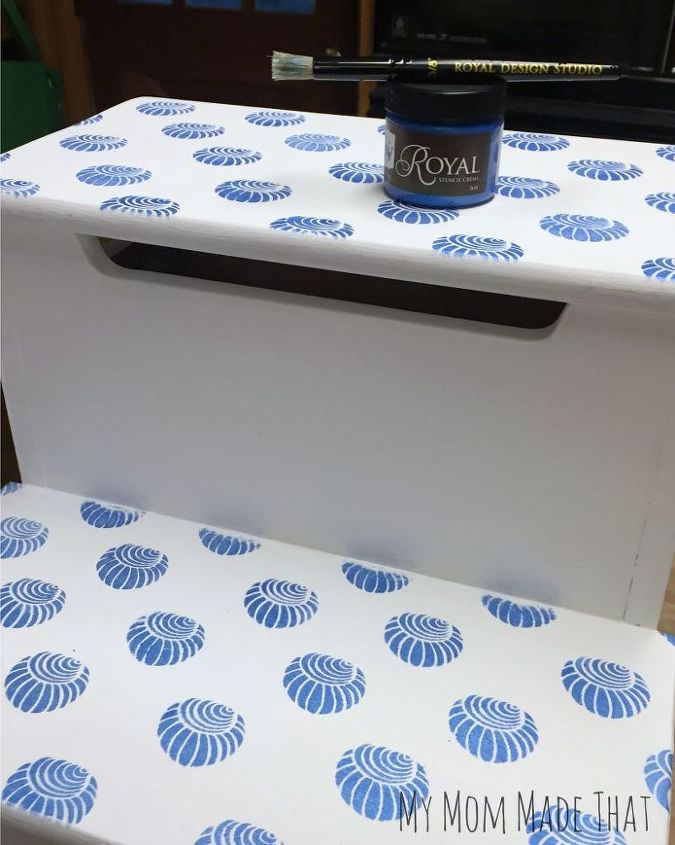
Finally, after the stencil creme had dried, I covered the entire step stool with a coat of wax to seal the chalky-style paint and stenciled pattern.
Want more details about this and other DIY projects? Check out my blog post!
Comments
Join the conversation
2 comments
-
Cute print! :)
-
Thanks so much!


Frequently asked questions
Have a question about this project?