


How To Make A Paving Stone Planter Box !

by
Ana illausky
4 Materials
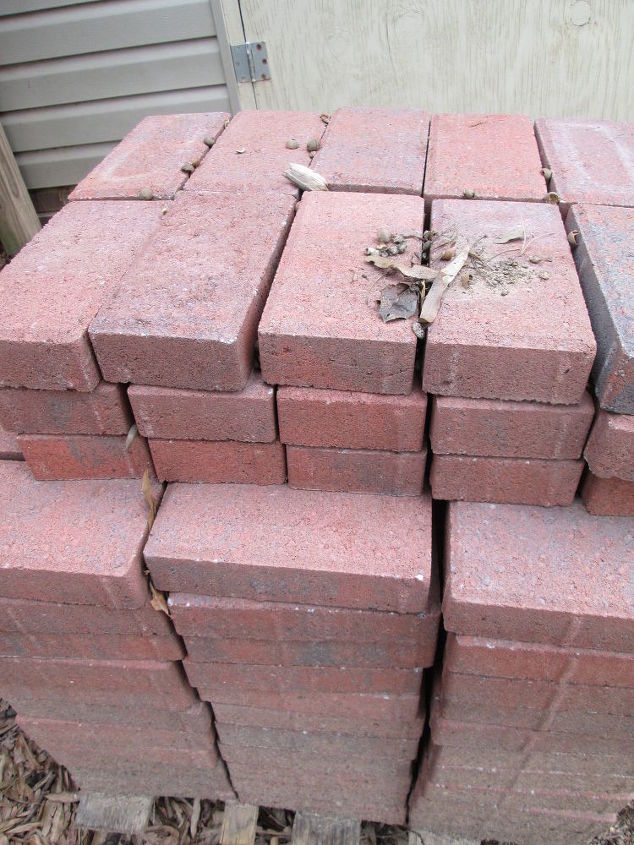
Last year there was a great sale on paving stones, priced at 5 for $1.00 at Lowes. So we purchased 200 of them. Months had passed and it finally came to me what we could do to utilize the inexpensive stones.
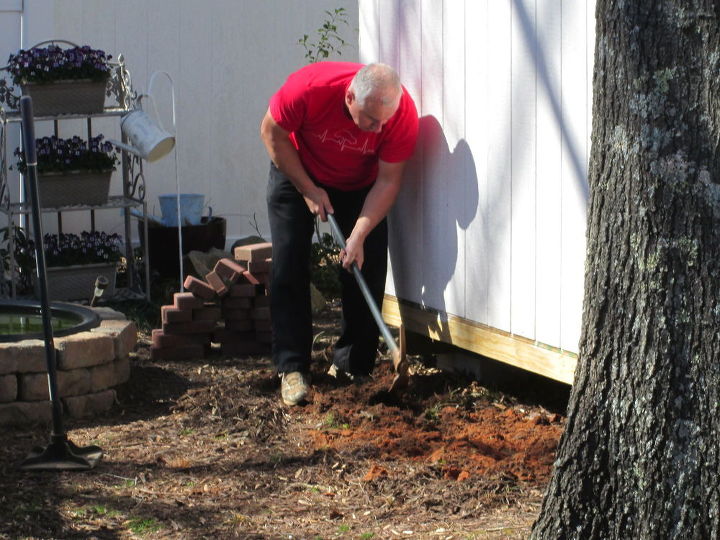
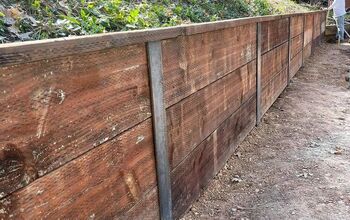
So we had to get the ground level for this process. The area was dug out.
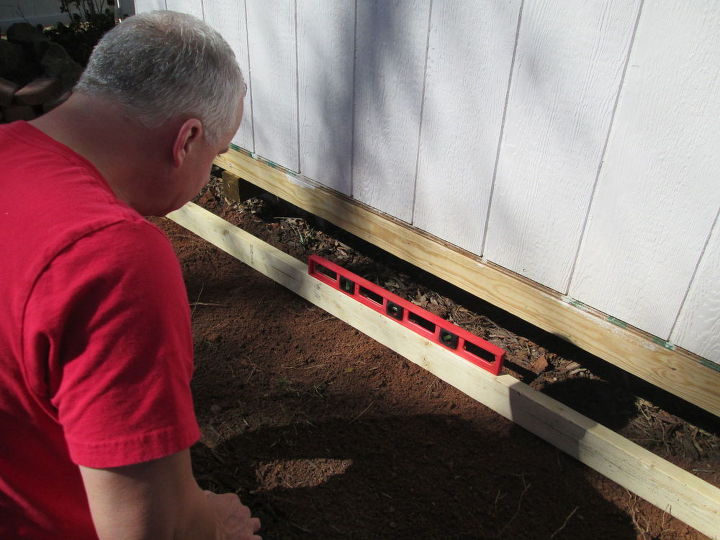
We used a 2 x 4 and a level for the area to make sure it would be flat.

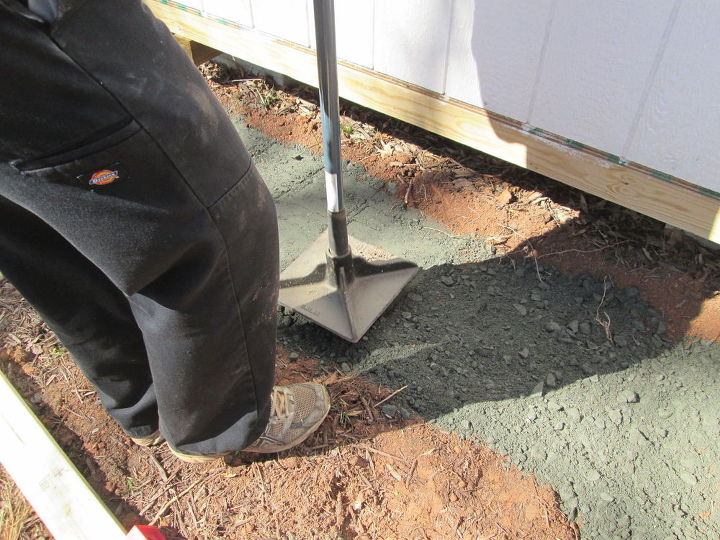
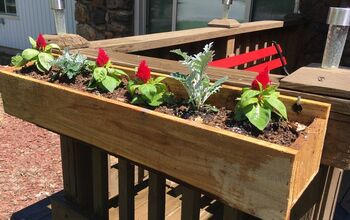
To help keep stones from shifting we used paving base the full length of the box, 8 feet by 17 inches for a narrow box that was needed for the area.(Paving base 3 - 40 pound bags).
Stamped into place and measured again for leveling .
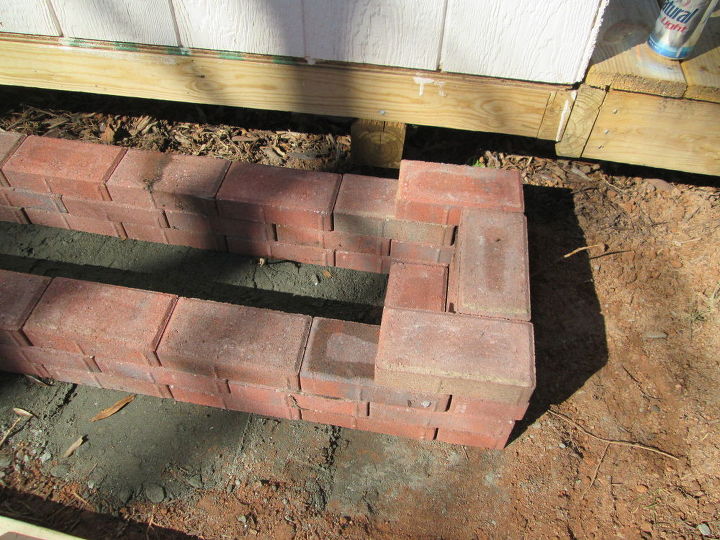
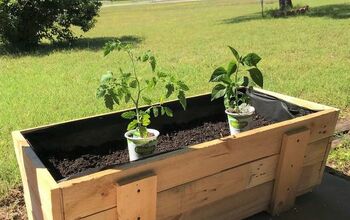
Laying of the stones.
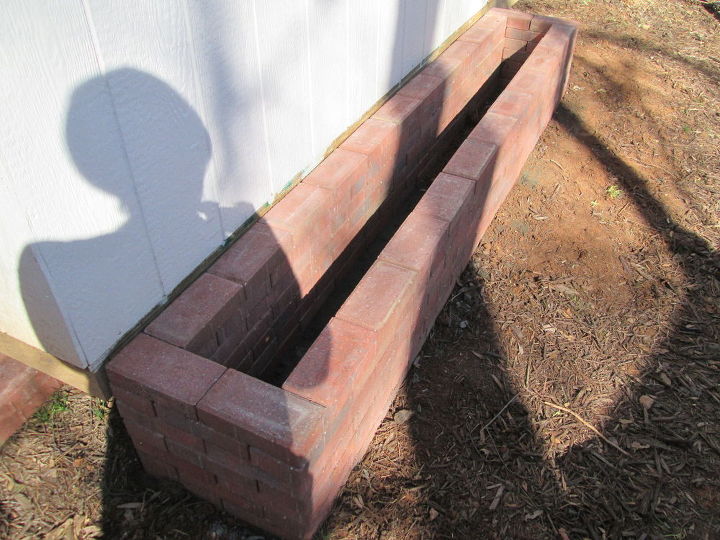
This look was done with 3/4 of the stones.
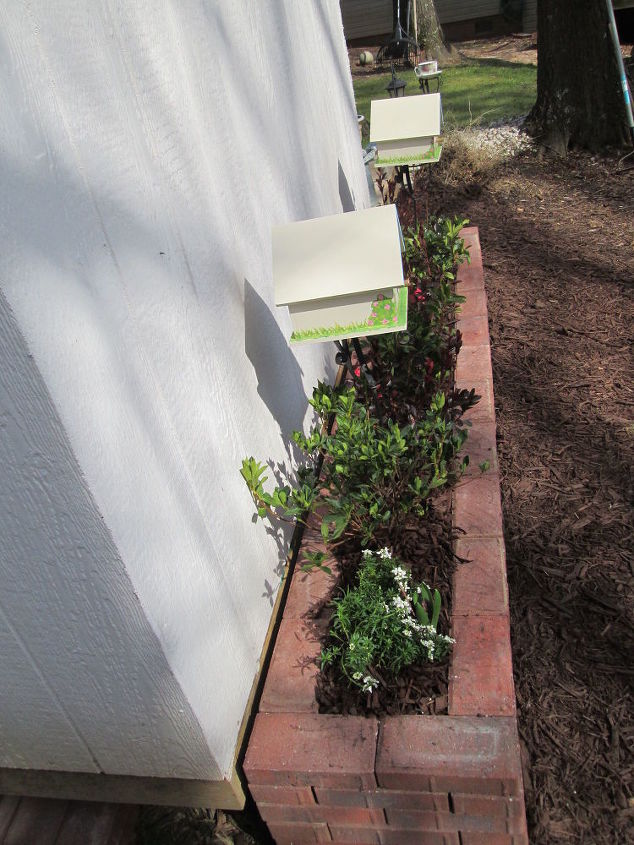
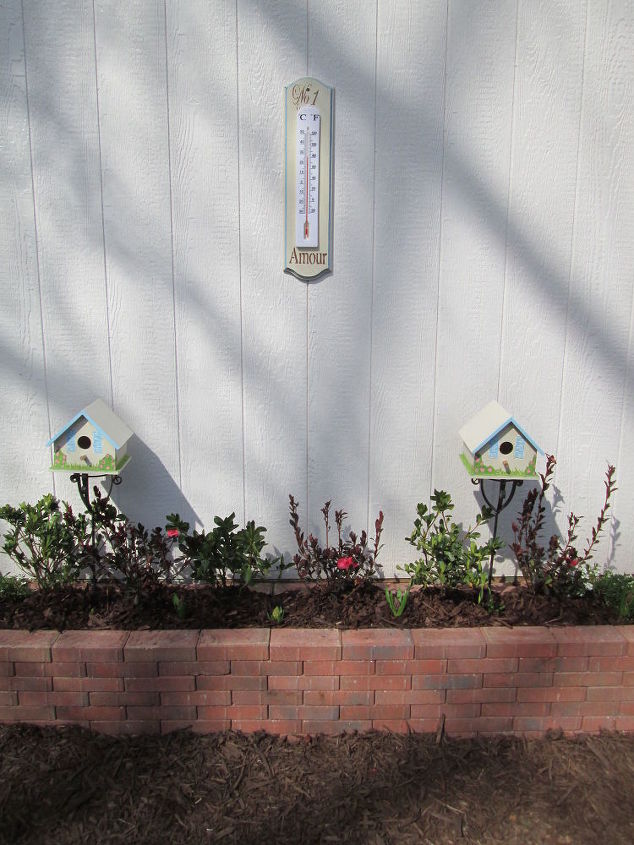
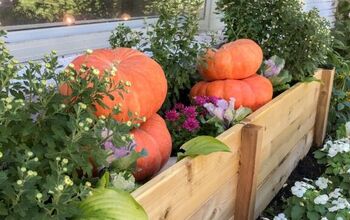
I filled with perennials for a year around look ,this also makes my planter box cost worthy.
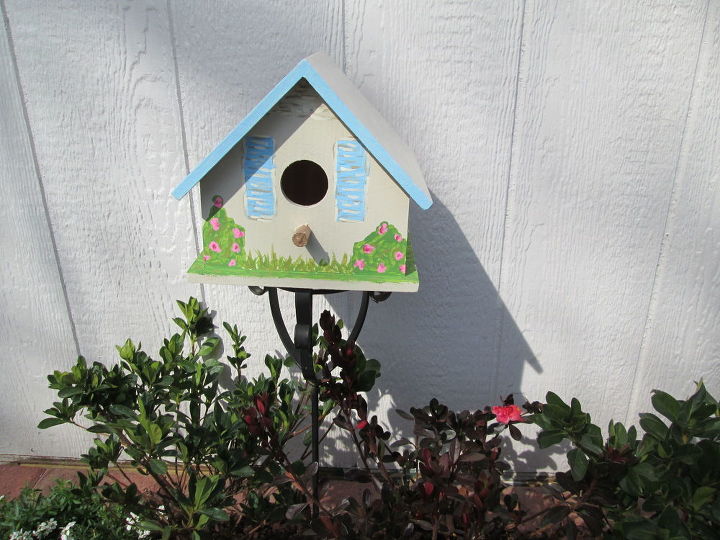
For my love of birds there are a few bird houses located through out our property.

I just love how this came out next to my crafting cottage where I spend a lot of time enjoying nature!
Want more details about this and other DIY projects? Check out my blog post!
Comments
Join the conversation
3 of 490 comments
-
Thank you so much!
-
Your planter looks great. Nice and neat. Ihave some perienals also that I would put into that box. The area I would like to do is in front of my porch. Wonder if that would work.


Frequently asked questions
Have a question about this project?
Is that a portable Premier shed? We have 1 and I love this idea for around the outside of it! Thanks for sharing!
-Brenda Lynn
Coukd I do this with flat pavers somehow?
I have alot of them.
Thanks.
Ps your planters look beautiful!
I’m not sure of where you live,but I’m curious about what perennials you planted.