


The Turning Point--DIY Corner Shelves
8 Materials
My office redo has got me all like "what am I doing with my life?!" Seriously, do you ever get to that point where you can't figure one tiny thing out and suddenly you start irrationally questioning all your life choices?
For example: I can't figure out if I like these shelves here. And I don't know where to hang our diplomas. Now I'm not sure it was a good idea to buy those jeans three months ago. Or make macaroni and cheese for supper last night. It was probably a terrible idea to wash my car last week. I shouldn't have trashed that milk jug a year ago. Why didn't I buy more wrapping paper when it was on sale after Christmas? THIS IS CRAZY!!!
This office redo is not going as planned. Read more about it in the blog post...
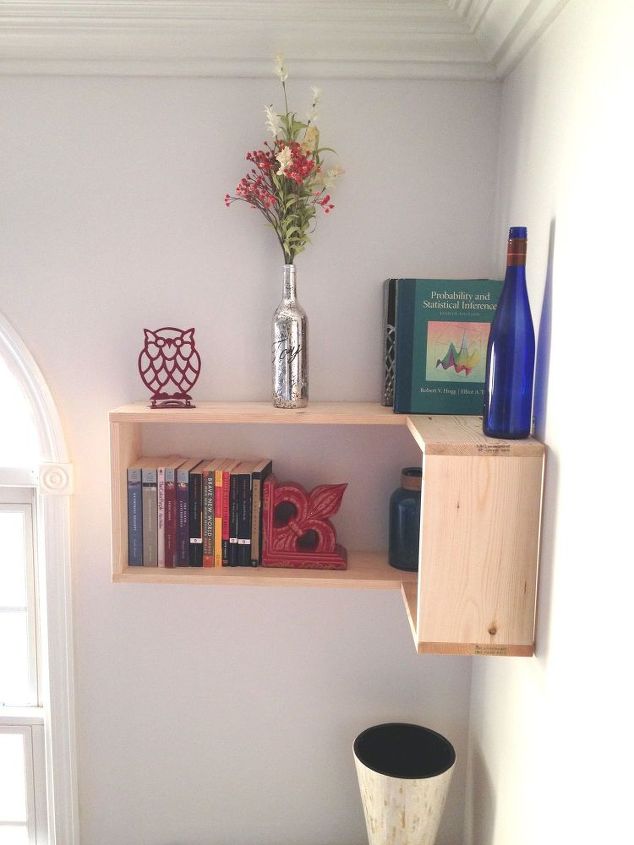
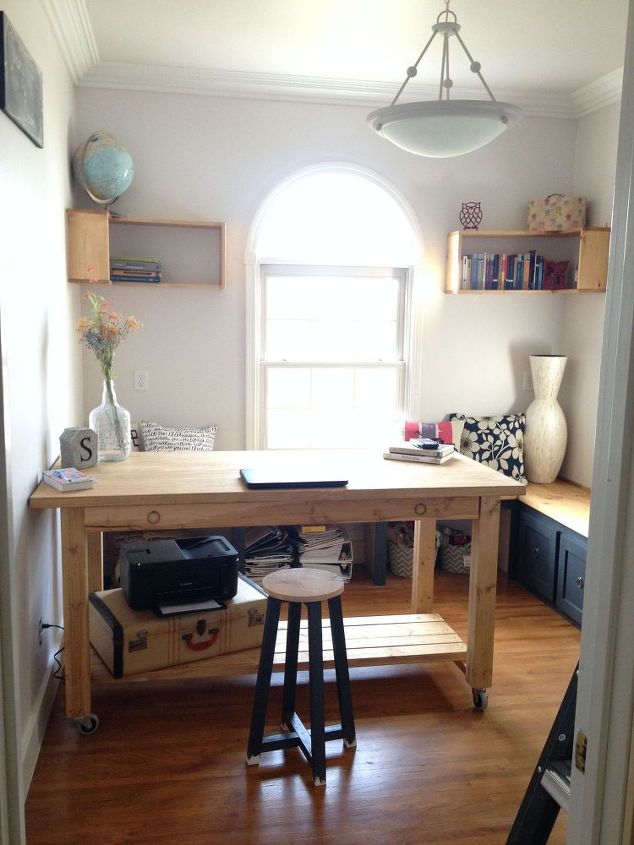
I'll get back to this madness right after I show you how I built these shelves. Let me first say-I LOVE these shelves. I'm just not sure I hung them in the best place in the room. I'll get back to that...
For example: I can't figure out if I like these shelves here. And I don't know where to hang our diplomas. Now I'm not sure it was a good idea to buy those jeans three months ago. Or make macaroni and cheese for supper last night. It was probably a terrible idea to wash my car last week. I shouldn't have trashed that milk jug a year ago. Why didn't I buy more wrapping paper when it was on sale after Christmas? THIS IS CRAZY!!!
This office redo is not going as planned. Read more about it in the blog post...
I'll get back to this madness right after I show you how I built these shelves. Let me first say-I LOVE these shelves. I'm just not sure I hung them in the best place in the room. I'll get back to that...
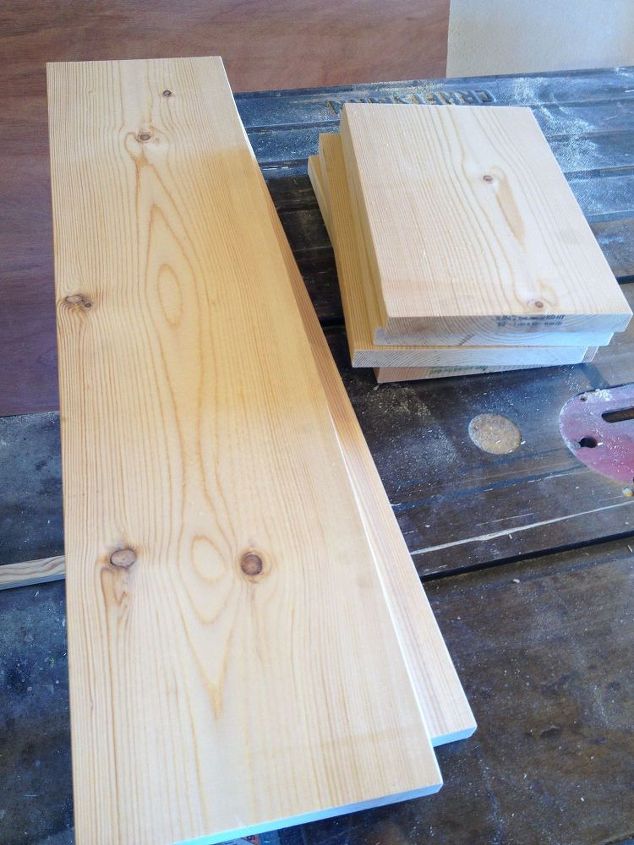
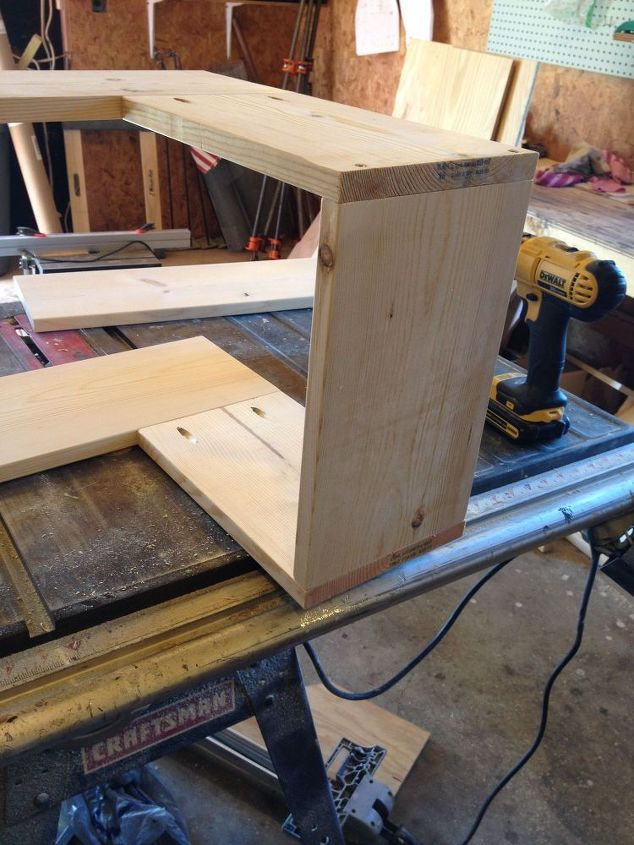
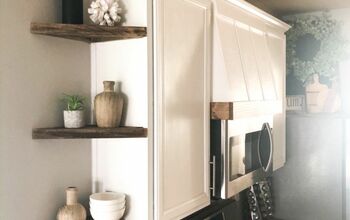
I made my shelves from 1x8 lumber so they are 7 1/2 deep. That's plenty of room for some textbooks. You could go shallower and do 1x6 or deeper and use 1x10 or 1x12.
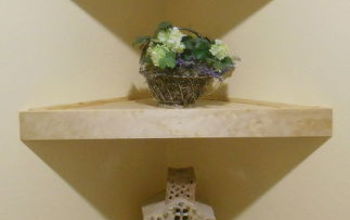
I screwed the 30" pieces onto the ends of one of the 12" pieces.
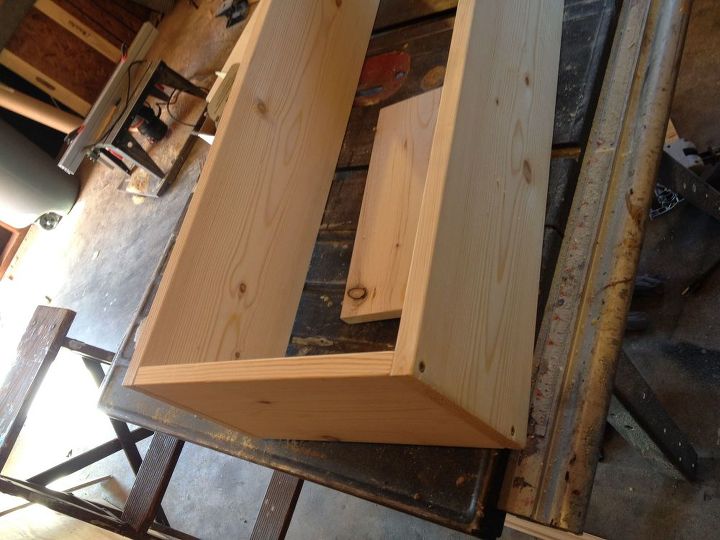
Then, I used pocket holes and screws to attach two more 12" pieces to the other end of the 30" pieces at a 90 degree angle.
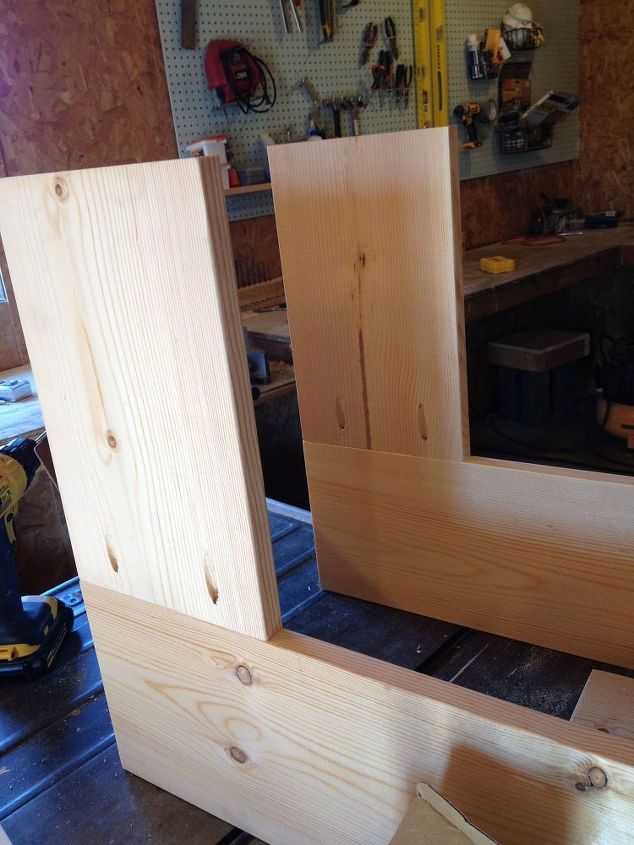
Then, screw the last 12" piece between these two boards.
Now, you can stain it or paint it before you hang it. I hung it first then took it down later to stain it because I was so eager to see what it looked like on the wall.
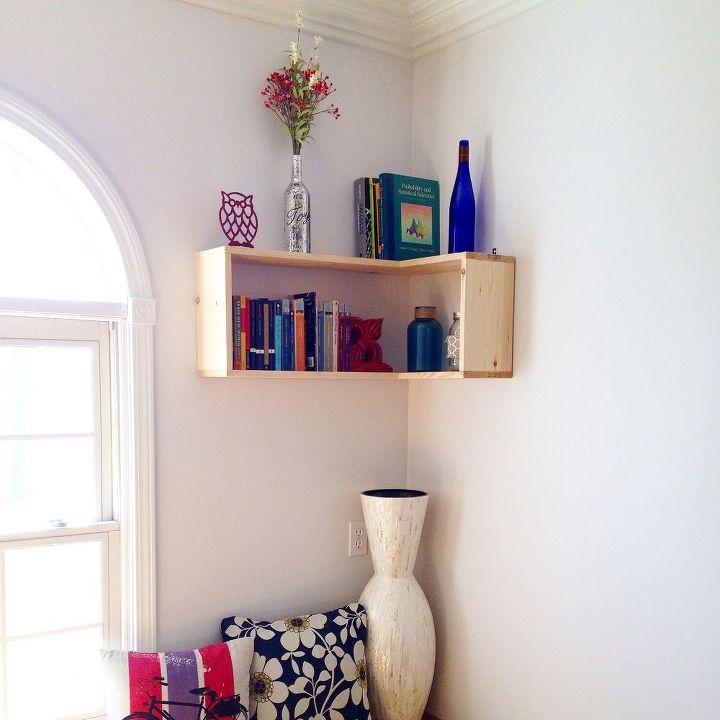
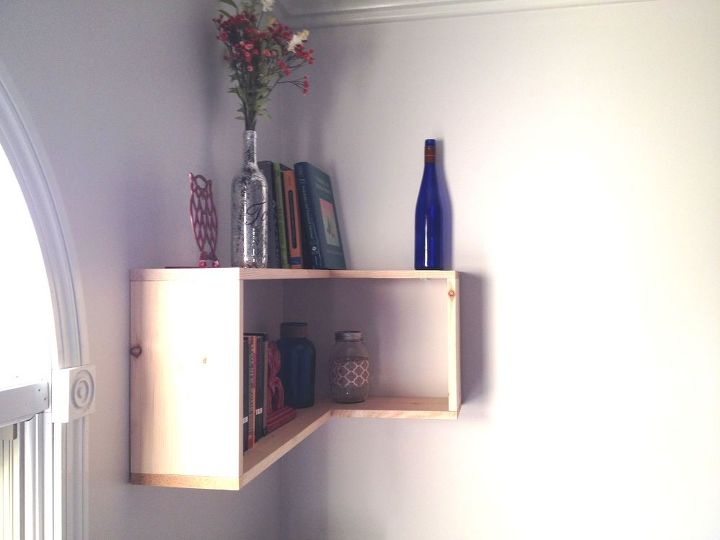
Now, here's where the crazy happened. I made only one of these and hung it up.
Then I didn't know if it looked too busy or too crowded. So I rearranged and rearranged and added my massive collection of mason jars.
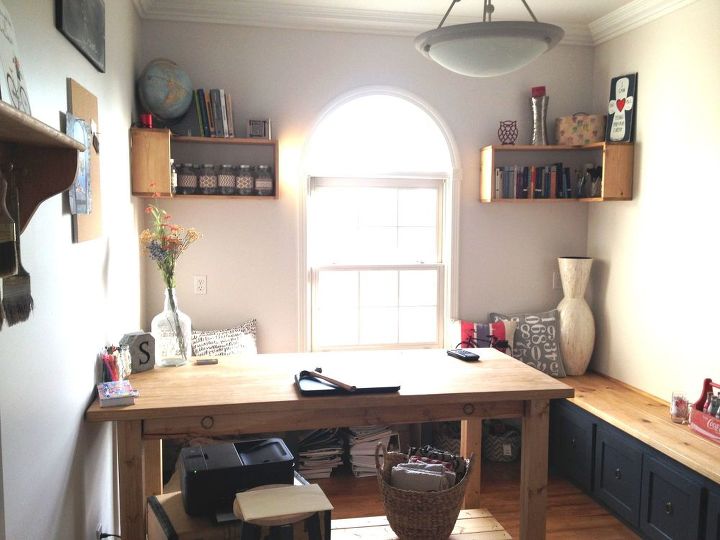
And here we are. I can't decide if I like it. I took the shelves down last night in a fit of craziness, but now I think I want them back up.

Want more details about this and other DIY projects? Check out my blog post!
Comments
Join the conversation
2 of 71 comments
-
Love it
-
I was thinking of both on the same wall. above each other.


Frequently asked questions
Have a question about this project?
how you hold the shelve on the wall?
Very nice but I like the idea of hanging the shelves even with the arch of the window. And while I like the bare wood on the desk and box seats, would you consider painting the shelves? This is a GREAT inspiration room!
I like this but I couldn’t tell what you used to hang them up with so they are sturdy. What if you want even sides on both walls? Same equipment for sturdiness?