


Giant Outdoor Chalkboard
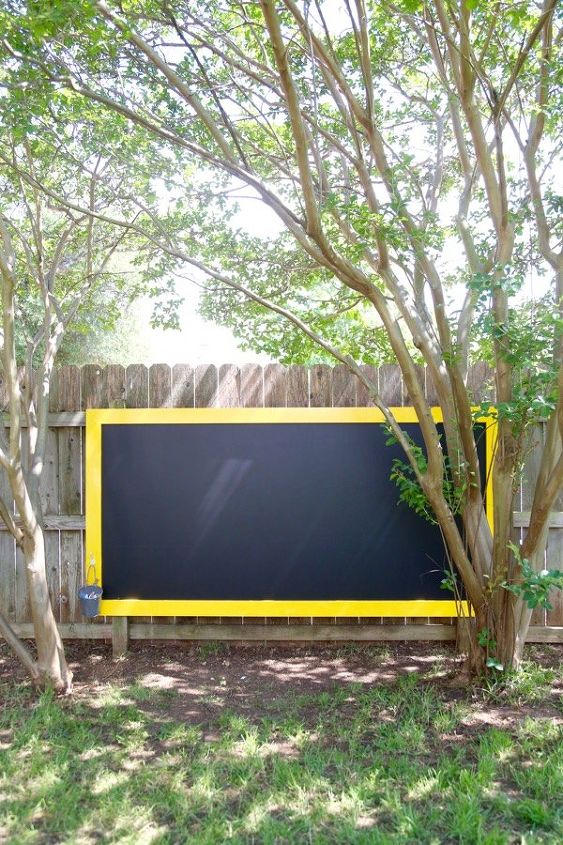
I created this giant outdoor chalkboard for my toddler, who loves to play outside but didn't have a good space to play with all of his chalk. It was a quick and simple project that has already provided hours of entertainment for him, and it was so easy! You can see the full tutorial by clicking through to my blog.

We took our 4X8 piece of plywood and added three coats of primer to all sides - this is an essential step to helping protect the wood from the elements. We made sure all of the sides were very covered with paint, and we allowed each coat to dry thoroughly.
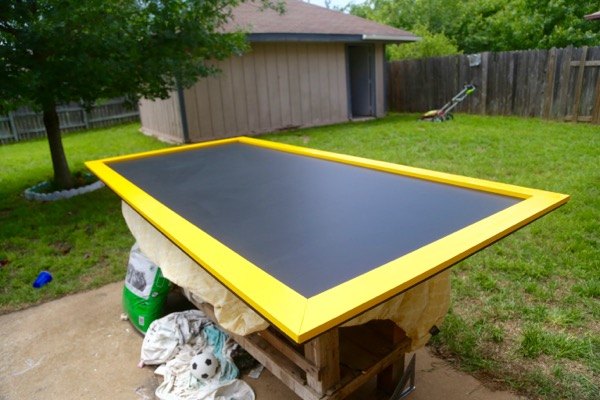
Then, we use chalkboard paint for the plywood (it took three coats, and they have to dry for 24 hours between each coat!) and primed/painted our border pieces. We screwed them in from the back so that no hardware would be visible on the front.
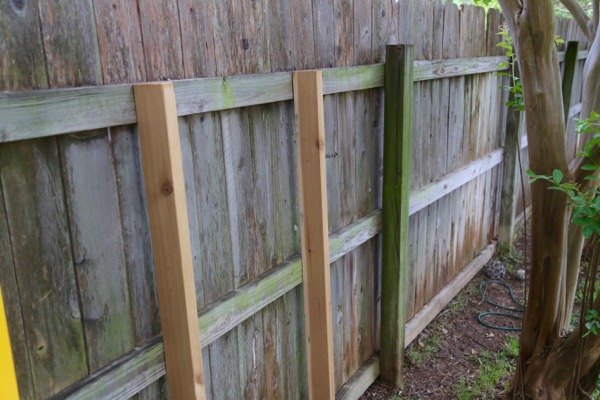
To attach it to the fence, we centered the chalkboard on a section of fencing so that each end touches a fence post (there’s a bit of an overhang on each side). He hung some cedar spacer boards in-between the fence posts to ensure maximum sturdiness (they’re the only boards that are exposed and not at all sealed with paint, so we used cedar), then used black screws to attach the board to the posts and the supports (in the black part of the chalkboard, so you can’t see them!).
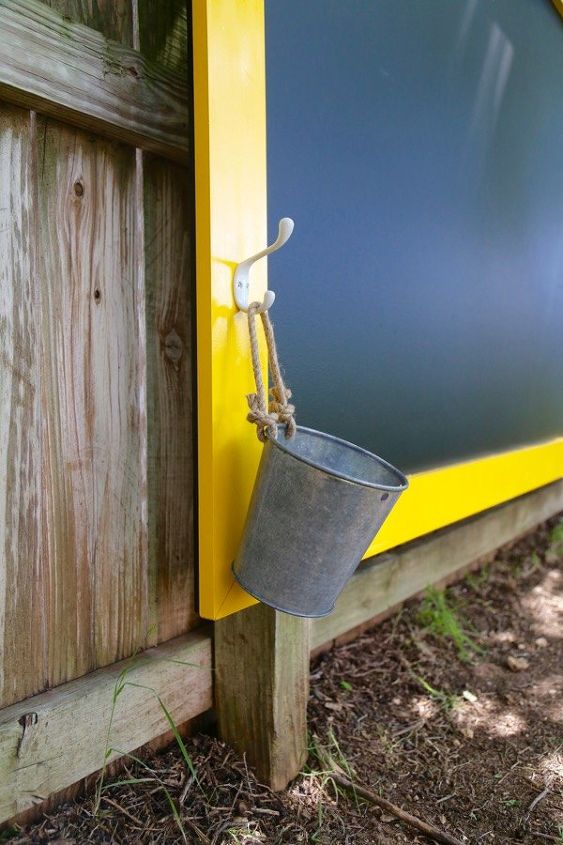
We use a little galvanized bucket to hold the chalk (it has a hole in the bottom so it doesn't hold water)!

Want more details about this and other DIY projects? Check out my blog post!
Comments
Join the conversation
2 of 51 comments
-
Fab!! I am a preschool teacher, and I forwarded your project to my parents!
-
Nice idea. Kids can play together on one board.


Frequently asked questions
Have a question about this project?
Wow, what a great idea but what about the weather?
How does the chalk hold up being outside? Does it absorb the humidity and go soft?