


DIY Wooden Trellis
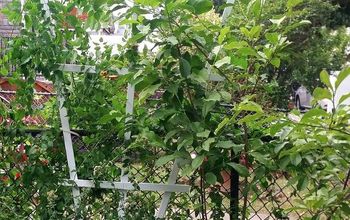
We've been slowly working on our curb appeal we started with these DIY Planter Boxes and are moving around to the front of the garage .We removed our GIANT Hibiscus bush and this left a HUGE empty space between the windows on my garage.
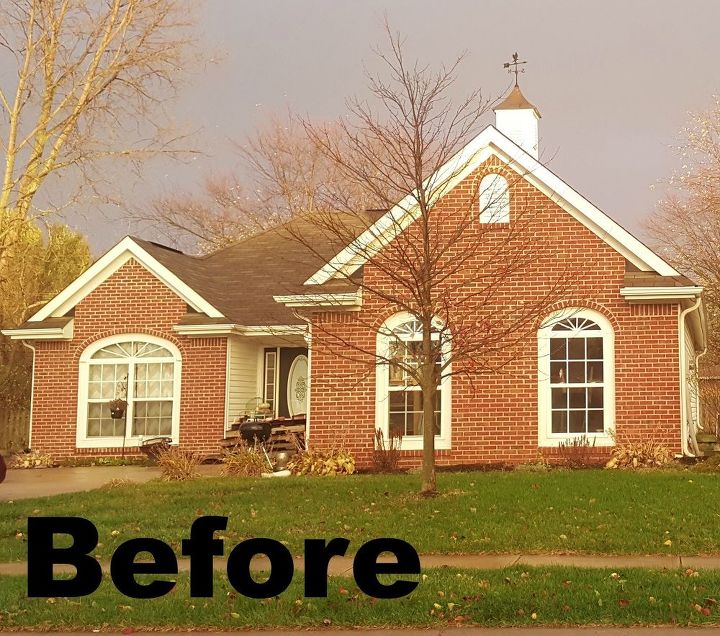
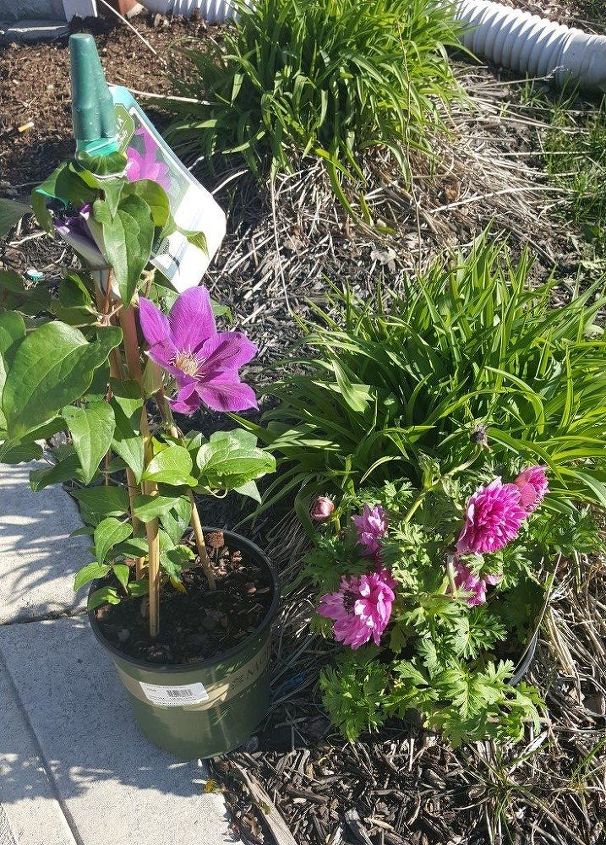
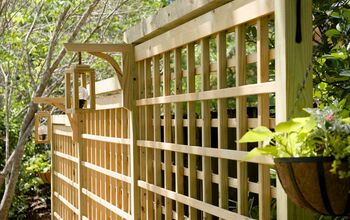
So I decided I wanted to put a trellis there for this beautiful Clematis to climb and fill it up a bit. I found This one on Amazon (aff link)Wooden Trellis but it was WAY out of my budget.I knew with The Beard's help we could come up with something!
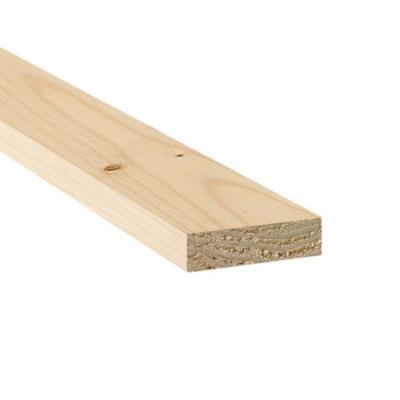
So I found These Super cheap Furring Strips at lowes in the outdoor deck section. They were 8 ft sticks @ .88 A piece and came in a bundle of 8. I knew they'd be perfect so we brought them home and got to work.

Mark The Length

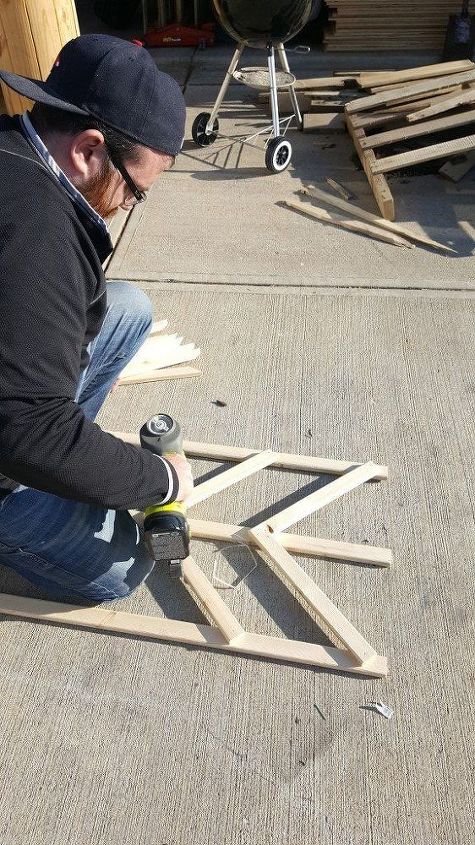
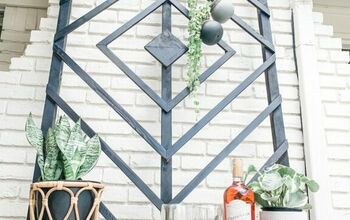
Set the Miter saw to a 45 Degree angle to create the chevron pattern

Line the pieces up...
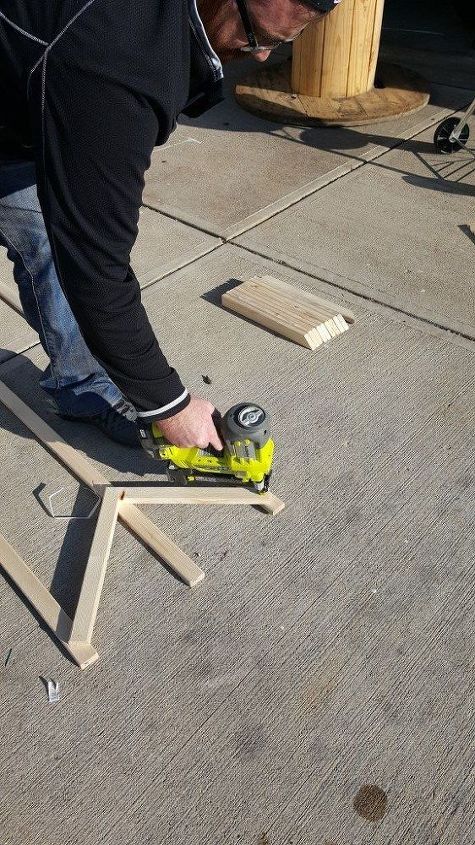
Then nail them in .
That's it! We decided to leave it plain wood but you could stain or paint it at this point. I think it took The Beard a total of 10 Minutes to put this together. It was so easy and saved us about 40.00!
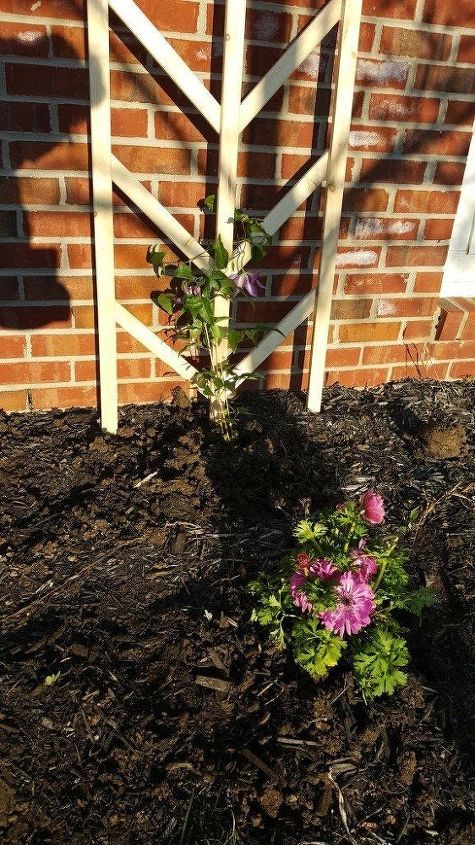

I can't wait until the Clematis is all grown and filled out it's going to be gorgeous! For a Full list of supplies visit the link below

Want more details about this and other DIY projects? Check out my blog post!
Comments
Join the conversation
2 of 63 comments
-
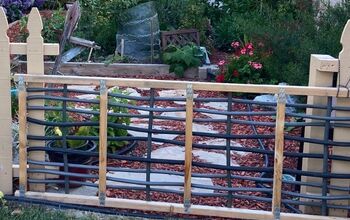
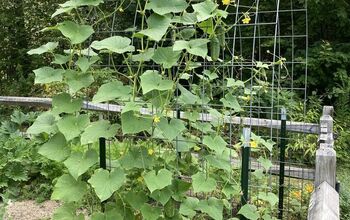
The easiest ones that we've made were heavy duty and I wanted them, more or less, to also shade off the patio and screen from neighbors' view. He cut 8 ft and anchored them in the ground with! We did 3 of these in separate sections about 5 ft wide for each. Next we went to the Home Depot and bought pre-made white, wood trellis 8ft X 5ft. these were attached to each piece we'd previously done. Each year, my Clematis covers these 3 pieces that are placed about 6" apart. I've had many compliments on it and am very happy with the results.
-
Thanks for the idea! I kept the pieces from a plastic trellis that broke and now I know why I kept them!


Frequently asked questions
Have a question about this project?
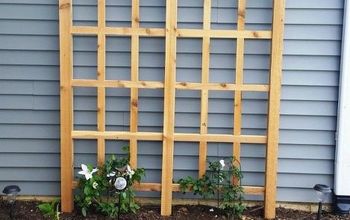
Did you know you can cut them all 90° or square and butt them together and they will still make the chevron if you don’t have a miter or aren’t comfortable cutting a 45° with a skillsaw
This isn’t a question for serious question but to let people without a miter saw know you can do it with 90° cuts