


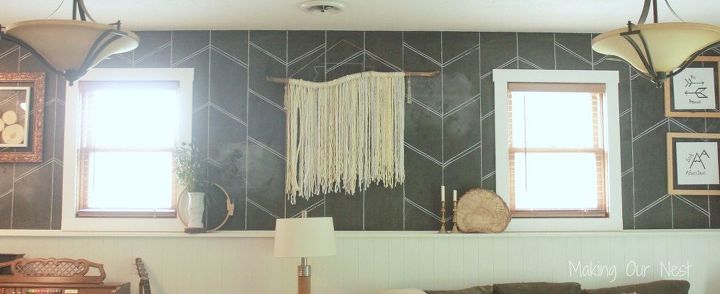
DIY Yarn Wall Hanging

by
Tara Marie
I am totally digging this bohemian decor trend with all the macrame wall hangings I am seeing all over Pinterest lately. There are literally hundreds of macrame tutorials on Pinterest but between my job, Craftshop and the kiddos needing me to get them 341 snacks per day, the thought of taking the time to make a macrame wall hanging was giving me hives. So I decided to do a stupid easy DIY yarn wall hanging that only took me about 20 minutes.
I will give you the step by step, even though I don't think you would even need it. Here we go...
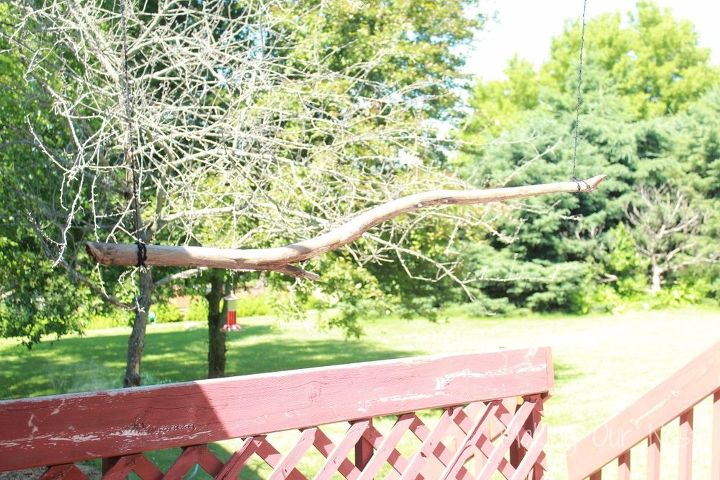
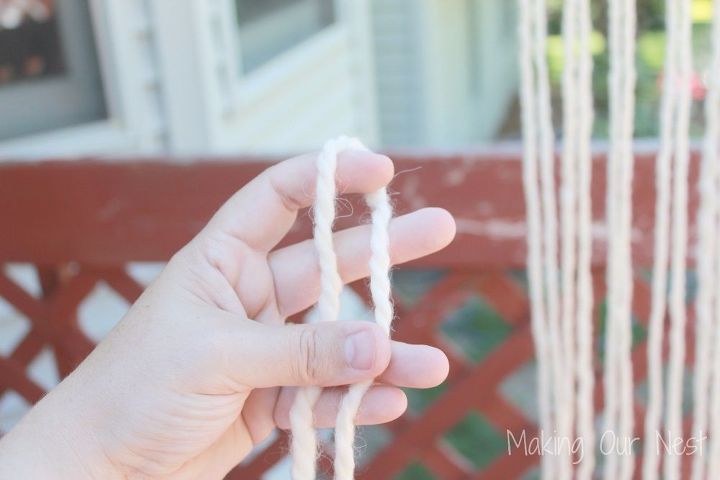
Now it is time to start stringing up the yarn. I just eye-balled how long I wanted the yarn to be and then doubled it plus another inch or so. Then I cut as much yarn stings as I wanted. Each yarn string was attached by folding the string in half.
Then looping the folded part around the branch.
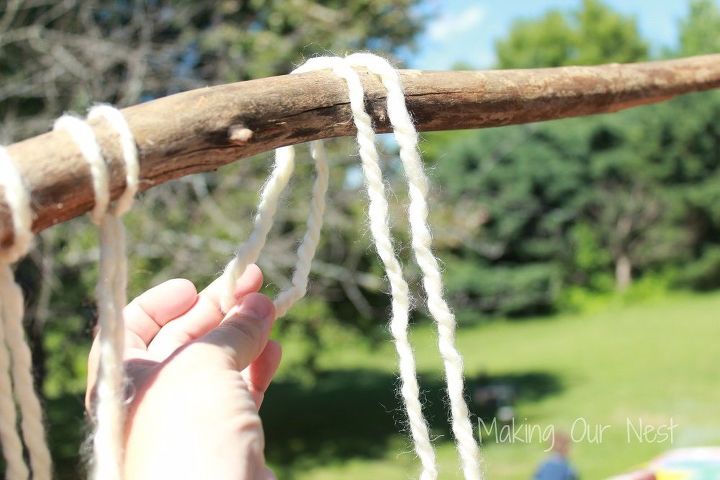
Then pulling the long strings of the yarn through the loop.
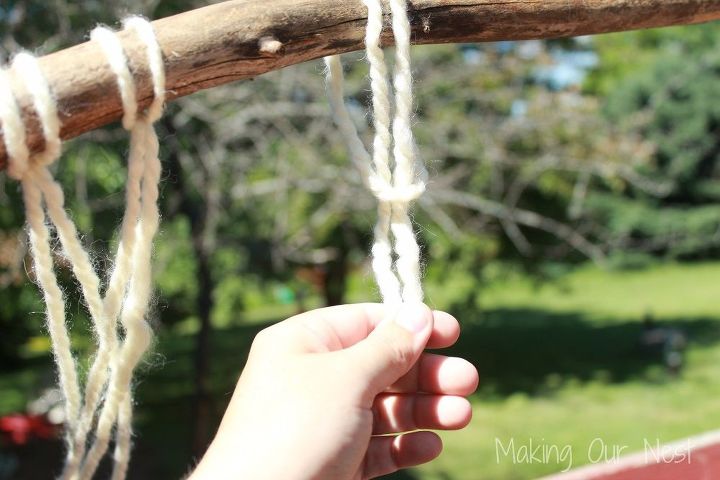
And pulling tight.
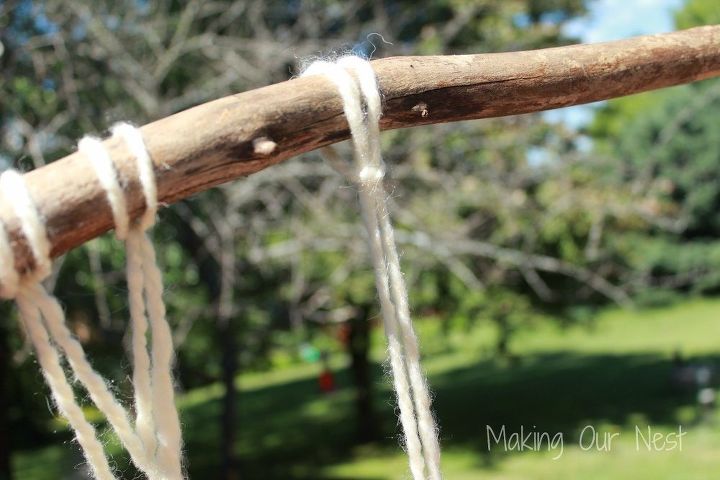
And I did that over and over and over. Here is a photo of my first pass of yarn on the branch so you know what it will look like and you don't give up if you try it and it doesn't look all beautiful right away.

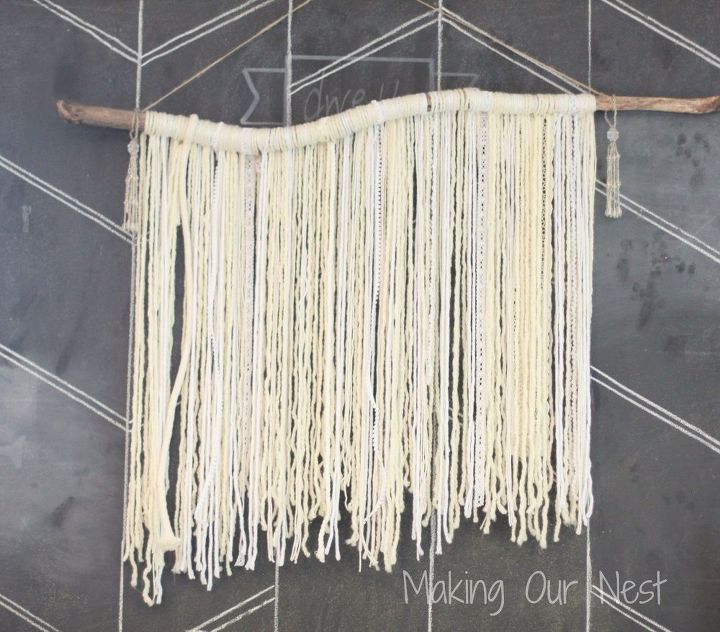
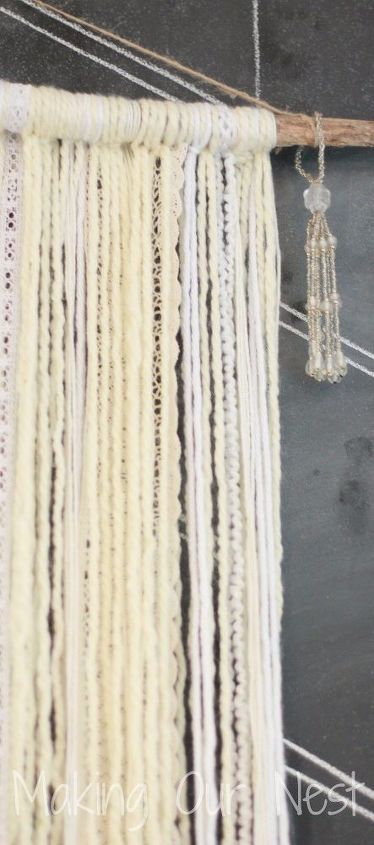
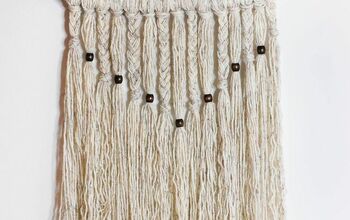
I just kept adding cream and white yarn until I was happy with the volume. Then I added a few pieces of rope and lace. I have a few beaded tassels in the basement that I slipped over the ends and then hung it right on the wall. Crazy easy and looks cute.

Full blog post can be found at http://www.making-our-nest.com/diy-yarn-hanging/. What do you think?
Want more details about this and other DIY projects? Check out my blog post!
Comments
Join the conversation
2 of 33 comments
-
Wool and lace, excellent. I love the natural look of boho.
-
Like this share. Going out to find the perfect stick..


Frequently asked questions
Have a question about this project?