


Kitchen Update & the Quickest DIY Chalkboard Ever

by
Leslie H
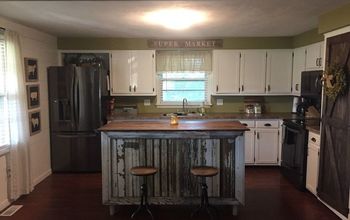
I have to be honest, I wouldn't be painting chalkboard paint directly onto my kitchen cabinet if they were really nice, but we inherited some old melamine cabinets that are peeling in spots as I write this, and since a big renovation is months away, ....well, anything goes around this little ol' kitchen.
So. Wanna see my latest change in here?
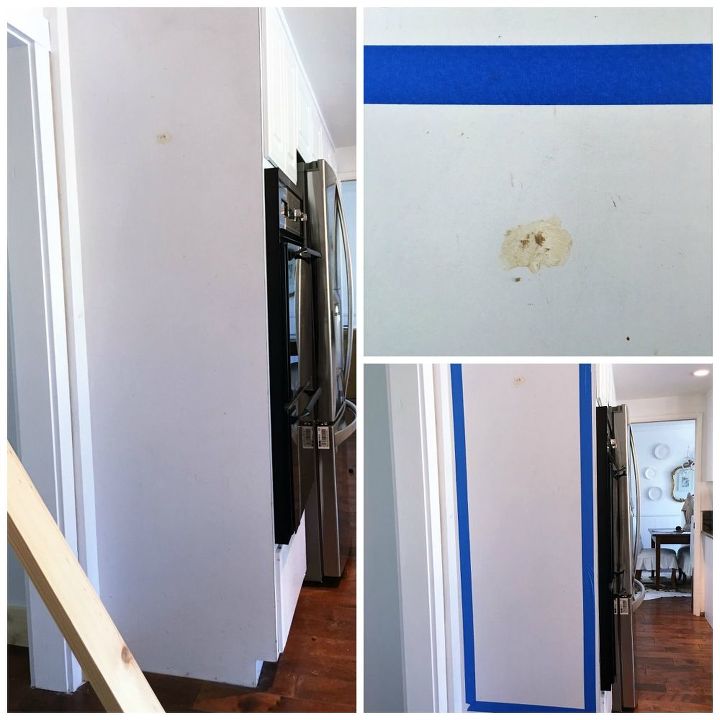
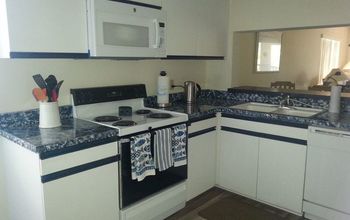
This photo shows the "before" cabinet. The holes that needed to be filled. And the painter's tape that was the outline for the chalkboard.
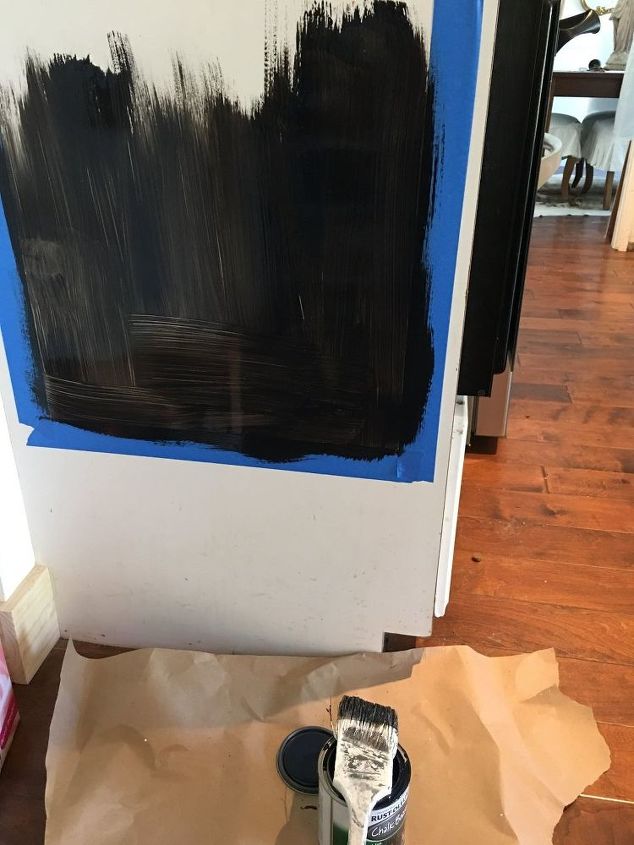
This was my Gulp moment. At this point I had no idea how the paint would adhere to the slick, worn melamine. I went over it lightly with sand paper and crossed my fingers.
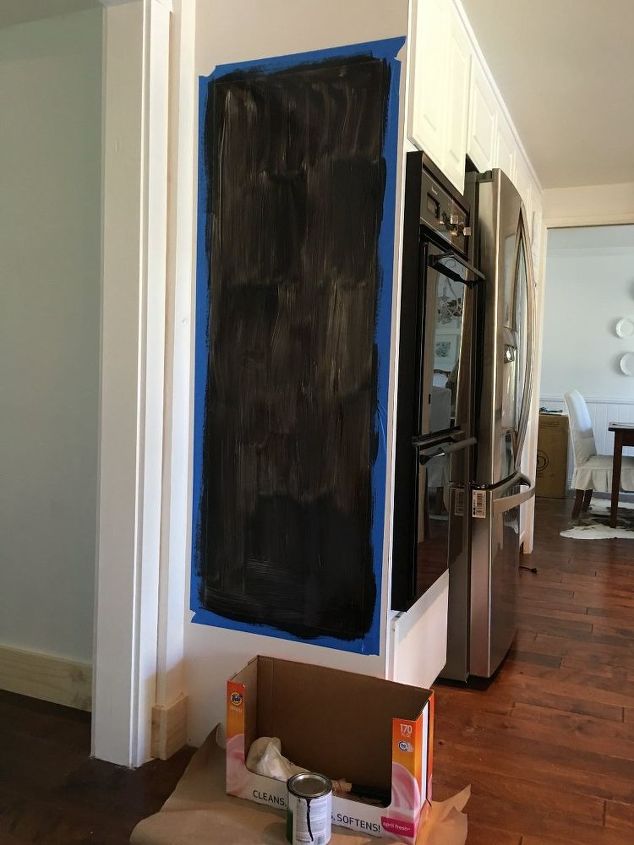
A few coats later I was feeling better. I used a brush for the first 2 coats. Then I used a roller for more uniform coats.
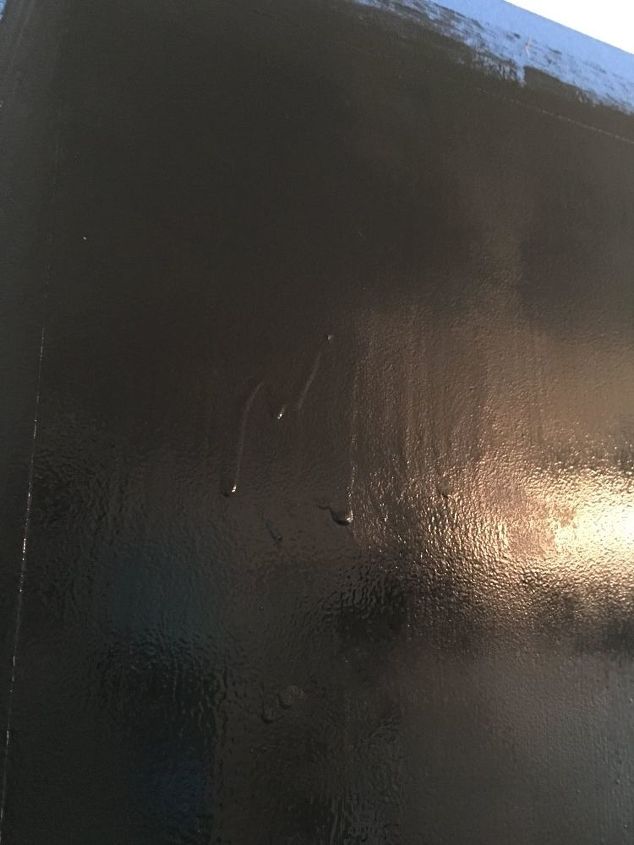
The one warning I have is to watch for drips because once they dry it's hard to sand them away without pulling off some of the paint.
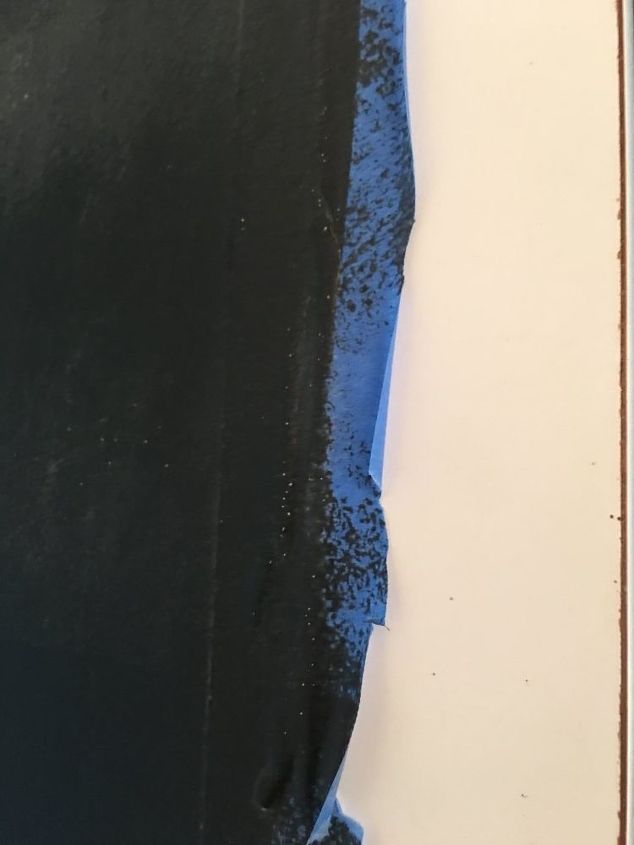
I also learned that the painter's tape I used for the boundaries could not be lifted without removing pieces of the paint. So I simply trimmed as much as I could, but I wasn't too concerned because I would be making a 'frame' that cover the edges.
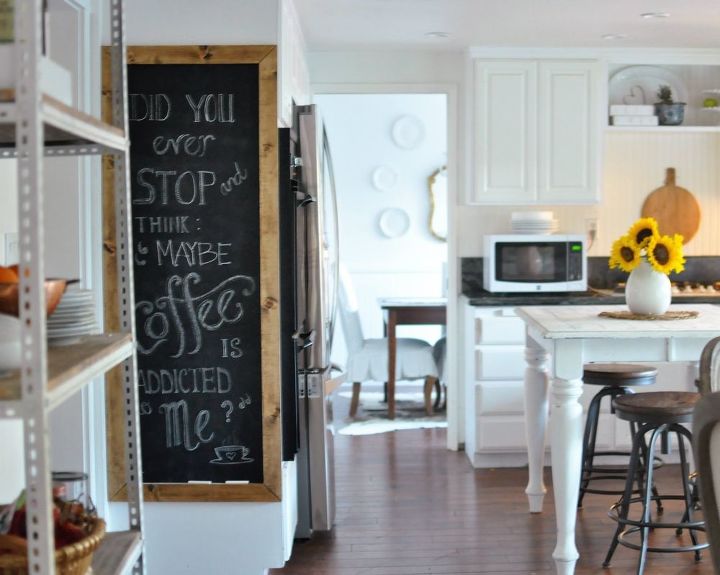
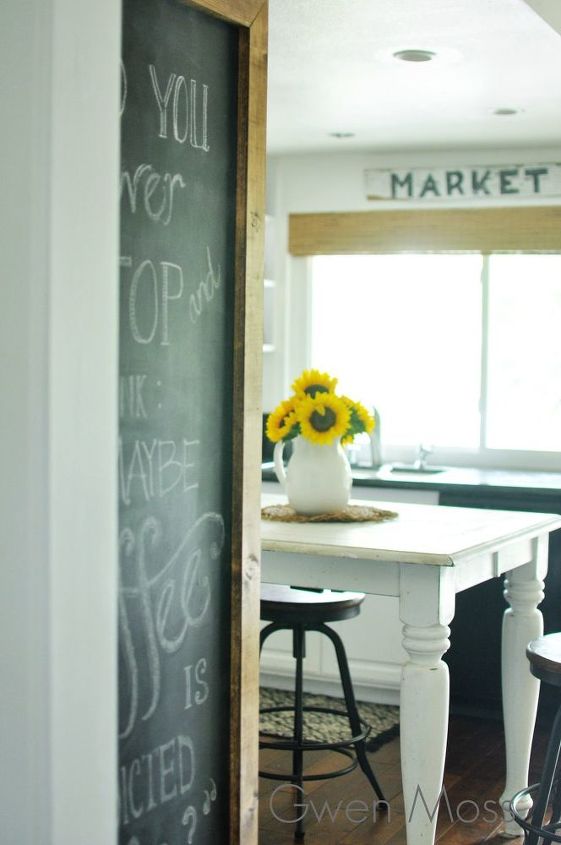
If you would like to see more steps --and pictures-- on how I made this chalkboard on the side of my cabinet I hope you click on the link to my blog. I'd love to hear your opinion.
Want more details about this and other DIY projects? Check out my blog post!


Frequently asked questions
Have a question about this project?