


LIVE DIY: This Cross Idea is What Your Entryway Needs!
5 Materials
I have to admit, that I love to paint and most of my projects are furniture, cabinetry or walls. So I'm really not much of a "crafty" person - but when I saw these large wooden crosses, I thought they would be wonderful gifts for my family and friends. Almost everyone I know has a "cross wall" in their home and with a little paint, metallic foils and a stencil design these could be amazing!!!
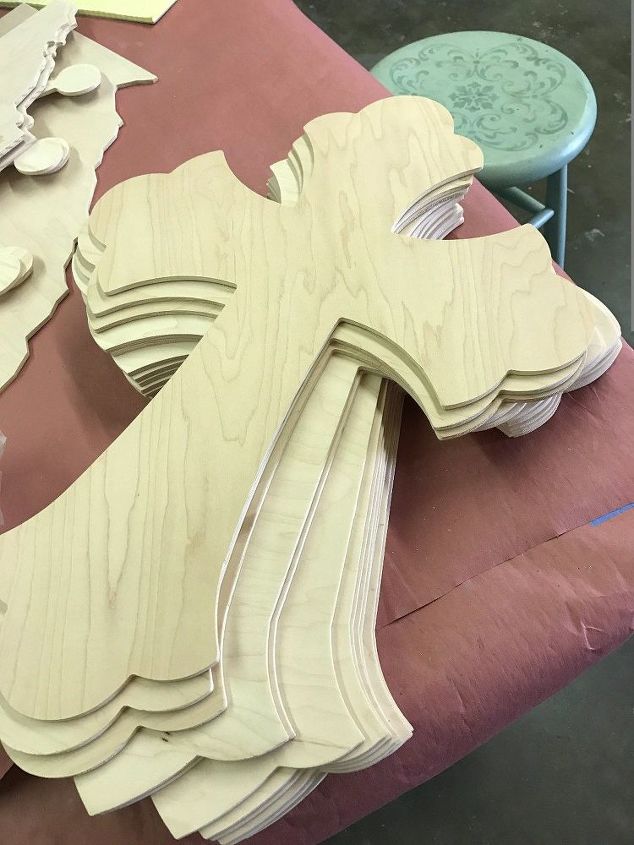
Large wooden cross - $22
The crosses that I found are really nice and smooth and ready to paint. So I started with a layer of primer (just because I have to primer everything) allowed the primer to dry and it raised the grain of the wood like I thought it would - then sanded the surface back smooth with 220 grit sandpaper included the edges.
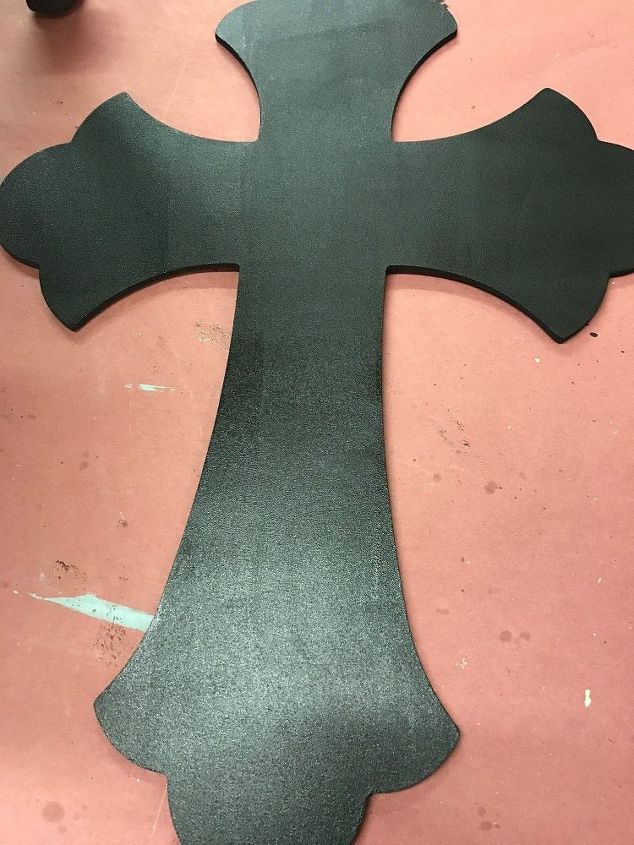
Painted with Little Black Dress DIY Paints
Now that everything was primed and sanded - I was ready for some color. I wanted some contrast with the Silver Foil I was planning to use, so painted them Black using Debi's Design Diary DIY Paint. I love this paint - one coat and I was done!!!
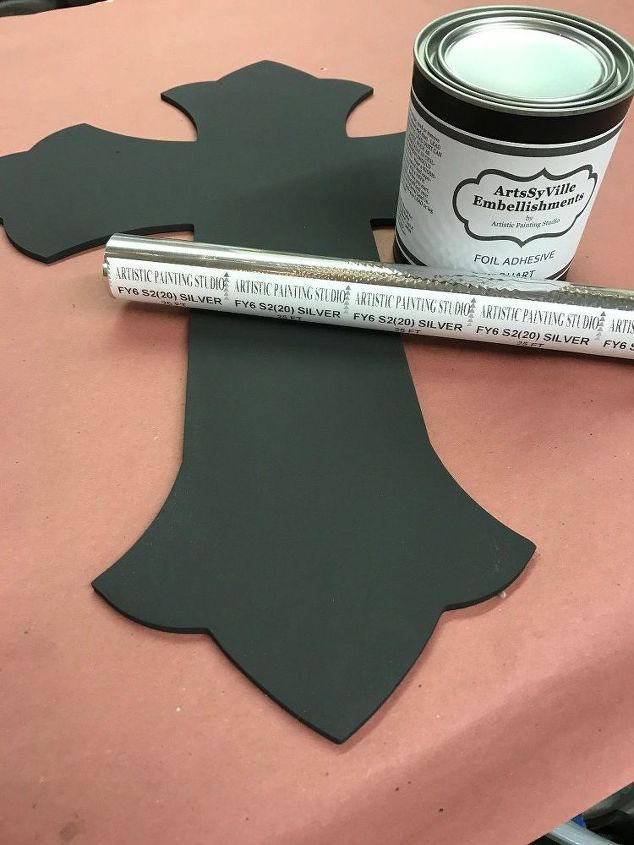
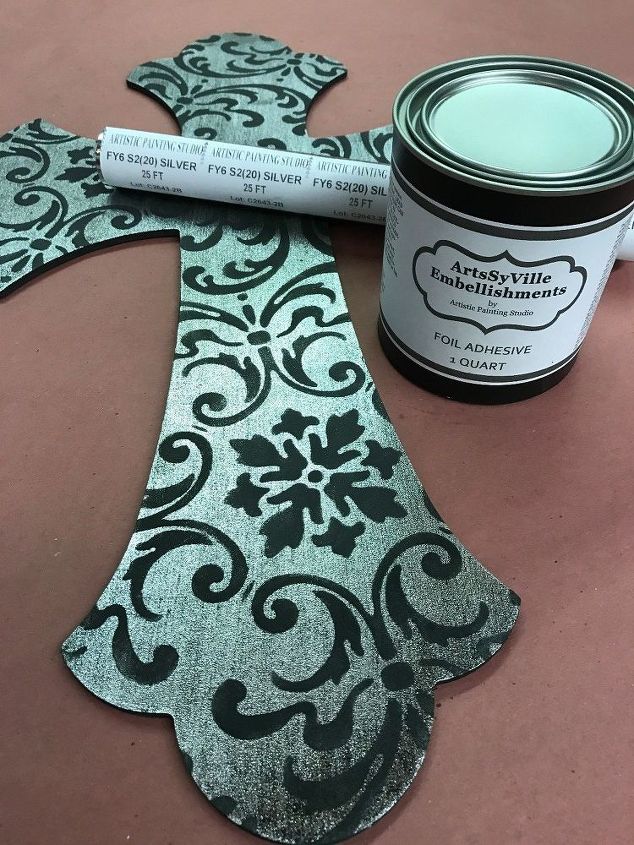
Foil Adhesive and Silver Foil
The next step for this project is apply the Foil Finish and this is process of several steps. When using Decorative Metallic Foils - it is important to have a great Foil Adhesive and easy release foils. So I started with my ArtsSyVille Embellishments Foil Adhesive - this stuff creates a fabulous strong tack! Roll on one coat of the Foil Adhesive and allow to dry to a firm tack. The drying processes usually takes 30 to 60 minutes - but depending on time of year and weather conditions - it could take longer. When you apply the Foil Adhesive, it looks milky white - but will dry completely clear. Once it has dried to a firm tack - it will never dry beyond this point. This means several things - you have all the time in the world to transfer your foils (just make sure nothing gets stuck in it before you get to the foils) and the other thing is you will need to seal them. You can seal the foils with a top coat or a glaze - make sure to test both of these to determine if you like the sheen they are creating on the foils......the higher the sheen, the better.
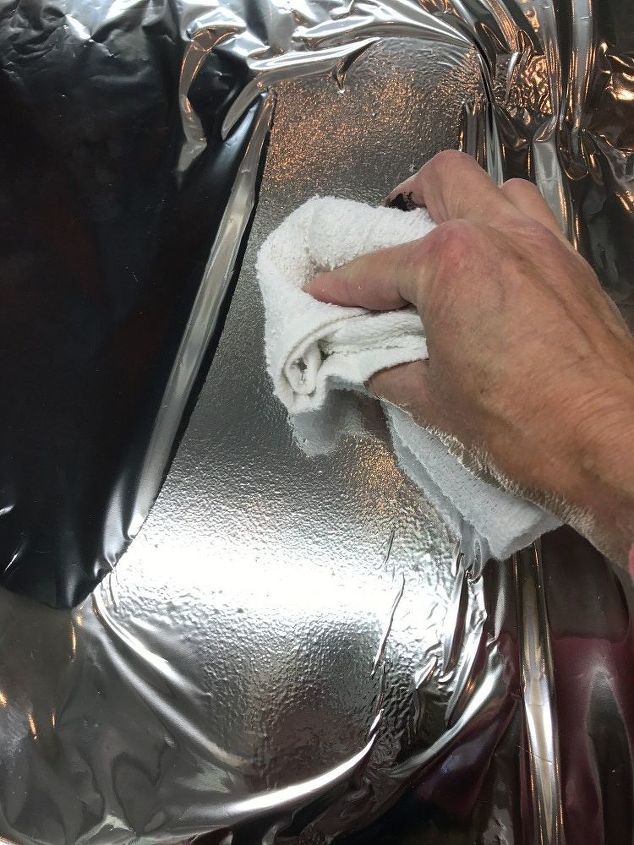
Transferring the Silver Foil
I want to let you know a little information about Metallic Foils - they are a metallization adhered to cellophane. To make them work - we need a tack surface and a great easy release foil!!!
The finished Cross
Now there is more than one way to transfer a foil - so make sure to check out my video and Blog Post for the rest of the details on this project.
{
"id": "3653970",
"alt": "More instruction on using foils!",
"title": "More instruction on using foils!",
"video_link": "https://www.youtube.com/embed/_Y0_xMVsAAU",
"youtube_video_id": "_Y0_xMVsAAU"
}
{
"width": 634,
"height": 357,
"showRelated": true
}

Want more details about this and other DIY projects? Check out my blog post!


Frequently asked questions
Have a question about this project?
I absolutely love this❤. What would be used to hang/ what size. I plan on making these for many members of my family as gifts. Just gorgeous! 😍