


Ugly to Lovely: A Chair Makeover
6 Materials
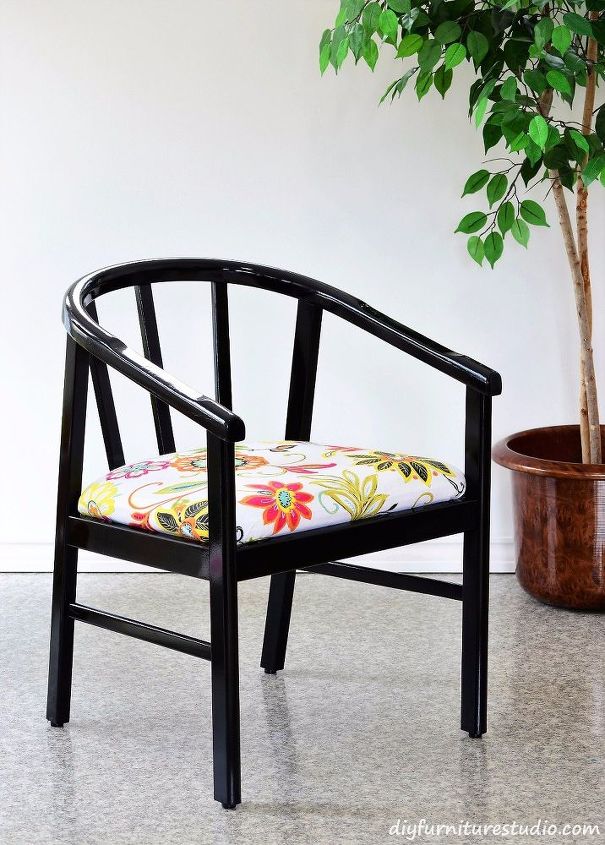
This chair makeover was long overdue. I bought this chair at a thrift store for $10 about 20 years ago. Soon after I bought it, a friend recovered the seat with a neutral, if not boring, fabric. We used it for a few years, then it ended up in the basement for at least the last 10 years. No one sat on it.
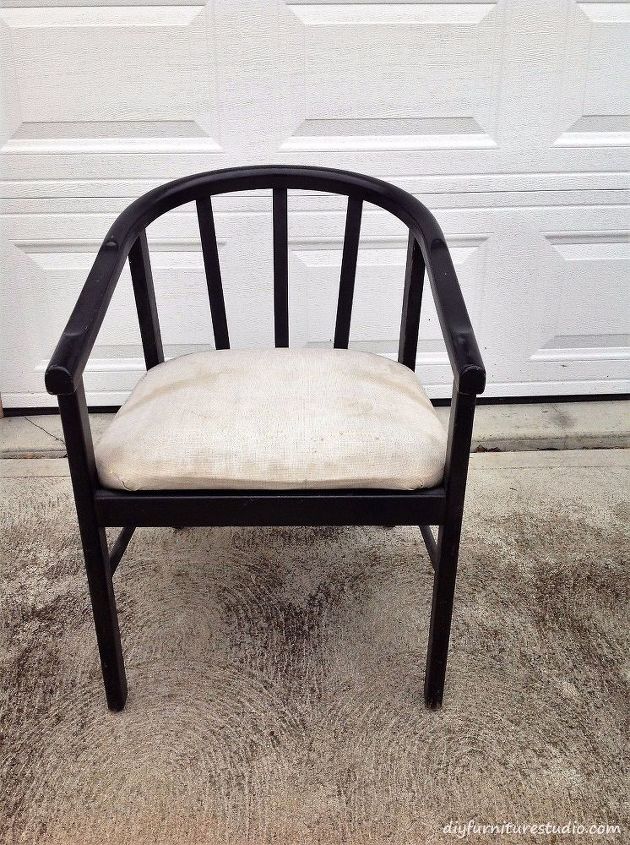
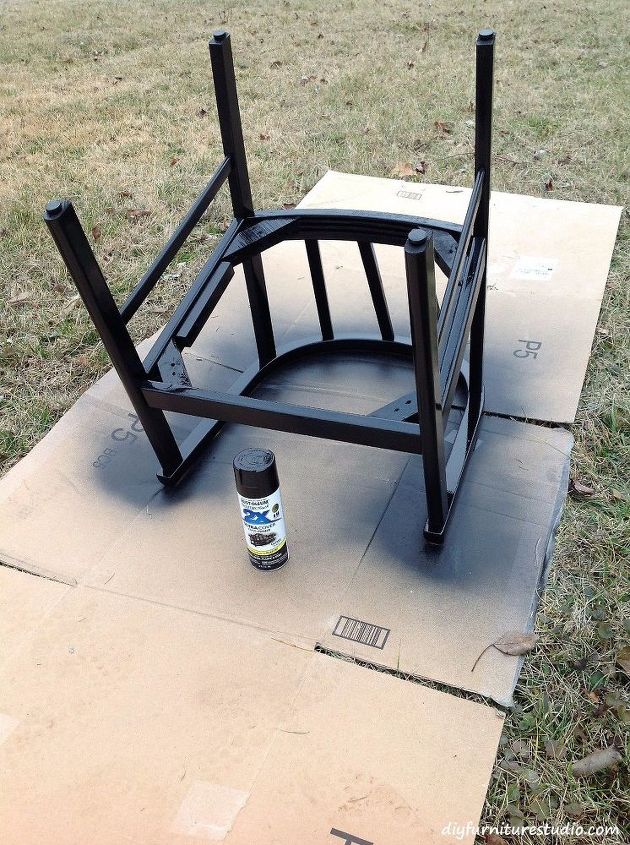
It was up against the wall by the ping-pong table, and balls always seemed to get caught underneath it. I really liked the chair, though, and that's why it survived many rounds of purging at the second hand store. For the makeover, I did a simple refresh of new paint and new fabric on the cushion.
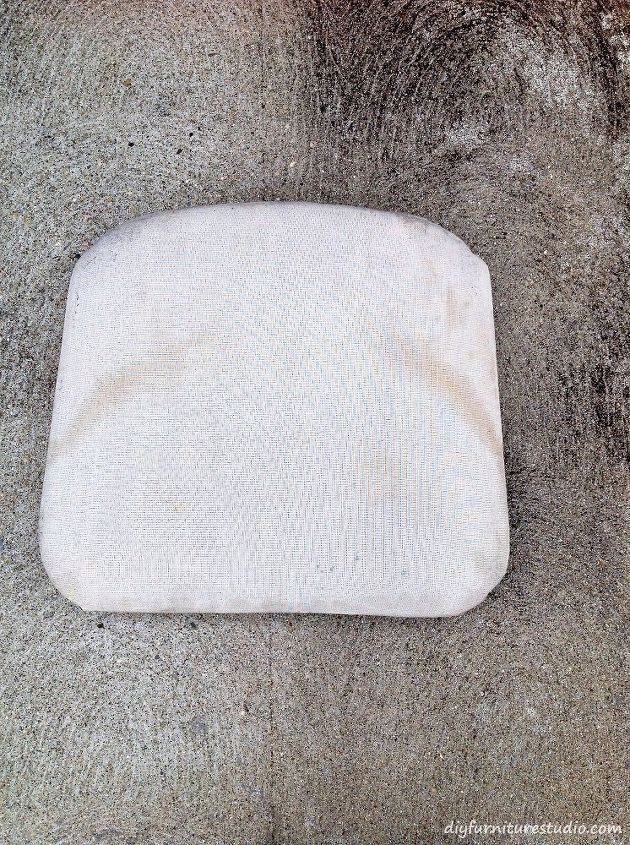
Next I recovered the cushion. It started out looking sad. I removed the earlier cloth cover and left the original fabric/cushion intact because it was in good shape.
I found a pretty fabric at Hobby Lobby. It has a very large print, so I spent some time figuring out what part of the print I wanted on the seat.
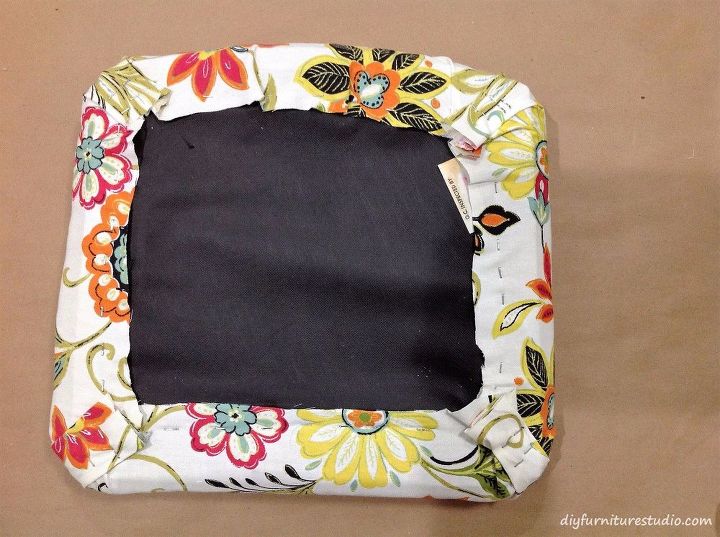
I trimmed the fabric to about 6 inches larger than the seat, then my daughter started stapling the fabric onto the seat. Yes, I needed her help to operate the staple gun. My grip strength is not what it used to be! After stapling the fabric, I trimmed off the extra, and the chair was done!
Check out all the details at the link below. Hugs.

Want more details about this and other DIY projects? Check out my blog post!
Comments
Join the conversation
4 of 8 comments
-
great fabric choice nice job
-
Omg! This is amazing!!


Frequently asked questions
Have a question about this project?