


Rustic Chalkboard Menu Board

by
Emily Fish
Using reclaimed wood and other materials I had on hand, I was able to build a rustic looking chalkboard our family uses to post our weekly menu on. This helps to keep us on track and not have take out or fast food on busy nights
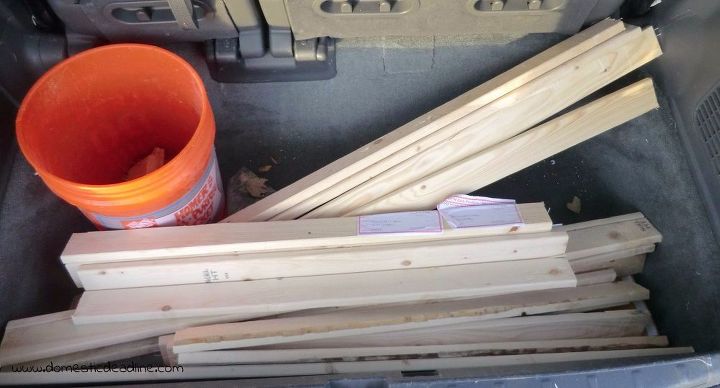
Start with reclaimed wood. This wood came from a crate that was dismantled when unpacking a shower base! The pieces I used were 1x2.5" boards. I cut 10 of them to 20" lengths.
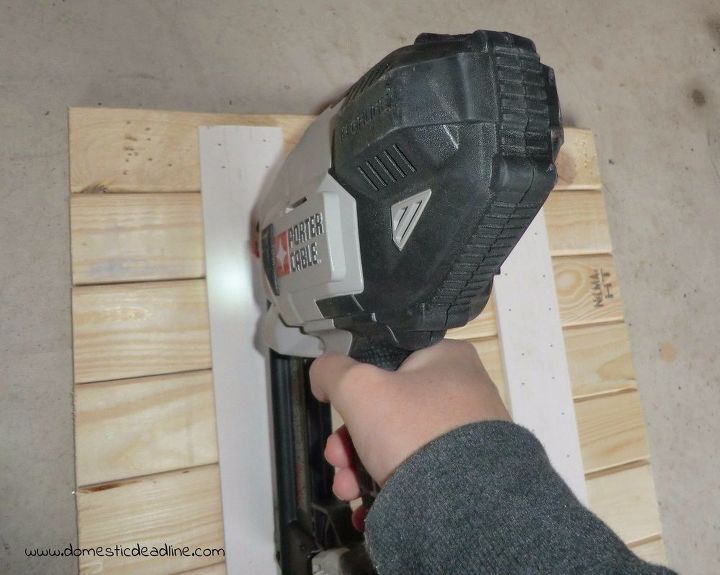
Using other scrap wood and a nail gun or finish nails and a hammer, attach the pieces together from the back side.
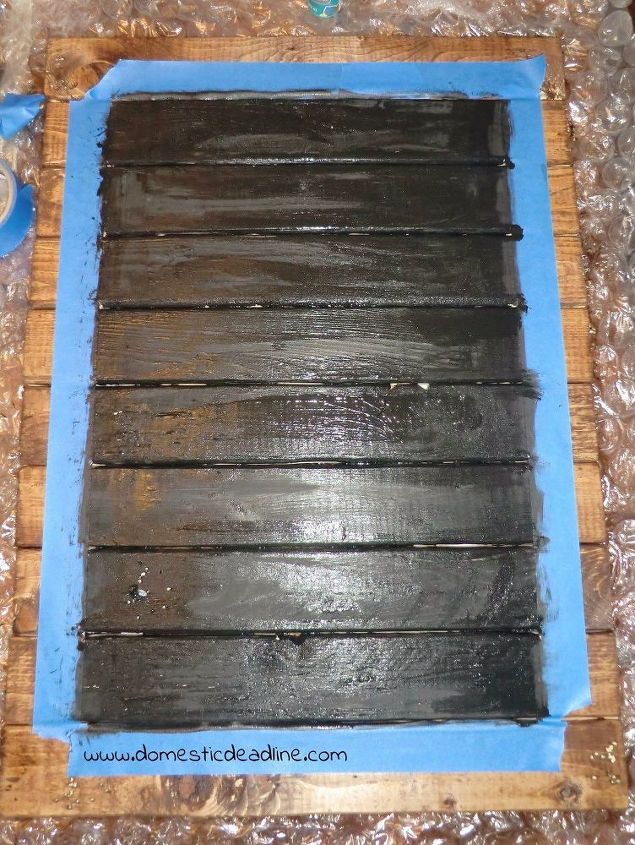
Using tape, I masked off the center to be the chalkboard. I finished the edges of the piece with a dark stain. Because this is reclaimed wood, there are nail holes, it's not overly smooth and even some tool marks from when the crate was dismantled. The dark stain helped to age the rustic look but you could finish this however you want.
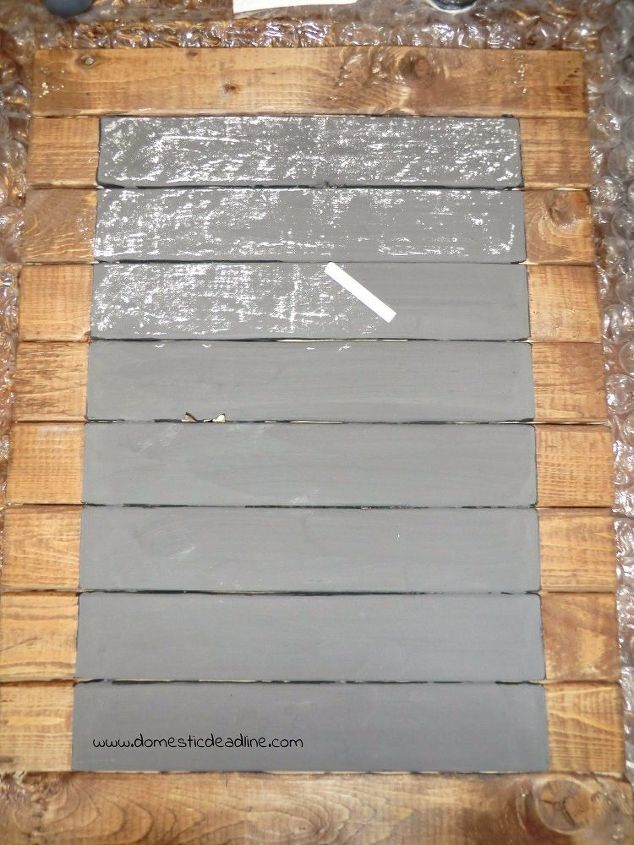
I share details on my blog as to how I used craft paint and Plaster of Paris to make chalkboard paint (different from chalk paint). Once it was dried, it needed to be conditioned with chalk before using.
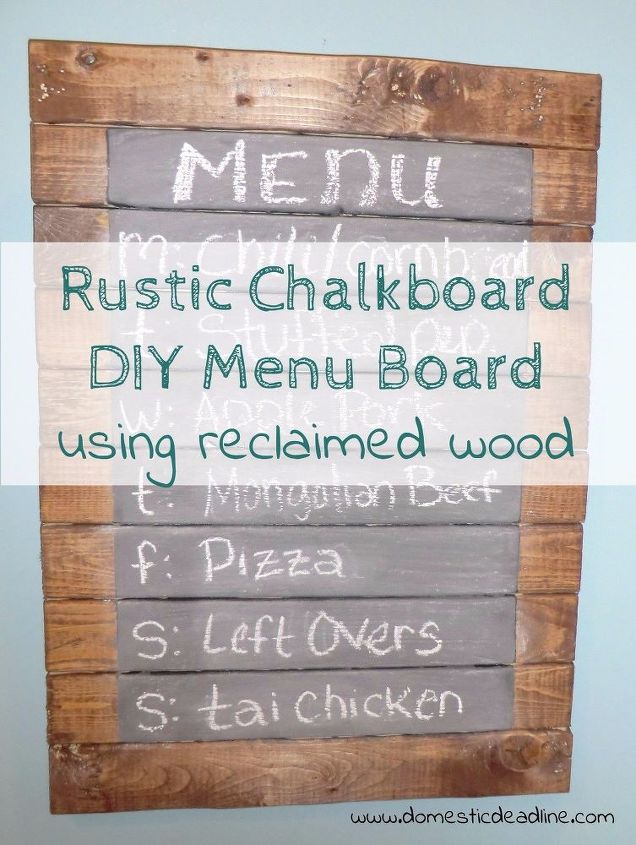
All done! No more whining from kids over what's for dinner, they just have to look on the board. More detailed instructions with additional pictures are available on my blog, Domestic Deadline
Want more details about this and other DIY projects? Check out my blog post!
Comments
Join the conversation
2 of 4 comments
-
Wonderful idea!
-
Thank you


Frequently asked questions
Have a question about this project?