


DIY Cat Scratching Post

by
Diva of DIY
My niece is the ultimate crazy cat lady at the age of 25! She has 3 indoor cats so they need lots of things to do! This has became one of their favorites!
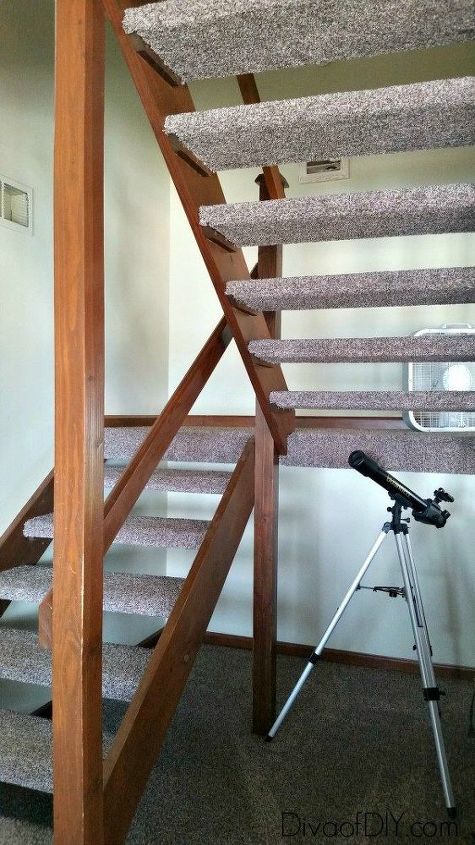
When we bought our lake house the first thing I thought of when I saw the staircase was that they looked like a cat scratching post! So guess what I used some of the torn out carpet for...
You guessed it! A DIY cat scratching post!
Cat Scratching Post Instructions:
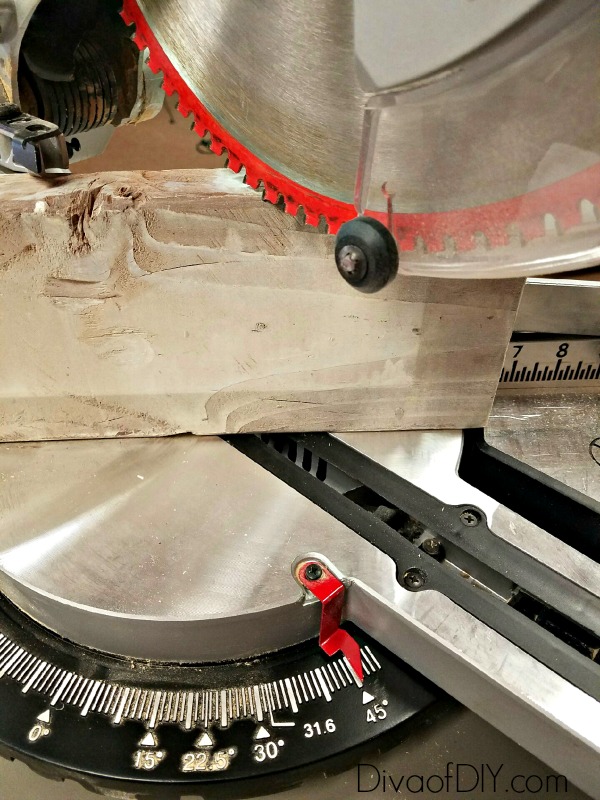
Step 1. Cut 2x6 boards. You can get the measurements HERE.
Step 2. Cut the 6 1/2" boards at a 45 degree angle. You will need a 12" Mitre Saw to cut the angles with the board standing up, on the edge. (not laying down)
Step 3. Paint front and back of the boards. I chose to spray paint mine. You can also use other types of paint. Allow paint to dry.
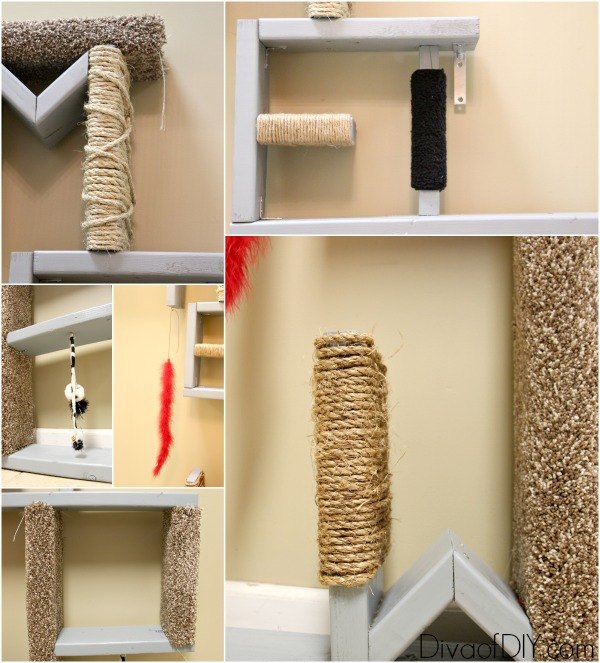
Step 4. Wrap boards in cat loving accessories, such as sisal rope, carpet and dangling cat toys. Follow the link below to see how to attach the accessories to the boards.
Step 5. Lay out the boards in the MEOW shape and begin assembling the cat scratching post.
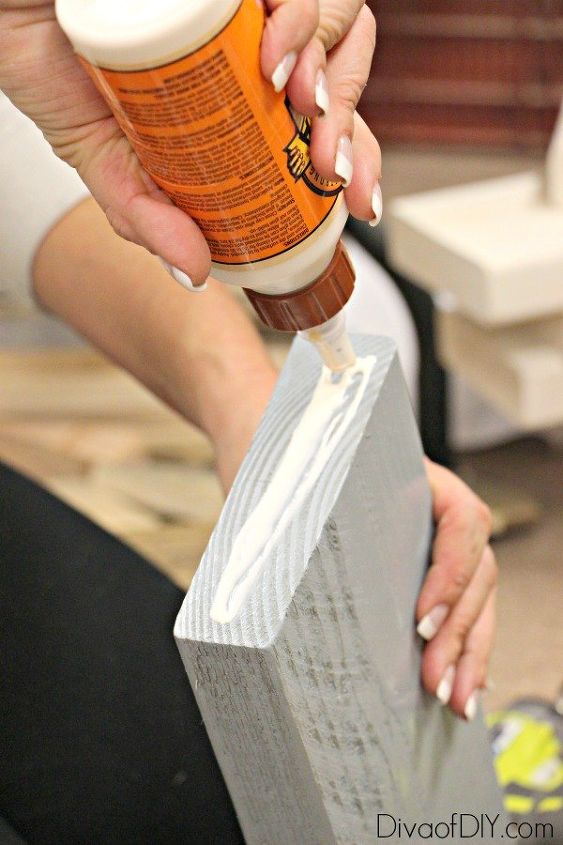
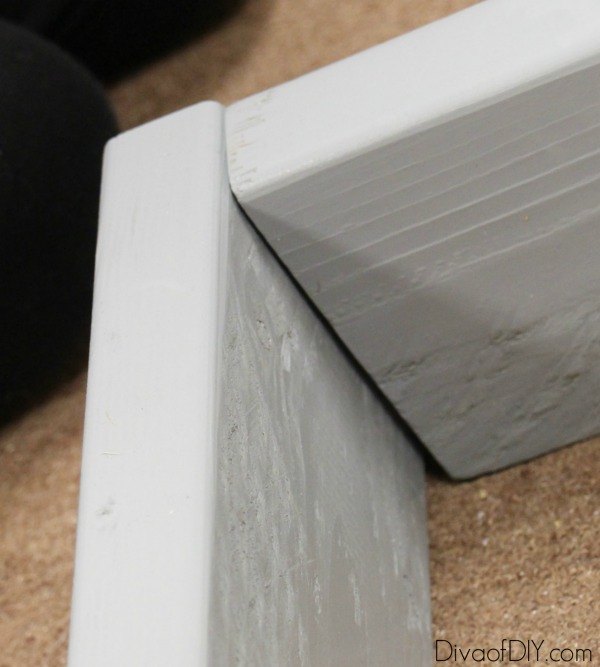
Diva Tip: When attaching wood to wood it is always best to apply wood glue between all the joints before screwing or nailing the boards together.
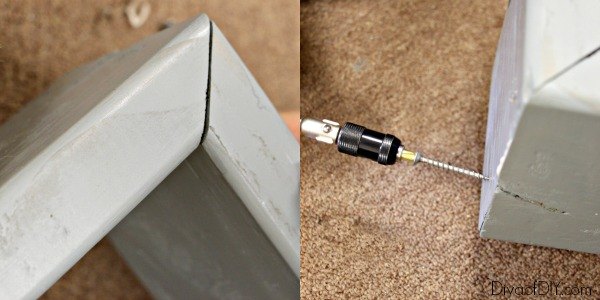
Step 6. Begin by attaching the angle pieces.
Step 7. Starting at the top attach boards together using 2" screws.
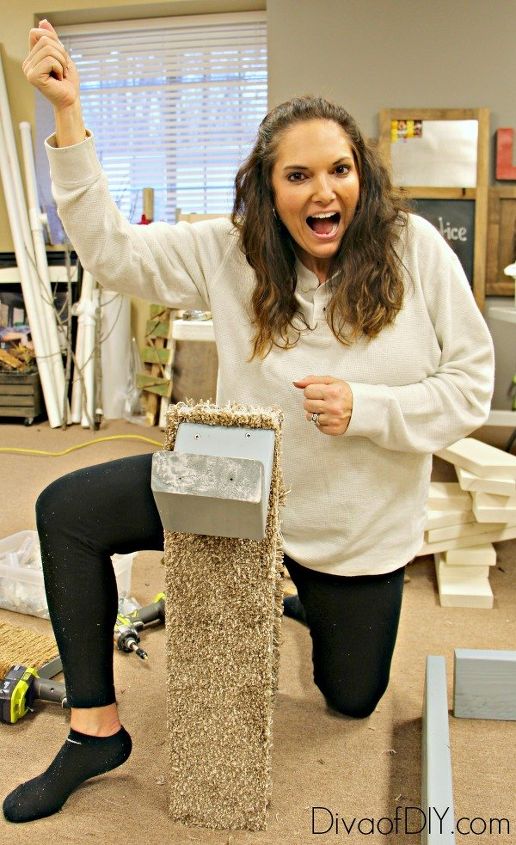
Yes, this is me getting excited and being a dork as I see the MEOW starting to come together!
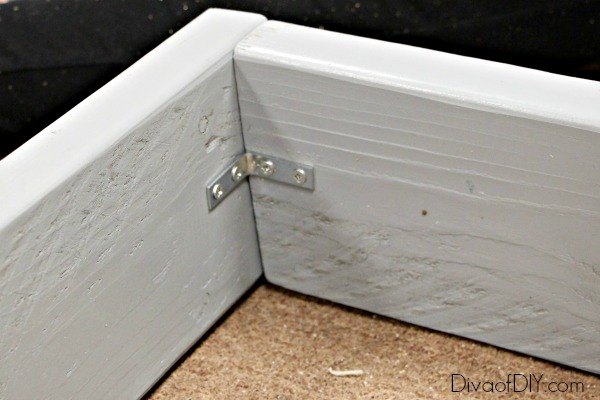
Step 8. Add corner braces to areas that you feel need reinforced. Remember your cats will be jumping around on it so when in doubt add a brace.
Step 9. Add wall brackets to attach the MEOW to the wall. I placed mine on the top board and the end of the E.
Step 10. Add eye hooks to attach cat toys to.
Step 11. Attach your MEOW to the wall and watch your curiously little kitties explore.
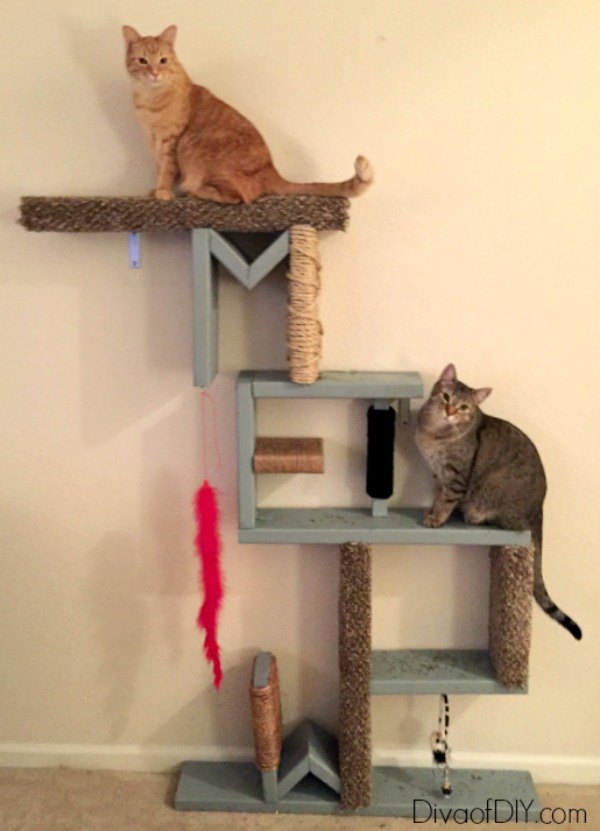
 Meet Mongo and Spaz
 They are here to let you know it is 100% cat approved!
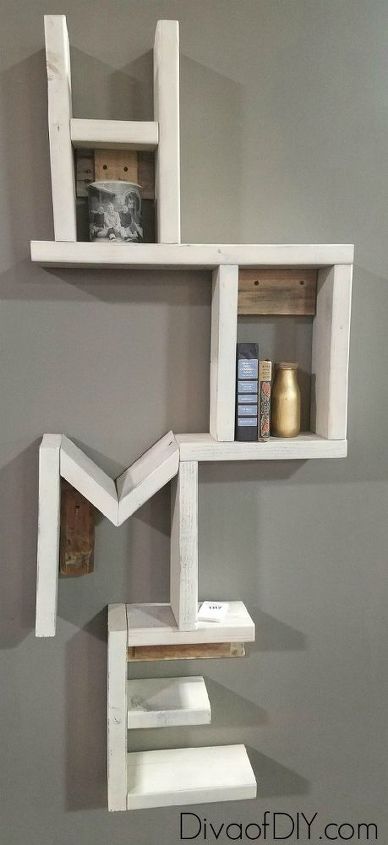
I was inspired to make the cat scratching post after making this HOME wood shelf. You can see the measurements for HOME and LOVE by following the link below. (Please excuse the pallets I used to attach this. I had to do it at the last minute for a show. You would want to attach the HOME shelf with wall brackets as well.)
I hope you will be inspired to make your own shelf or cat scratching post! I would love to see all your DIY projects! Share your creativity on our Diva of DIY Facebook page and sign up for our emails so you never miss a new project!
{
"id": "3754603",
"alt": "",
"title": "",
"video_link": "https://www.youtube.com/embed/jzlzpp1No64",
"youtube_video_id": "jzlzpp1No64"
}
{
"width": 634,
"height": 357,
"showRelated": true
}
Want more details about this and other DIY projects? Check out my blog post!
Comments
Join the conversation
3 of 5 comments
-
LOVE this!! I have stairs just like that and would've never thought of this! So cute :)
-
Cool & creative, thanks for sharing! I'd probably keep my wood natural though. Sensitive kitty tummies (;


Frequently asked questions
Have a question about this project?