


Quick & Easy Projects Using Burlap Rope & Ribbon

by
Jacque
1 Material
This is a not only a simple project it is so easy your toddler can help you! You probably have all the stuff on hand, like I did, which makes it a cheap one too! A trifecta of treats that will be terrific...ok ok enough of that, let's have some fun!
You'll need these items:
2-2 inch wide types of lace burlap ribbon
2- sizes of burlap rope (thin & med)
Rhinstone mesh material/sold by yard
Pearl ribbon sold by yard
You can substitute any type of ribbon and embellishments.
Glue and scissors.
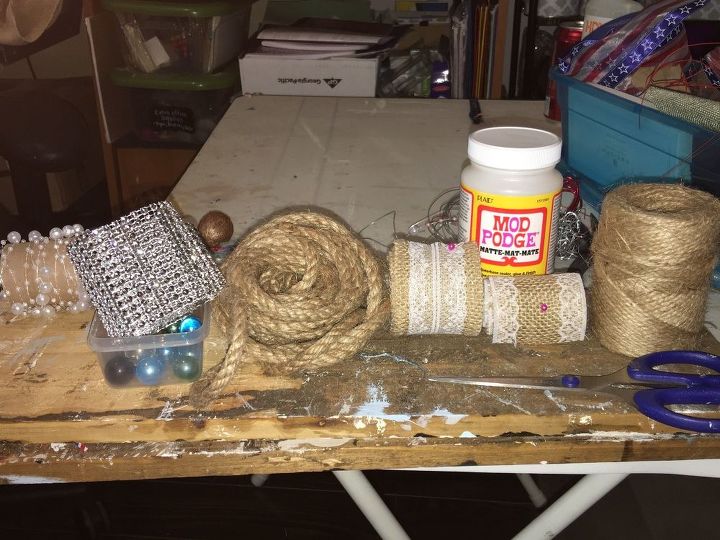
Burlap lace ribbon, burlap rope, marbles, etc
I had my decoration staged but it was missing that extra something, ya know? So I gathered my materials and brainstormed ideas...my husband thinks this hurts me since I scrunch up my forehead but believe it or not it does the trick!! Haha
I had a few candles & frames that needed an overhaul...and so I began!
I am not the best at before photos...I get so excited to complete the project I typically remember DURING the midst of change! Haha sorry!
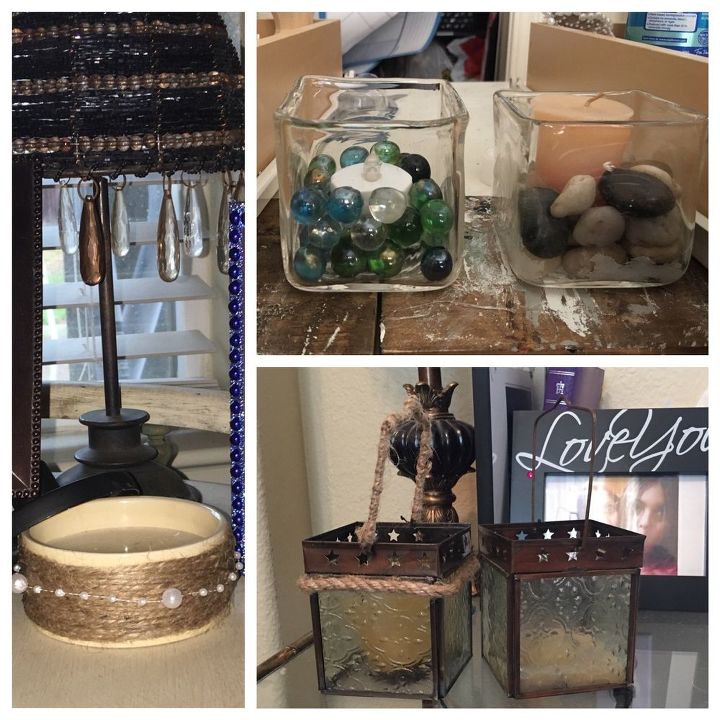
I had 2 glass homemade candle holders that were dated with rocks, votives, and A Lot of dust!! I kicked it up a notch and added colored marbles and an led tea light. Wait till you see how it turned out with added lace burlap and pearls.
As you can see, I also had a plain cream ceramic candle that I glued thin burlap rope with added pearl ribbon.
On the Pair of glass/copper candle holders I used thin burlap on handle and thick rope to line the outside rim with. Now they all look pulled together!

3 frames (and bows on tin can)
It is simple right? Yet really helps change my decor into another style!
I made the bows from lace burlap ribbon. Top one is a 3-4inch piece and the bottom Frame has two both glued together with a thin piece of the rhinestone mesh ribbon. I didn't want to line both so I left the black frame alone...for now!
The tin can has 2 matching sml ribbons on each side.
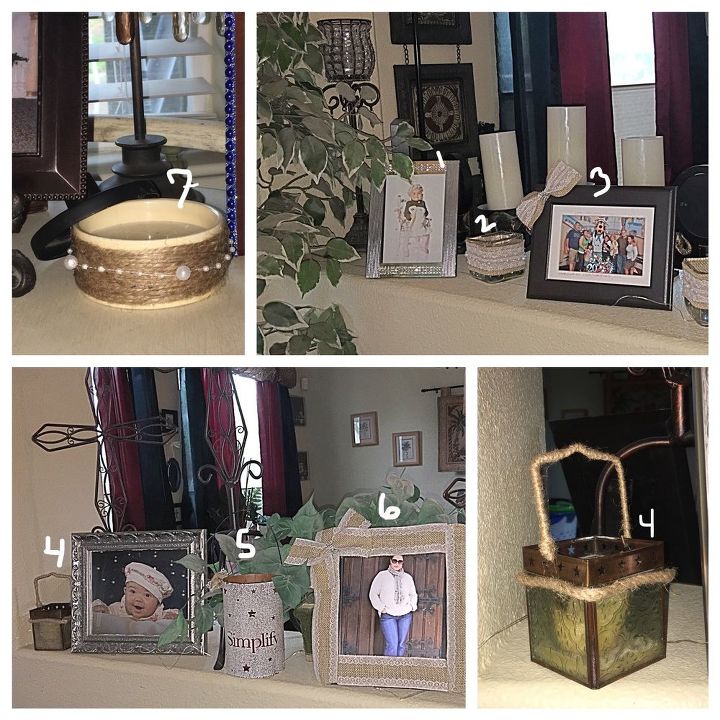
Final outcome-I love burlap!
7 Finished projects! Cheap, simple & fun Right? Wish I had a before photo to show you the difference because it really changed the space to look more classy...well in my opinion that is. If I want to change it...i can, which is a huge plus for folks like me who get tired of seeing the same thing every day. (Except my family haha).
Comments
Join the conversation
3 comments
-
Very creative! Looks awesome :)
-
Great way to use stuff we all have on hand —and get a pretty result! Thank you for sharing!


Frequently asked questions
Have a question about this project?