


Winosaur 2 - Winosaurus Rex

2 Materials
90 Minutes
Medium
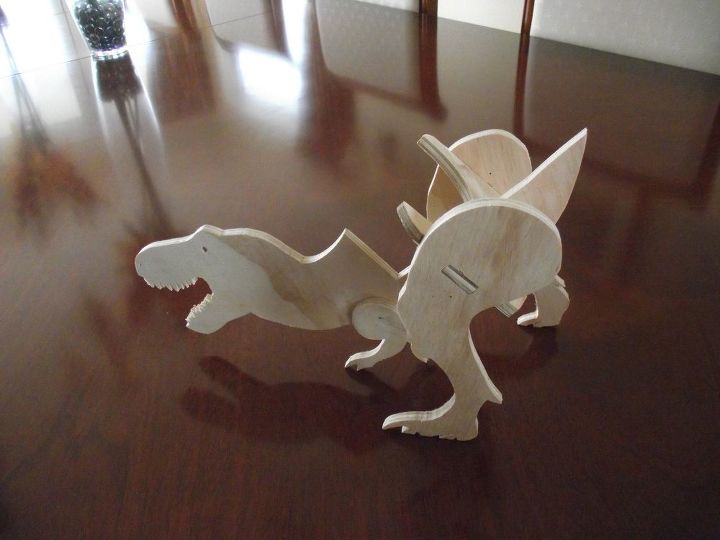
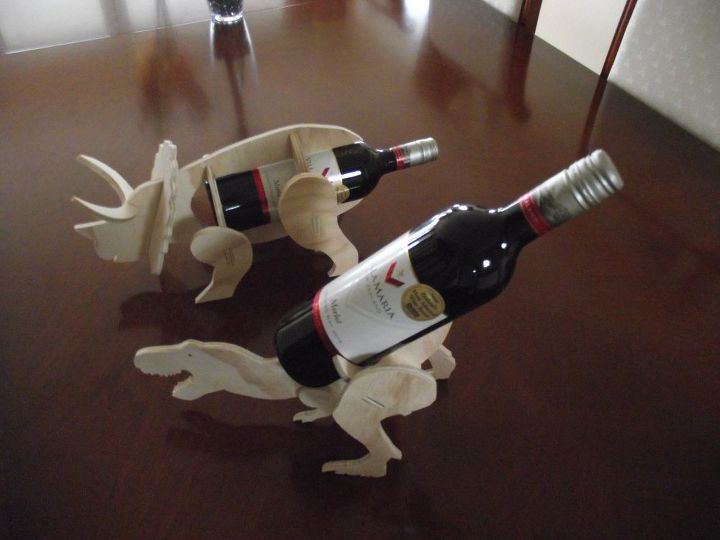
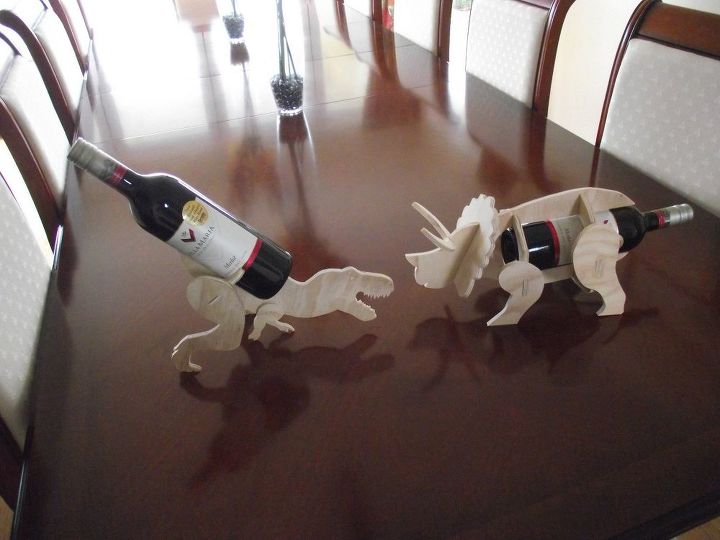
After making my Triceratops style "Winosaur" I thought it would be nice to have a complimenting one ........soooo here it is Winosaur 2 - The Winosaurus - Rex
Again all made from skip rescued 8mm ply
The Pattern
Yes I know Triceratops and Tyrannosaurus were from different eras but all the movies have them together...
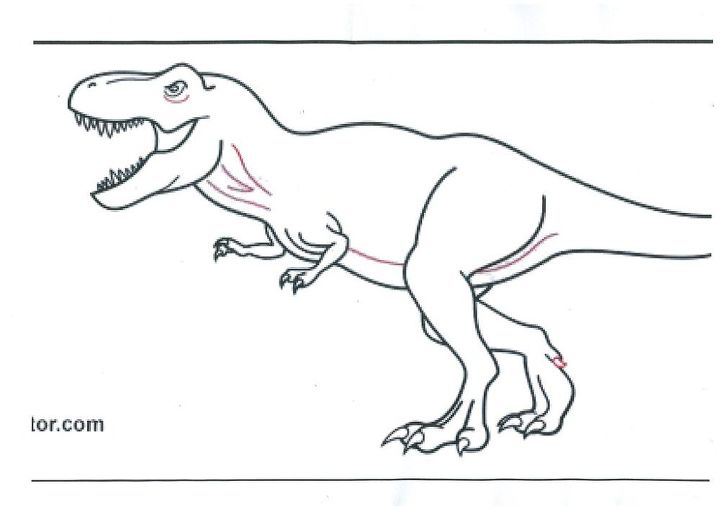
First I had to find a pattern, good old Google is your friend, I typed in Tyrannosaurus side view and this is what I got.
It is an uncopywrited picture which is tip top!
I enlarged it to the size I wanted and made a few copies
Unfortunately this is a bit too upright to hold a wine bottle so a bit of adjustment is needed
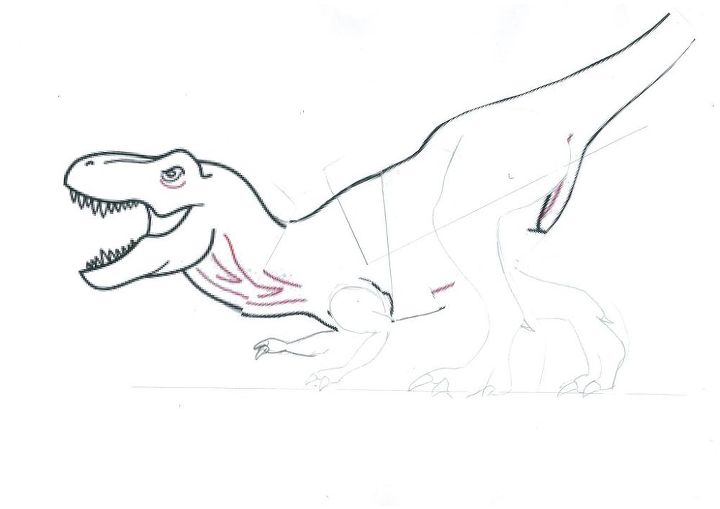
Cut and Paste
Apparently you can use a computer to do this (who knew!!), but I found it much easier to ACTUALLY cut and paste (well scotch tape to be exact)
I made several copies ( A3) then cut out a body then drew in legs (a bit feint as I used pencil)
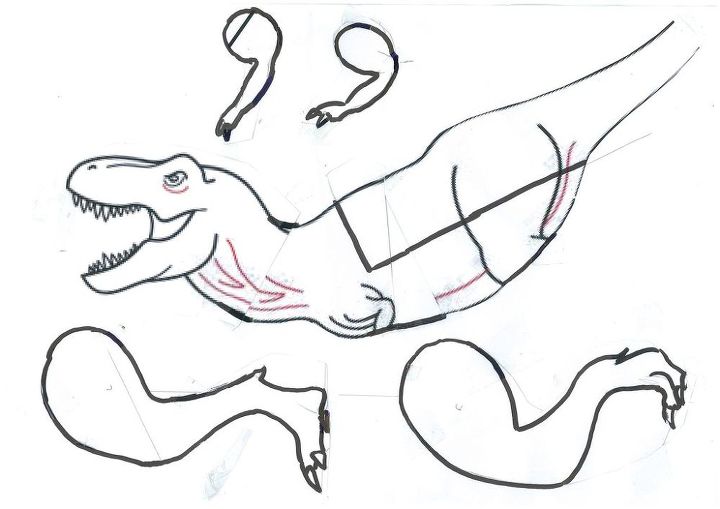
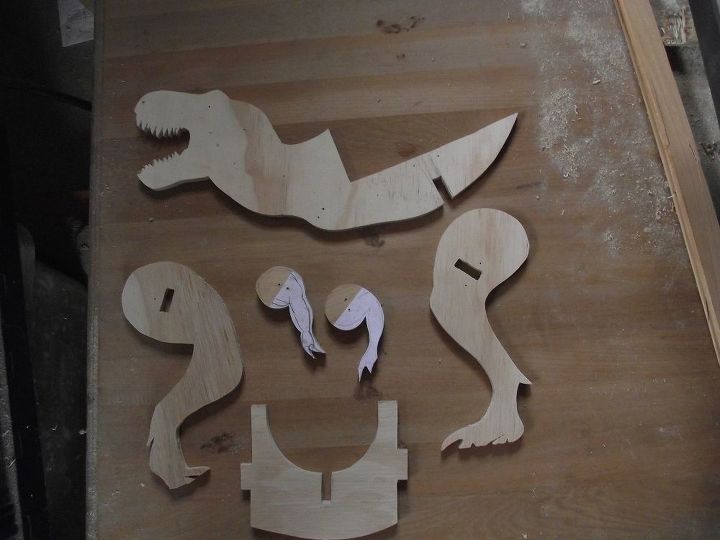
Templates for individual parts
Once I was happy with the stance, I drew out the parts individually and again made a bunch of copies
I then stuck the pieces on my plywood
There are still the "leg attachment frames" to figure out, which I will do when I have a wood model
Cut out the parts
For the earlier one I made a cardboard model first, I decided to skip that stage this time and go for broke!
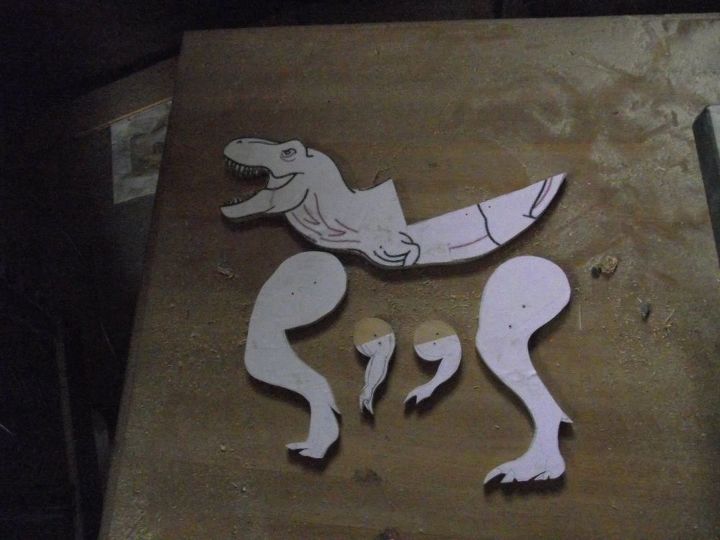
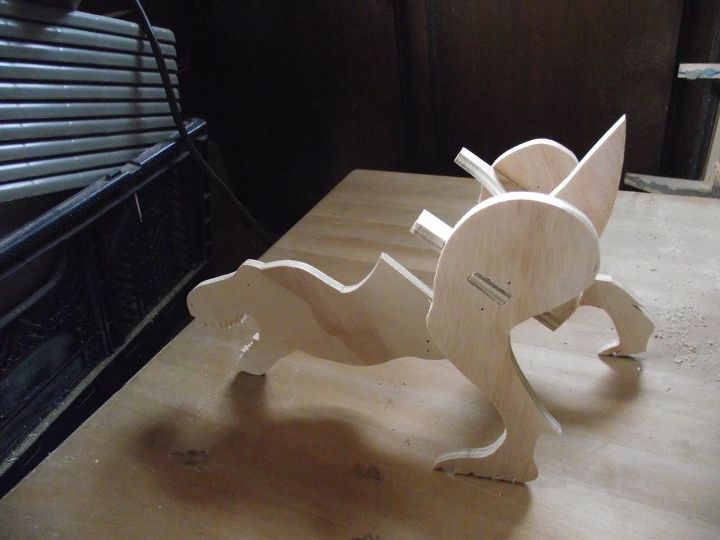
Initial Assembly
I joined the pieces together in a "dry run" in order to be able to mark up the positions that I needed the leg frames to go.
It is held together using 4 small drill bits, as at the time I couldn't find any panel pins (I found some shortly after)
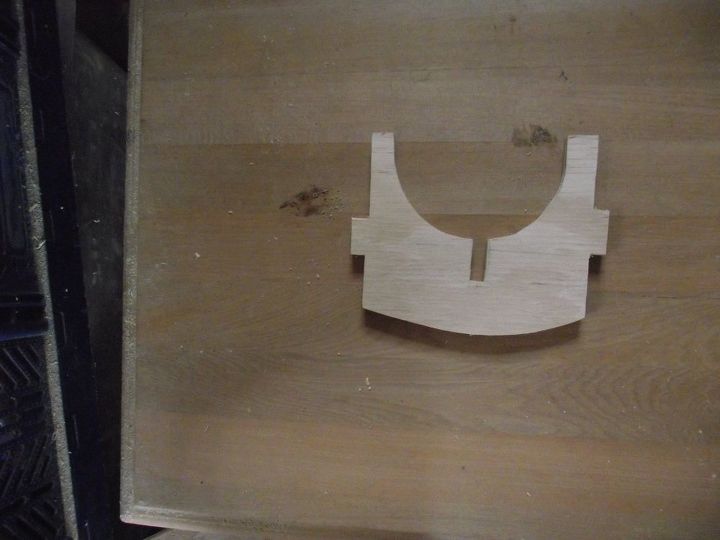
Leg Frame
Once "dry fit" assembled I could work out a position and shape for the leg frame (I actually used the template from my earlier winosaur to get the shape, then modified it
Sand the pieces
I got all the pieces together and sanded them, this is important as the wood thickness will affect what size you cut the locating slots
Assembly Back Legs
These were fitted on to the back leg frame using morticed slots, I drilled the holes first with a 7mm drill and then filed with a hand file
Assembly Front Legs
Initially I was going to make a front leg frame, but as Tyrannosaurus is known for having short, close front legs I decided to fit directly to the body.
I positioned them so they looked right and then drilled through and inserted 2 cut down panel pins to locate, the holes were filled with glue and sawdust.
All the joints were then glued up and sanded down for a flush finish.
I also curved in the top of the rear leg frame as it looked nicer
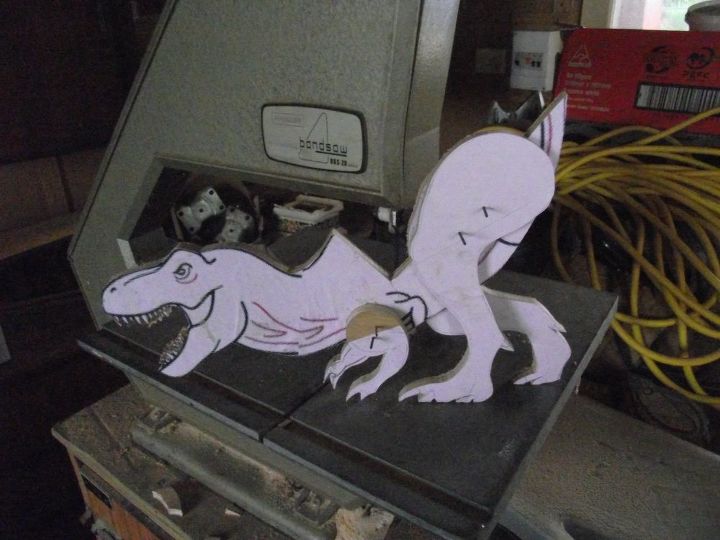
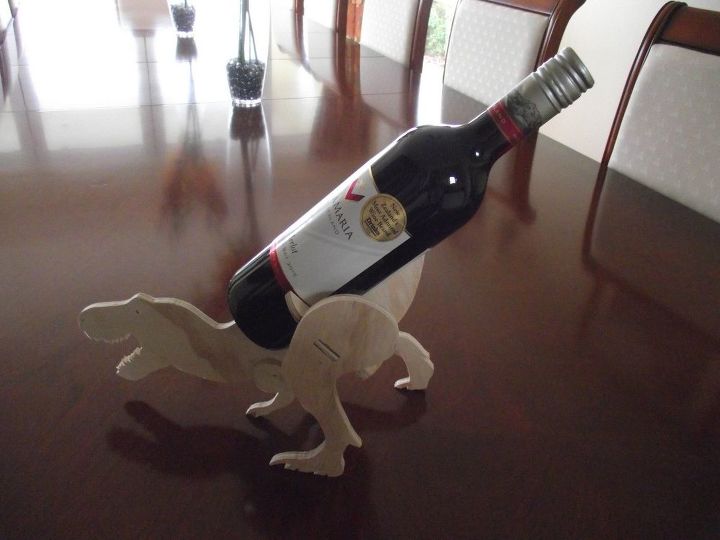
Add Wine
The advantage of having the 2 front legs so close is that it effectively gives you a tripod which is very stable.
However if I make another, I would probably make it a little larger.
I will varnish it at some point!
Comments
Join the conversation
4 of 10 comments
-
That is great
-
These are seriously the coolest!! You are very talented


Frequently asked questions
Have a question about this project?