


DIY Pipe Clothing Rack

by
Zest it Up
$20
1 Hour
Easy
Did you get to take a tour of our new office space on What’s up Wednesday’s post?? If not check it out on our blog!! We have been busy transforming the space with lots of paint, sanding and fun new projects. One of the rooms in the office will be our “showroom” where we will be able to show off fabulous pieces from locals whom we love. We are SO excited about this partnership, more to come on that soon! But another item we will be “showcasing” are our oh so fashionable aprons and jackets. Believe it or not people often ask to buy them at events! After a few peeps asking we thought, heck why not have zesters sporting some fun garb. SOOOOoooo with that we will soon have our online shop with some awesome swag for you! (just in time for the holidays might I add) Of course we needed a fun way to display the aprons and jackets so we set out to make a clothing rack that would fit our rustic and industrial theme in the shop. Check out this easy tutorial….
Photo Cred: Anya McInroy
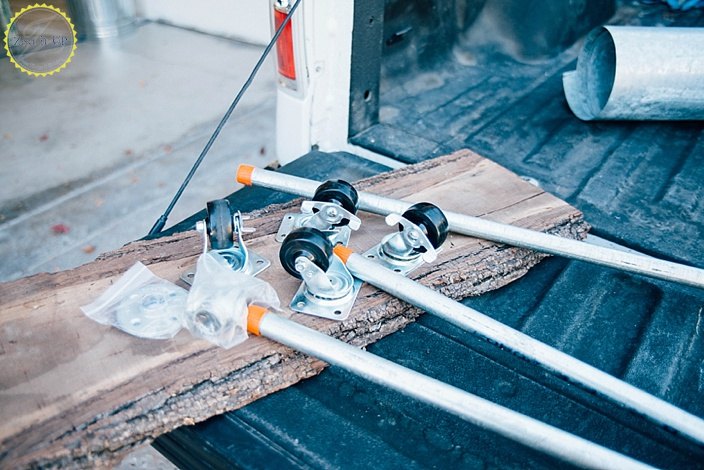
Supplies:
- Wooden plank (we scored this scrap wood from a wood working yard)
- Four wheels
- One flange
- screws/drill
- Two 24″ Pipes
- One 48″ Pipe
- One “T” Pipe connector
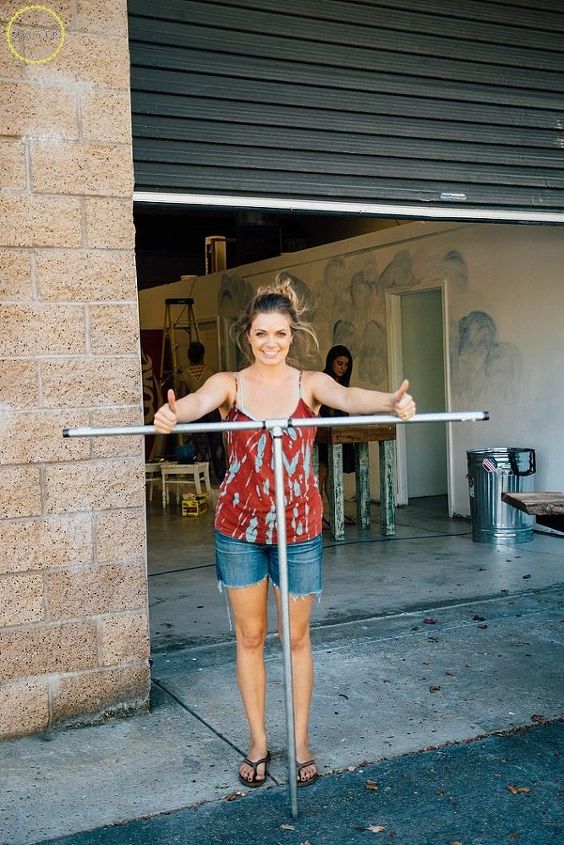
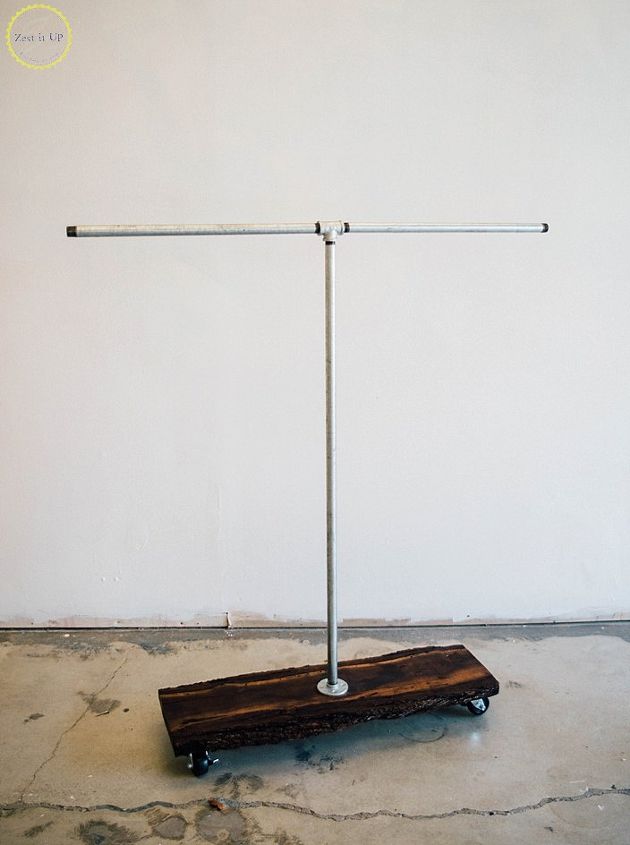
First I assembled my “T” with the pipes and the T connector to create my rack and arms, this was a simple screw in…
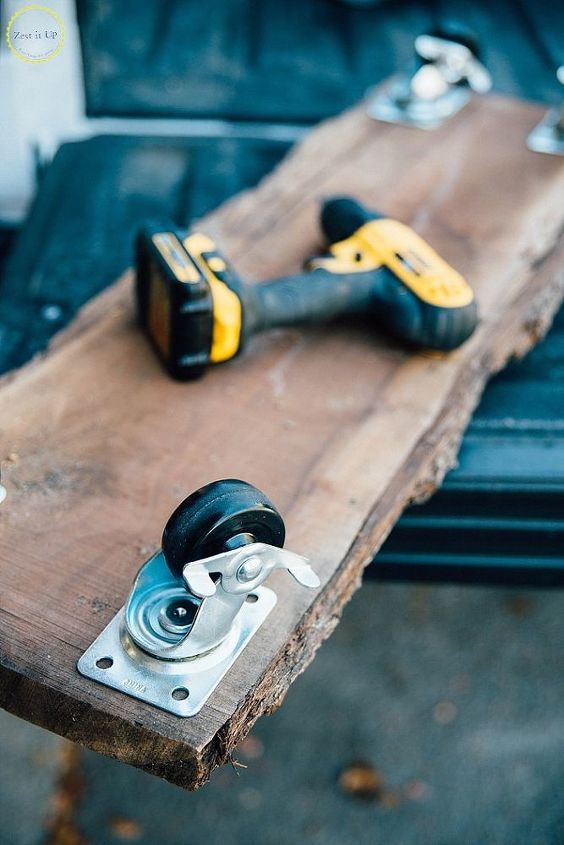
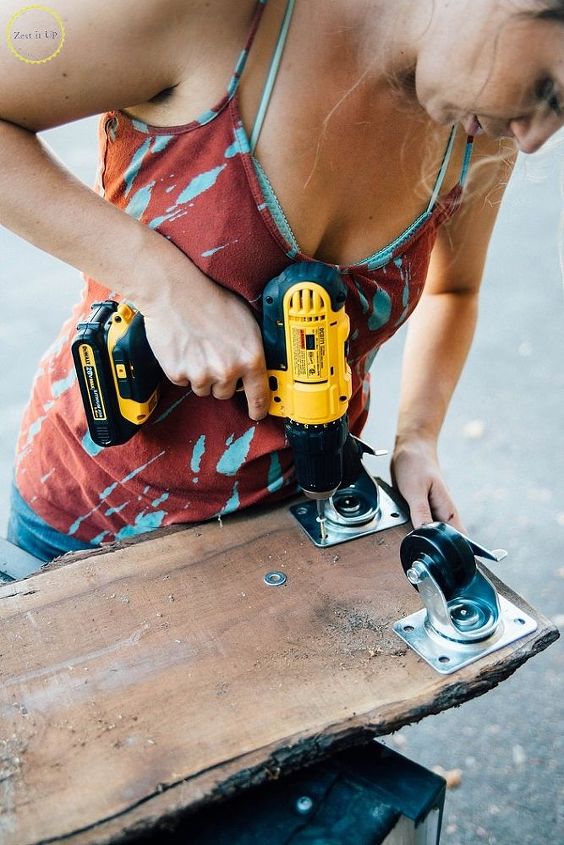
Next I drilled in the wheels to the bottom of the wood plank…
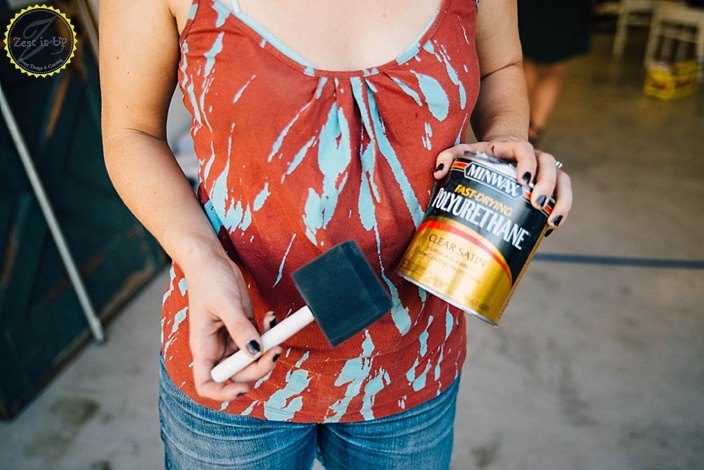
Once I had the wheels secure and my “T” in place I wanted the wood to really “pop” so I did a quick coat over the wood with some polyurethane….
Voila! I can’t wait to go hang some Zesty swag!!
This would be great in a closet or laundry room too!
Happy building!
xo,
Sam
Want more details about this and other DIY projects? Check out my blog post!


Frequently asked questions
Have a question about this project?