


File Cabinet Facelift
$25
1 Hour
Easy
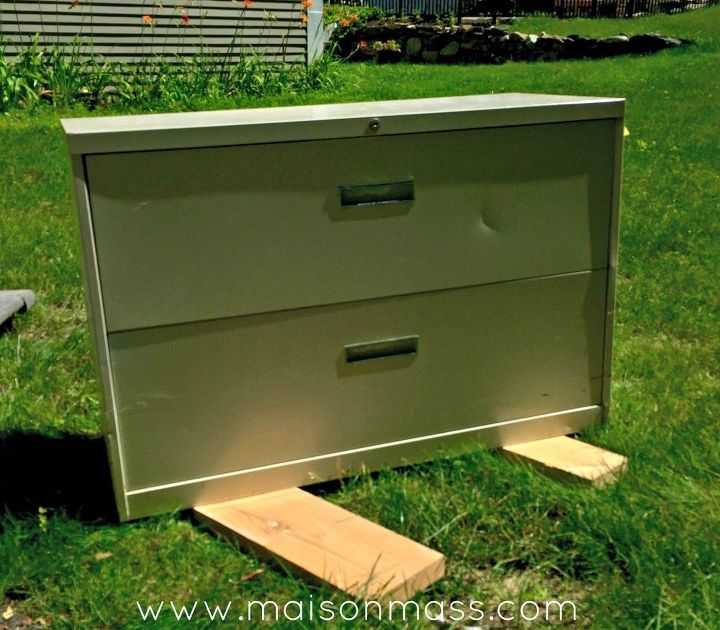
Roll out the file folders; we have a flea market find to face lift. After ten minutes and a couple searches online as to how to free the locked drawers, I began sanding (with a light grit) all the surfaces I would spray. I decided not to bother with the inside and concern myself only with the exterior. I wiped it down with a cloth and armed myself with my Rustoleum spray paint.
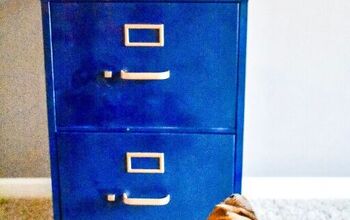
As for color, we both wanted something bold (after years of that room being a drab khaki). We’d breathed the new, colorful air and we liked it! We agreed upon Deep Turquoise in a Gloss (what I would call teal).
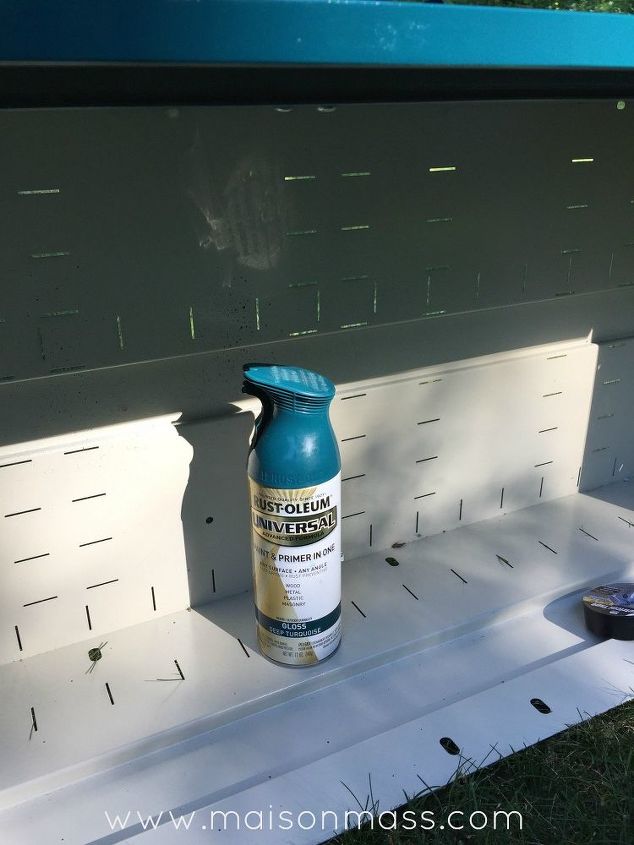
I love spray paint! Truly – it’s as easy as it looks. I sprayed the interior of the drawer pulls first (after taping off the chrome handle).
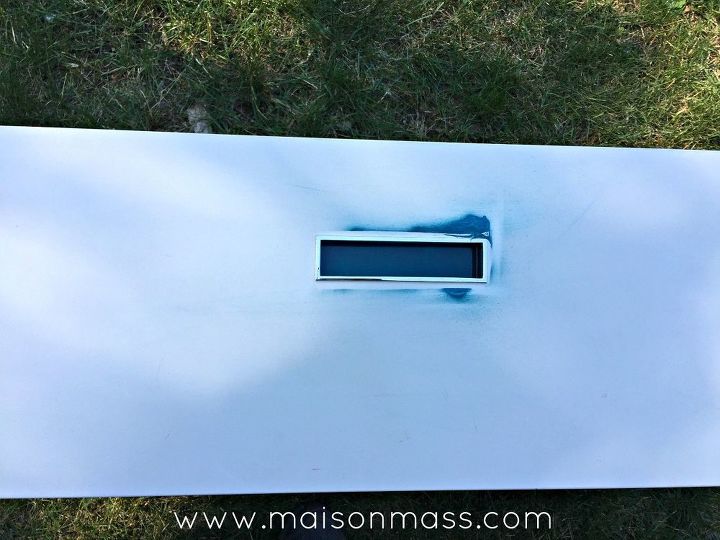
Then after that was dry, I sprayed the drawer surface and then moved on to the cabinet itself.
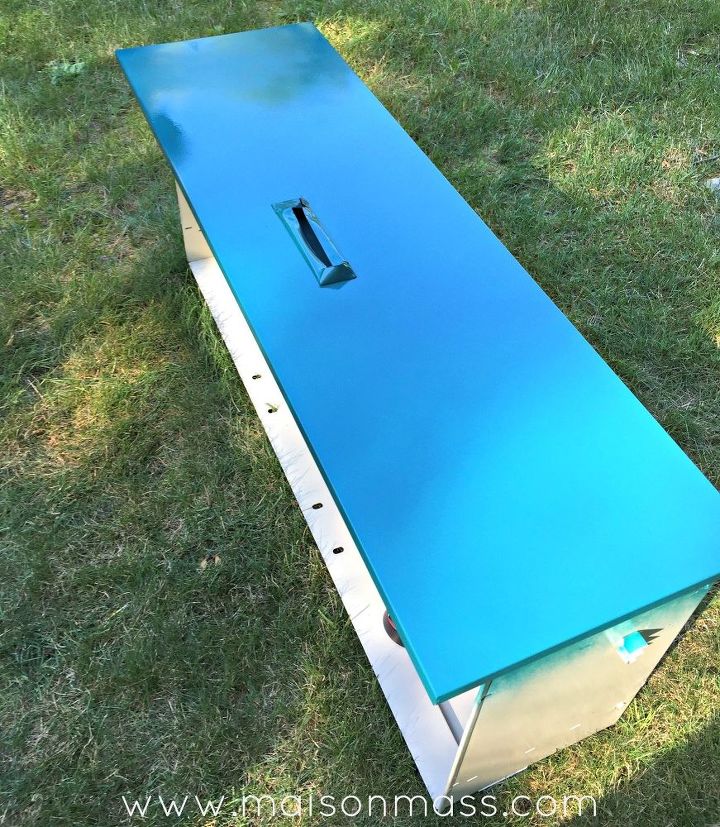
Ta-Dah!

Dried and Reassembled.
A flea market find is given a new look and a new home in our Overhauled Office.
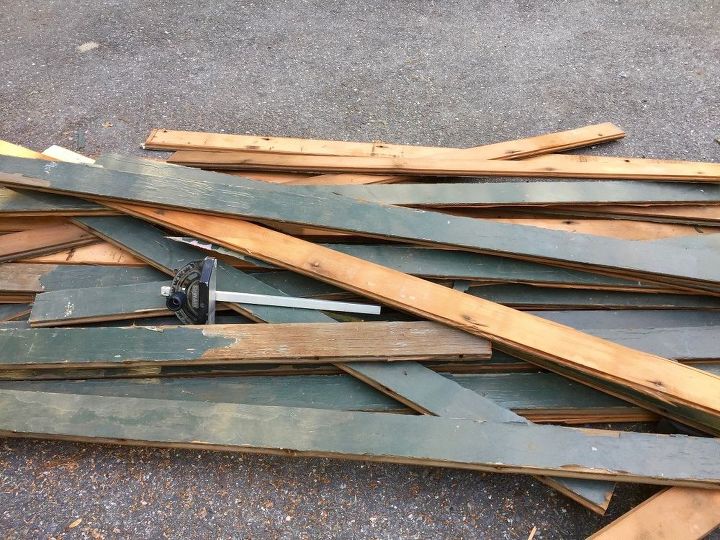
Just when I thought this project had come to a close, we stumbled on this fir wood on the side of the road. A neighbor was pulling up an old porch floor and wanted it out of his driveway, so we lent a hand. With the file cabinet in mind, my husband decided it needed a new fir top. Project creep.

After planing the wood down, he assembled the tongue and groove boards side by side and glued them, using clamps to keep them tight until the glue dried. He then decided to glue a piece of plywood to the underside in order to avoid having to biscuit join the planks.
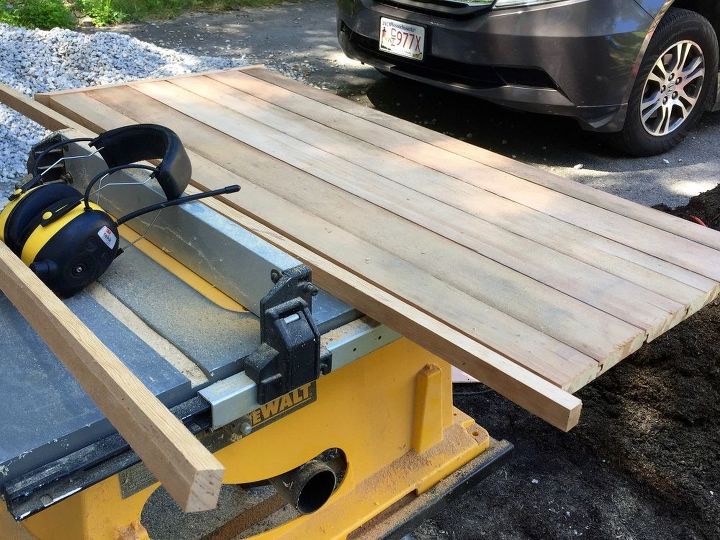
When wood was firmly attached, he trimmed the ends using the table saw and then began framing it out.
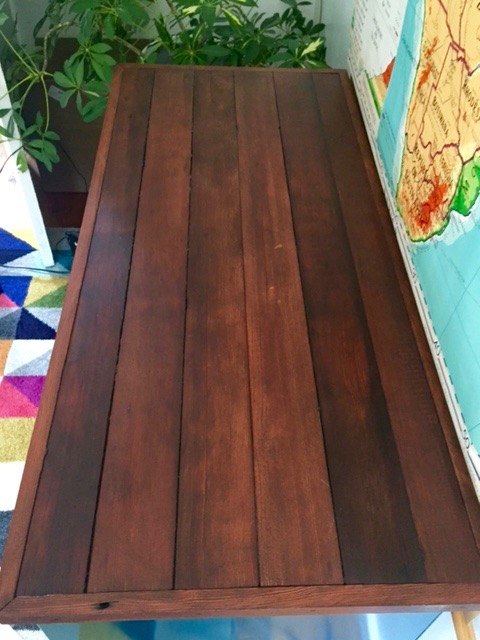
After it was trimmed out and lightly sanded, using a terry cloth towel, I applied a Varathane wood stain in Kona. After two coats, we then applied a Minwax clear, semi-gloss urethane to give it a light sheen. We used a spray because that was what we already had and I try to minimize duplicating supplies (which is a husband habit).
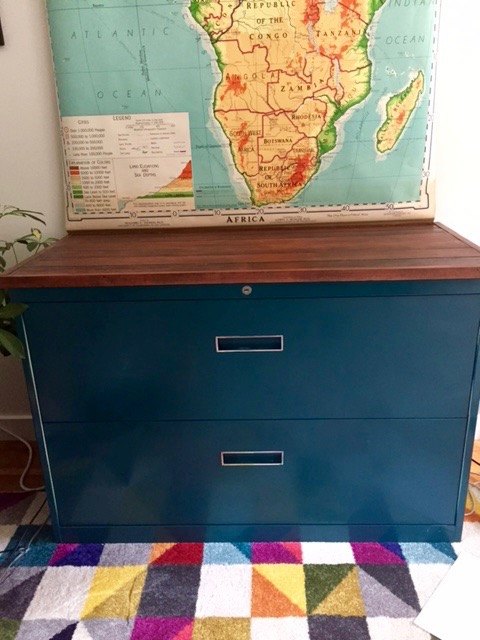
Finished product (for real this time)! We didn't want to glue the wood top (as that seemed like overkill) so we used a few velcro strips to keep it in place. That seems to work at least as well as glue. Pretty happy with the roadside remodel. $20 for the file cabinet and less than $5 more for paint.

Want more details about this and other DIY projects? Check out my blog post!
Comments
Join the conversation
2 of 3 comments
-
can you share links of site you found to help you remove the file cabinet drawers? Your cabinet looks like the one I bought for $25! Need to remove my drawers, sand and paint!
-
Leanor,
I read through a number of different posts until I found one that seemed to address my problem. I hope one of these might help. Good luck.
http://boards.straightdope.com/sdmb/showthread.php?t=462871
https://www.reddit.com/r/DIY/comments/3hrucl/cannot_open_steelcase_filing_cabinet_i_have_the/


Frequently asked questions
Have a question about this project?