


Spooky Halloween Wreath

by
Dorinda
8 Materials
$5
4 Hours
Easy
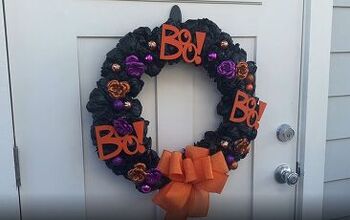
This spooky Halloween wreath will be a hit with everyone that sees it. The idea came to me when I purchased a foam wreath from a yard/garage/tag sale. I rounded up when I listed the price at $5.00. I listed this project as 4 hours to make because of letting the spray paint dry first. I also listed the project as easy, but please be careful when using a hot glue gun. You could also use Elmer's Glue, but remember it will take a day at least for the glue to dry.
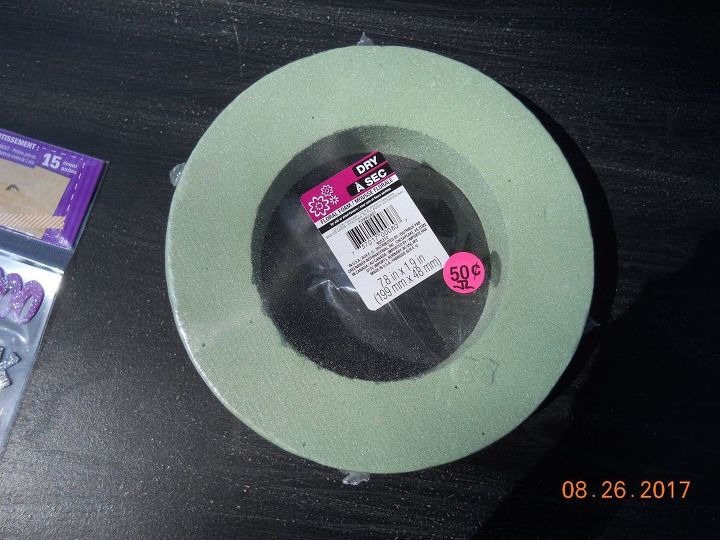
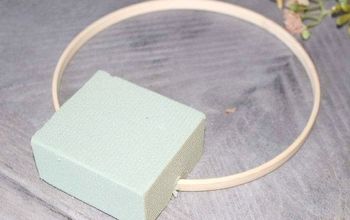
I paid 50 cents for this foam wreath at a yard/garage/tag sale. The wreath measures 7.8 in x 1.9 in. Be careful when working with foam wreaths, as they are easily dented.
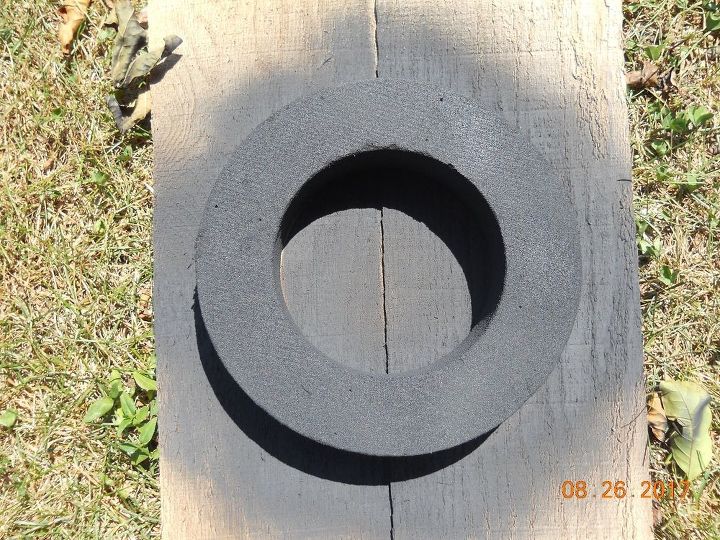
First thing I did was paint it black with some cheap flat black spray paint I had purchased at Walmart for 96 cents. I wanted to paint it black so the green didn't show when I wrapped it with the ribbon I bought.
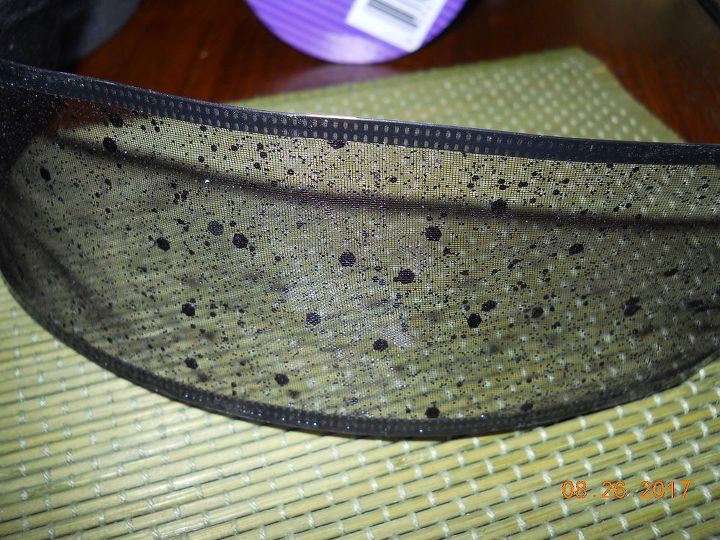
This is the wire-edge ribbon I used to wrap the wreath. It has wire on the sides. I purchased it at Dollar Tree, and it is 2.5 in. x 108 in...which is 9 feet long.
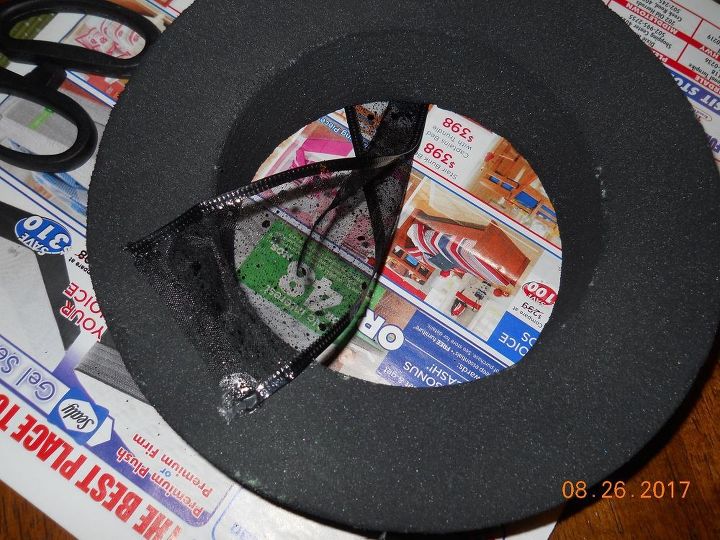
Using a hot glue gun, I glued the end of the ribbon at a slight angle to the back of the wreath. Make sure to glue it well, so when you start wrapping it around, it will not pull off the wreath.

After a few tries, I finally got the ribbon to cover the wreath by putting one wire side on top of the other wire side. I had about 7 inches of ribbon left, so I put that back to use later with this project.
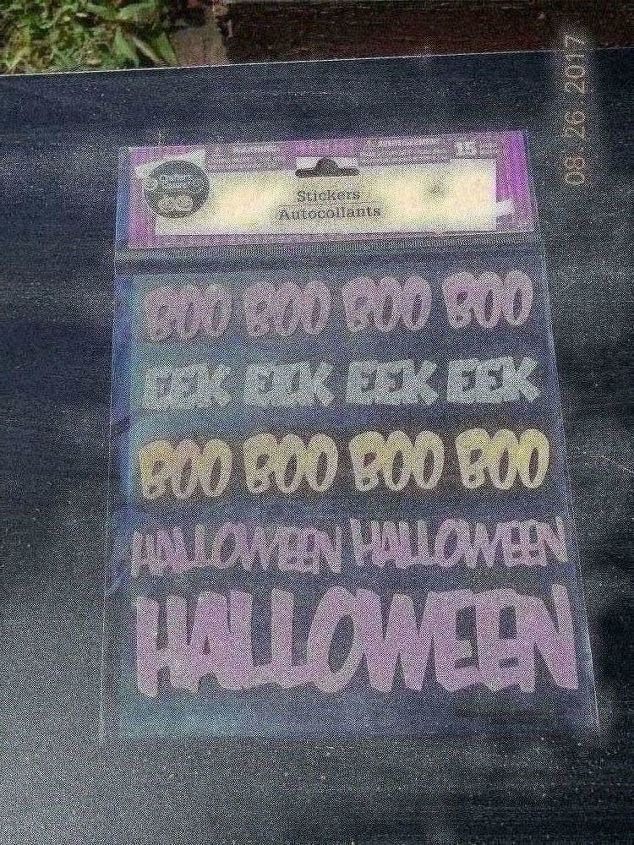
I found these Halloween word stickers at Dollar Tree. They are pretty sticky, so I didn't hot glue them to the wreath.
Peel off some of the words, and stick them to the wreath. I didn't use all the stickers I bought, so I have more for other projects.
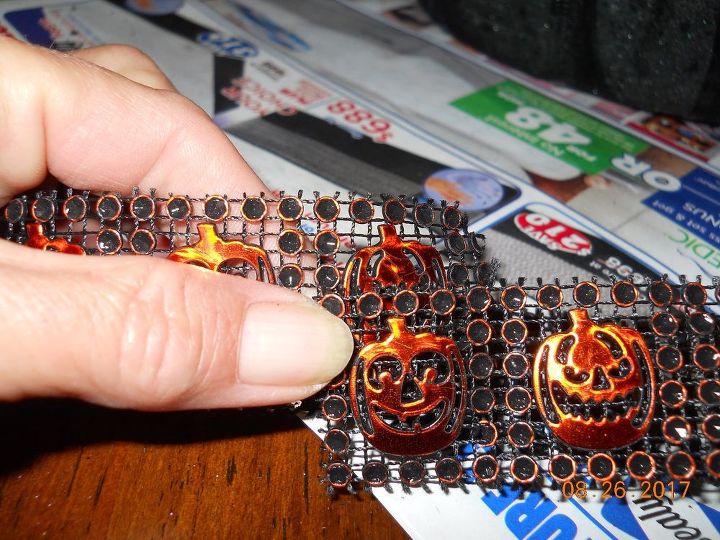
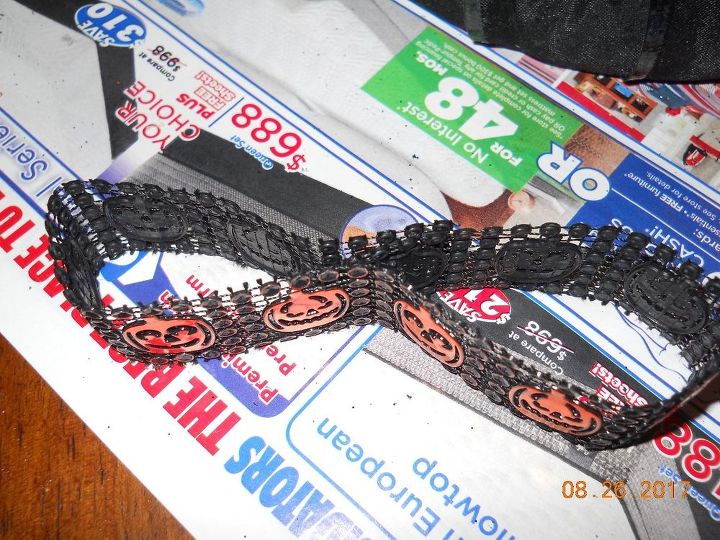
Next step is to make a bow for the bottom of the wreath. I found this diamond wrap ribbon at Dollar Tree. It is 1 in. x 6 ft. long. I cut off about a 12 inch piece, then put hot glue on the end pumpkin and glued the other end to it, overlapping pumpkins.
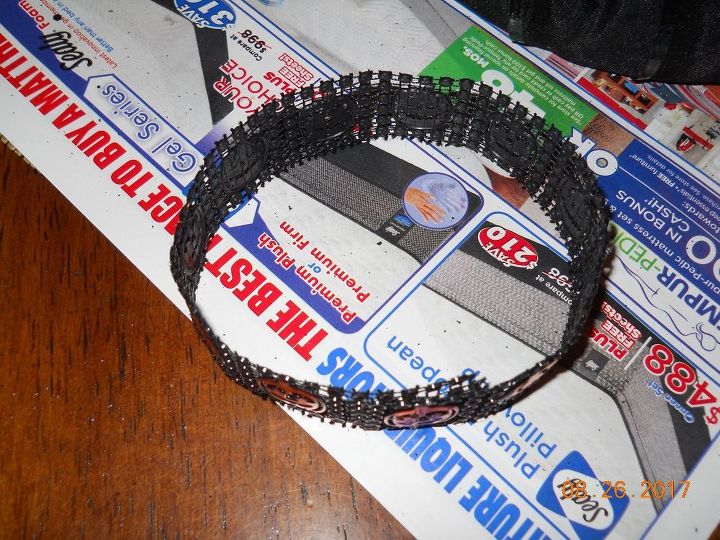
Now you have a circle.
Pinch the center of the circle, and hot glue it together to form the loops in the bow.
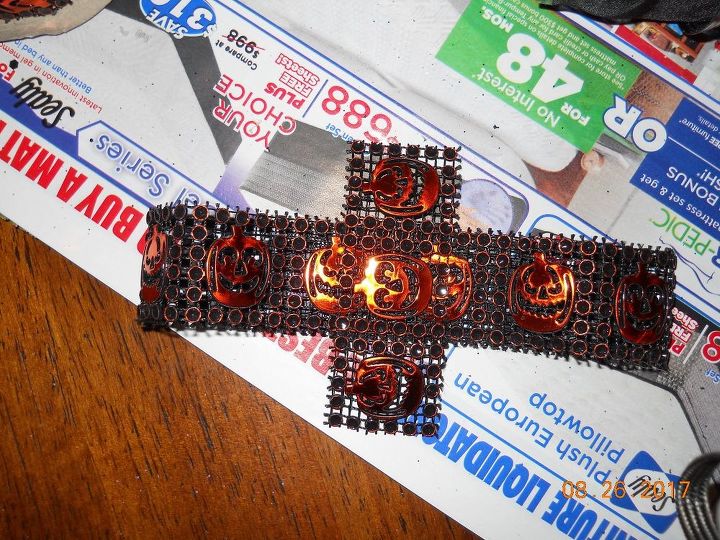
Next thing I did was cut a piece that had 3 pumpkins on it, and hot glued the middle pumpkin to the middle of the loops. Fold the ends over and hot glue them to the back of the loops.
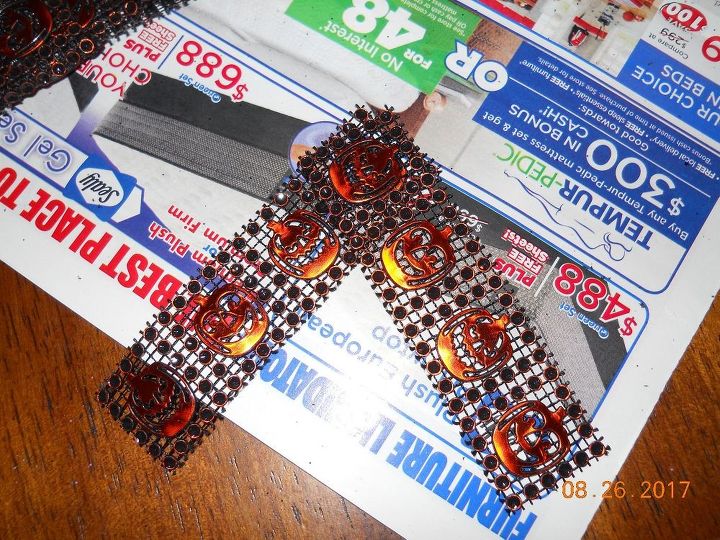
Cut 2 pieces that has 4 pumpkins on each, and hot glue one end to the other to form a V.
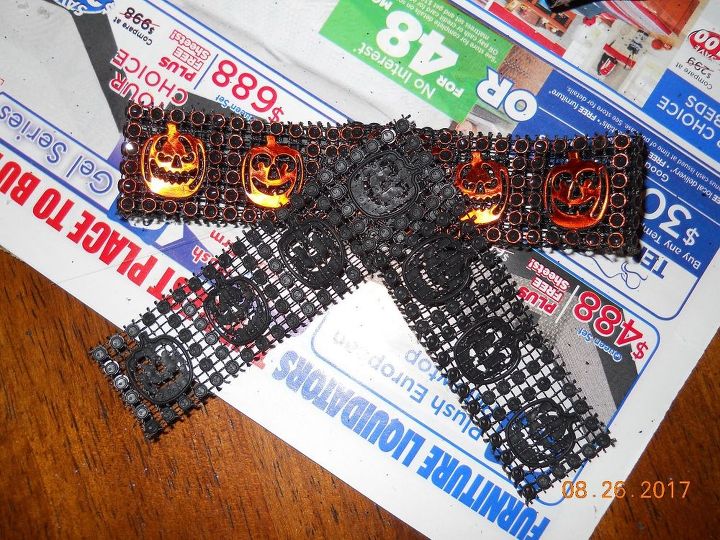
Turn the loops over to the back side, then turn the V over, and hot glue it to the loops, and there you have it, a bow.
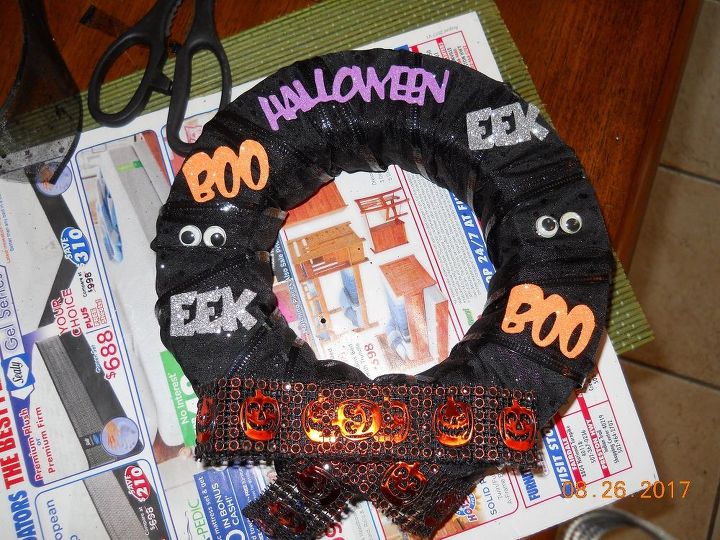
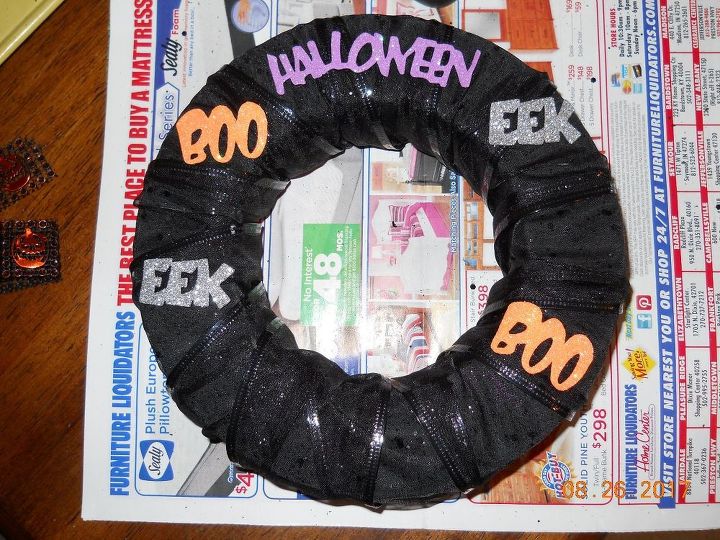
I hot glued the bow to the bottom of the wreath, but it needed a little extra something, so I got out my wiggly eyes, and hot glued two on each side of the wreath between the words BOO and EEK. That looks better now.
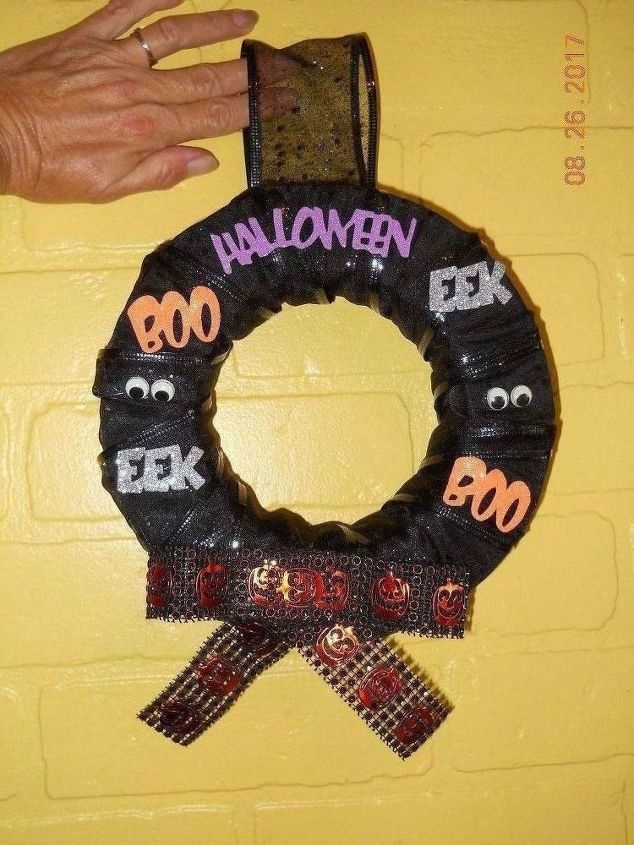
Last thing I did was to take the piece of wire-edge ribbon that I had left over, and hot glued it to the back of the wreath. Make sure you hot glue it well so it will hold the wreath when hung. A word of advice, if you hang this on a door that gets sun, the hot glue may heat up and the wreath fall apart. You can also take a couple straight pins and attach the ribbon to the wreath first, then hot glue over them. Just make sure the pins don't stick out the front side.
Comments
Join the conversation
3 comments
-
I love it Dorinda! Looks like you may be the Halloween decor queen!
- See 1 previous


Frequently asked questions
Have a question about this project?