


DIY Fairy Garden Fall Wreath
9 Materials
$40
1 Hour
Easy
This Fall fairy garden wreath is an ode to all things mini, and it’s a craft that both you and your kids will enjoy creating!
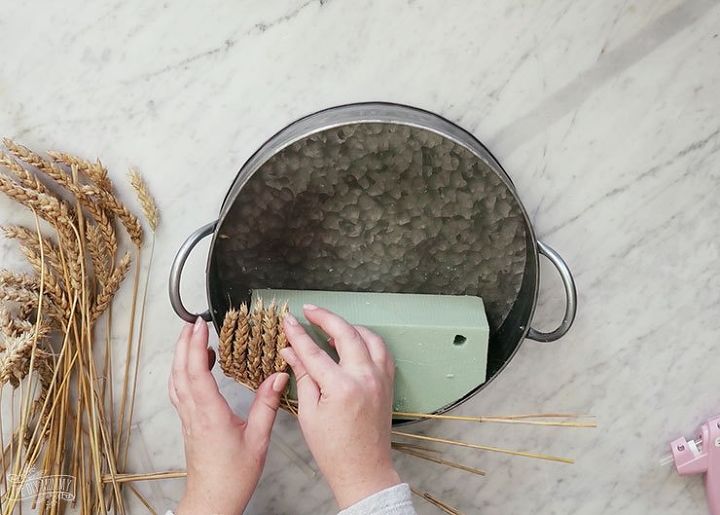
First, cut the floral foam with a serrated knife to fit inside the bottom 1/3rd of the tray like this. Then, glue some wheat stalks to the foam with a glue gun as shown above.
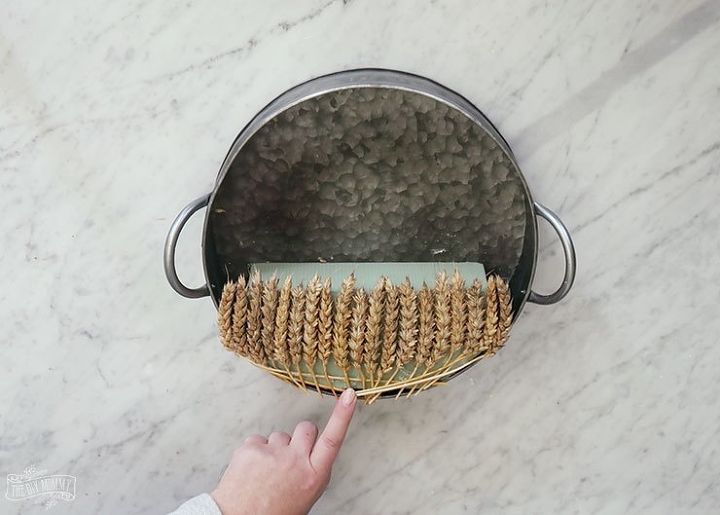
Trim the bottom of the wheat stems and glue them down more as necessary.
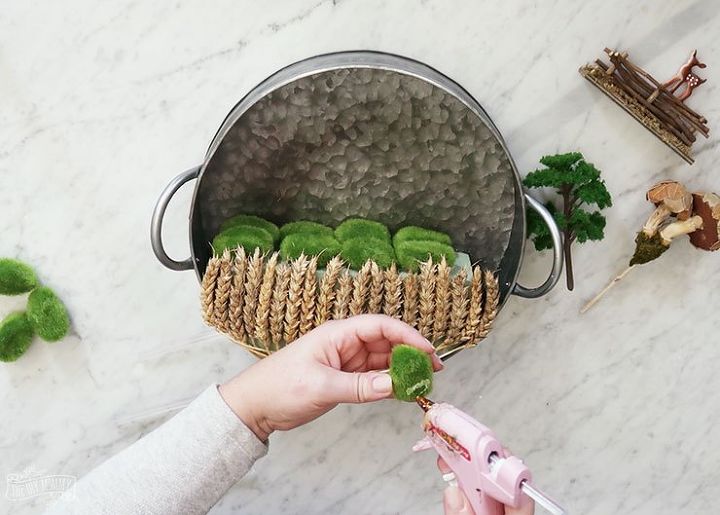
Next, you will want to create some faux grass. Glue the moss balls or sheet of moss to the top of the floral foam to create faux grass.

Grab those cute figures and place and glue to the moss.

Bend the bottoms of a couple of faux eucalyptus stems, and push them into the floral foam at the base of your wreath to cover up any glue or foam.

Glue a sunflower bloom or flower of your choice to the bottom center of the wreath.

If needed, paint any greenery with acrylic paint in a Fall colour like this soft orange to create that pretty Autumn feel.

You’re done! This looks so sweet on a side table…

… or pushed into a pre-made boxwood wreath and hung on the door.

Want more details about this and other DIY projects? Check out my blog post!
Comments
Join the conversation
1 comment
-
I don't know which way I like it better but I do know I love them both!!


Frequently asked questions
Have a question about this project?