


Rustic Cover for Outdoor Ice Chest

by
Lisa L Hall
10 Materials
$40
30 Hours
Medium
We recently did some work in our backyard. Part of that was tearing out the outdoor countertop which had a nice ice bucket built in. So now I have a nice counter top and an ice bucket sitting on the patio. I decided to use some of my old pallet boards to make a cover for the ice bucket. What sounded simple enough was not a good project to start in the middle of the summer.
I have not done a lot of work with pallet boards and this was my first venture into something like this, so I've listed this project as meduim difficulty, where a seasoned woodworker would say this a very basic project.
I had fun doing it, even with some of the changes that I had to make on the fly and I'm pleased, for the most part, with the outcome.
I did put an estimated price on this project of $40. It only cost me $8 since I almost everything on hand. I'm basing that estimate if you had to buy all of the materials at the hardware store.
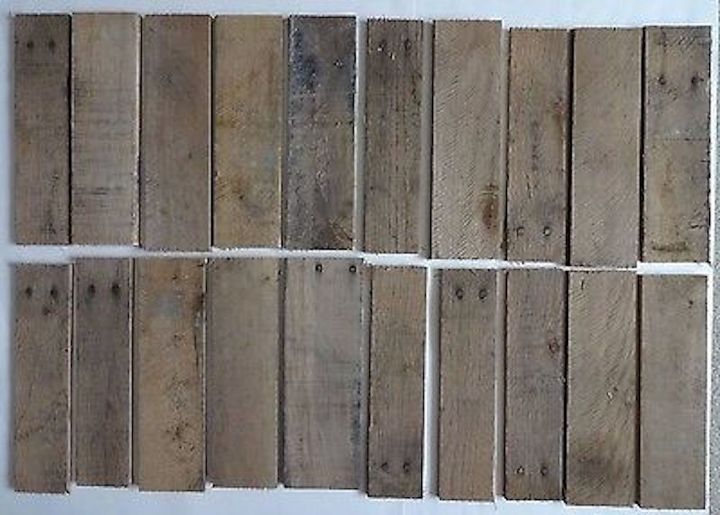
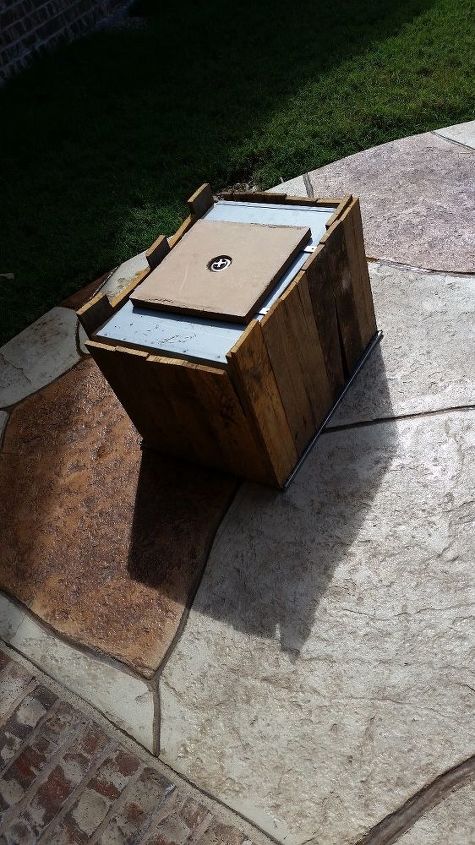
After measuring the bucket, I cut all the pallet pieces to fit my desired dimensions. I did have a lot of the boards split so if you are using a pallet that is old, be prepared for splitting boards. I just had to be creative on how to use every board.
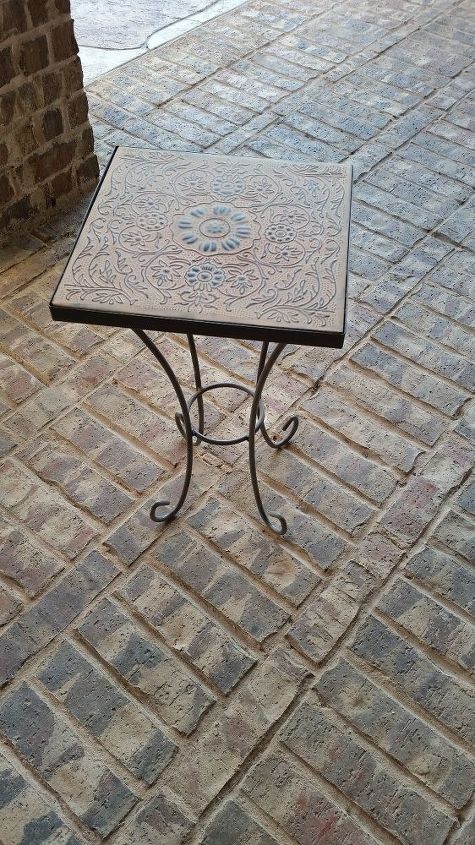
Originally I planned on making legs out of the 2x4 sections of the pallet, then I remembered I had this little table, that is cute but too small to use for anything. I removed the metal flashing from the top and then took out the particle board insert. I am going to use that for the base, not only to fit back into this little stand but it will add great support for the bucket...It is a stainless steel ice bucket and quite heavy.
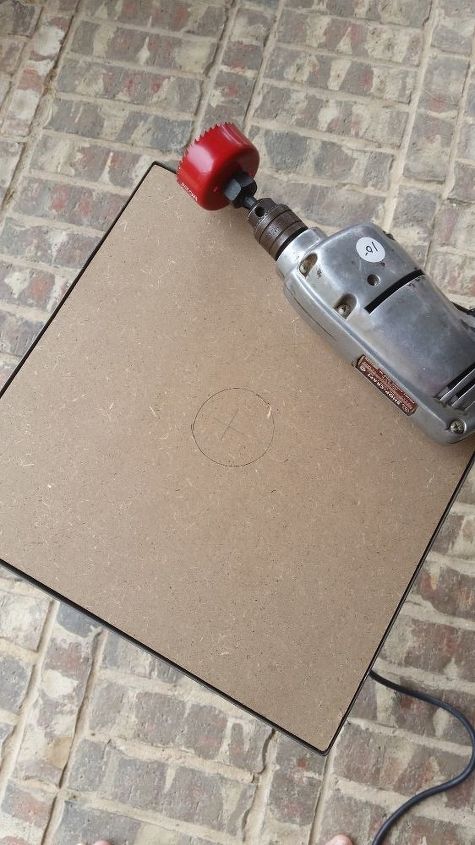
I used the door knob circular blade to cut a hole to fit the drain of the ice bucket. So I found the center and cut away.
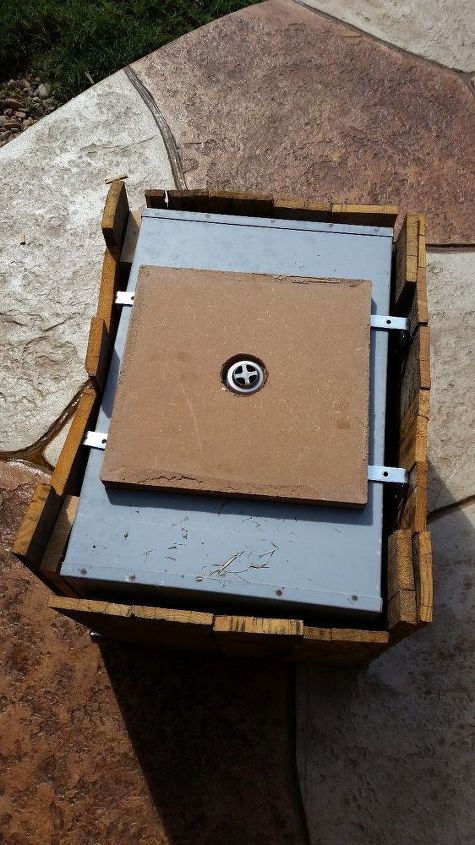
I used gorilla glue to glue all of the pallet pieces together. I did each side separately. This added a lot of time to the project since I needed to wait for everything to dry. Now it was time to use the brackets to attach each of the sides, to form the box shape and then attach the bottom to the sides. I used 3 in 90 degree angle brackets for the sides. I simply attached the center of one side to the next until I made a box. I did have to get a little creative during this part, as the bucket has a thicker lip at the top than the sides do. So I had to add some additional 1x3 pieces to get things to fit more flush. That added some time to the project as well. I used 4 inch heavy duty 90 degree brackets to the base piece. I left about 1 inch from the outer area of the base to help distribute the weight of the bucket.
So it came together nicely. I did make some pieces longer than the others partly due to how much of the wood I could use. The final step will be to set it on the stand and then I can fill it with ice and enjoy a cold drink......or two.
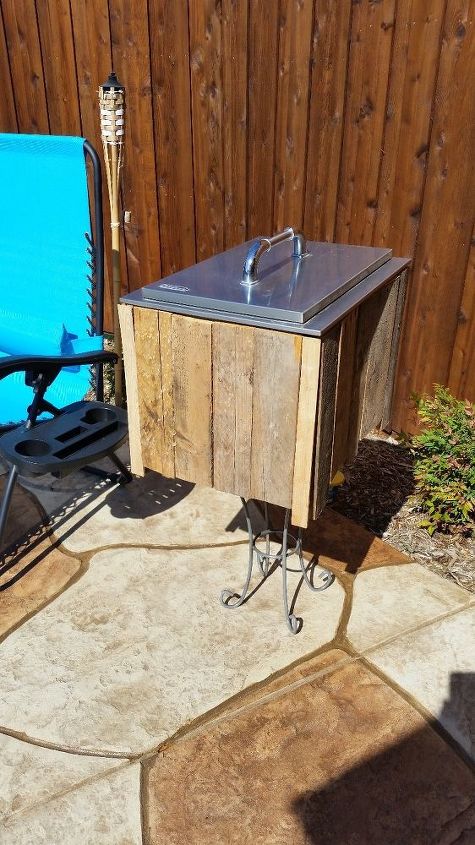
Here is my finished project. Now I have a fun place to put drinks and ice.
Comments
Join the conversation
3 comments
-
This is just great! I love how it came out!
- See 1 previous


Frequently asked questions
Have a question about this project?