


The Easiest Cardboard Christmas Tree Ever!!

by
Ann M
2 Materials
25 Minutes
Easy
While I was unpacking a box of things I ordered I noticed 2 perfect squares of cardboard. These are the type of things I save because you never know when you’ll need them for a project. This time they never made it to my “stash”: I knew exactly what I wanted to make! Relatively small at 6” square, these Trees can be made any size you wish!
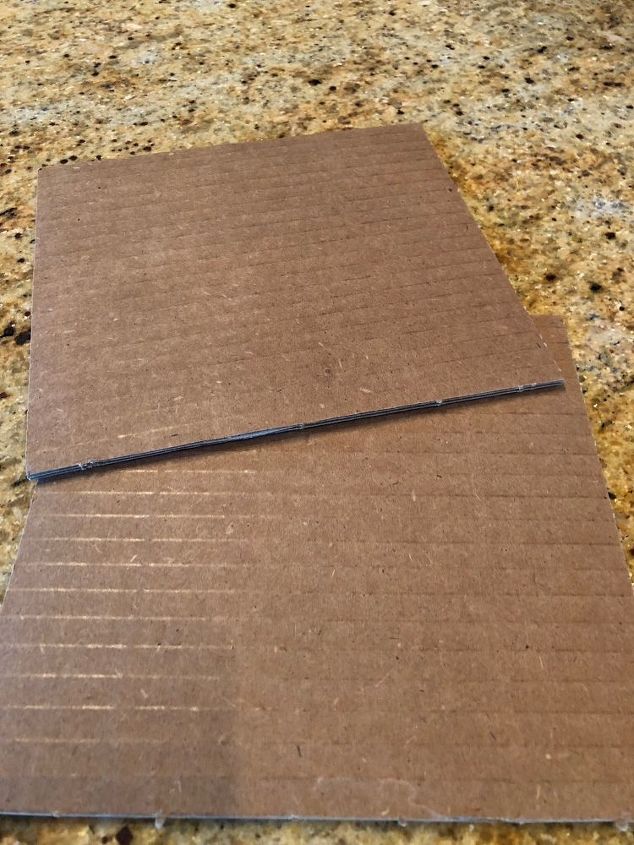
2 perfect squares!
With a ruler I found the middle of the square and with this being my starting point, came down at an angle on each side drawing a very simple primitive Christmas tree and trunk.
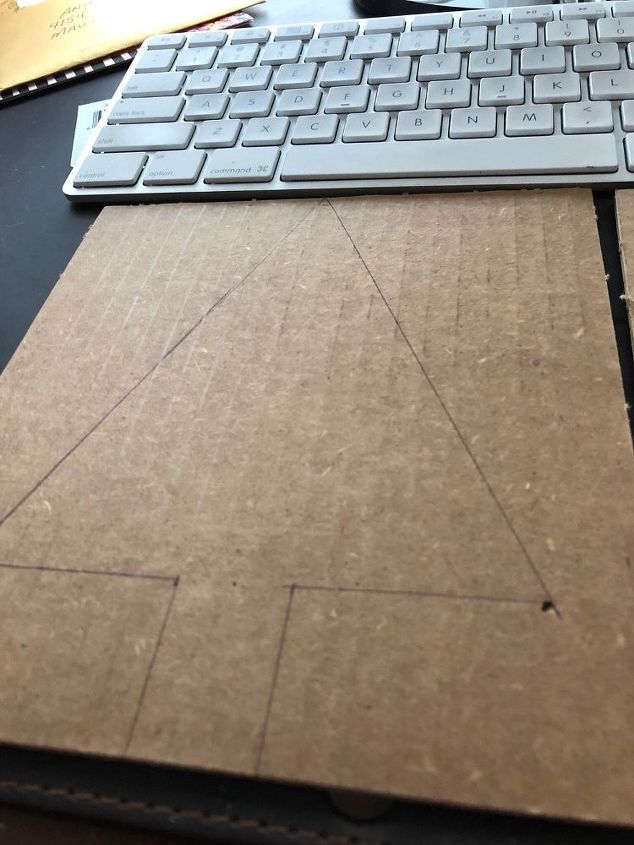
Draw a tree
On the second piece I drew out a piece that will be used as a flat stand. Mine was about an inch wide but you’ll have to determine size by the size of your tree.
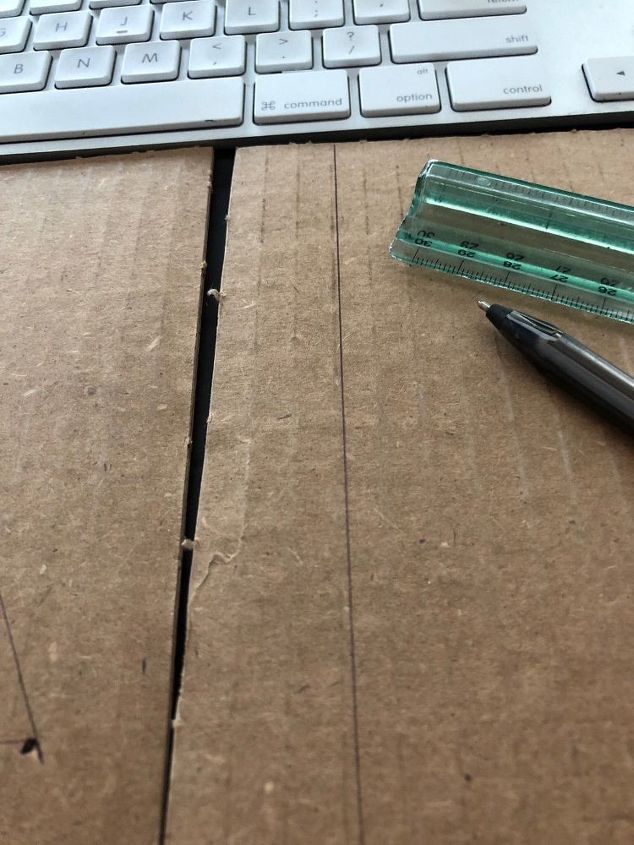
Use as stand
Now with an Exacto knife cut out both pieces. At this point I decided to cut the length of the stand to the approximate width as the bottom of the tree.
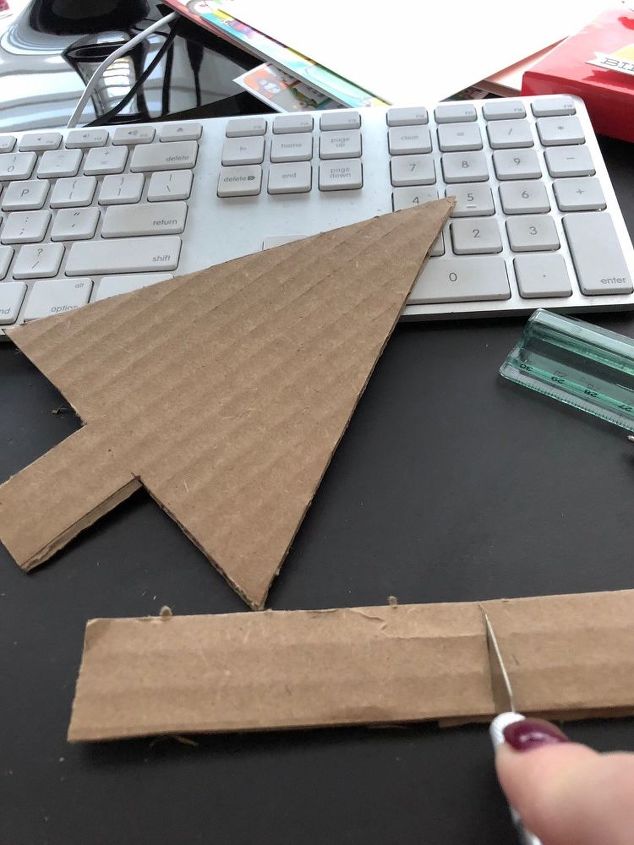
Cut stand as wide as bottom of tree
Now comes the fun part! Get out your Washi tape. I bought this whole set at Michael’s last year. I love all the year round holiday tapes. I bought it at 50 percent off so it cost me only $10 for 50 rolls!
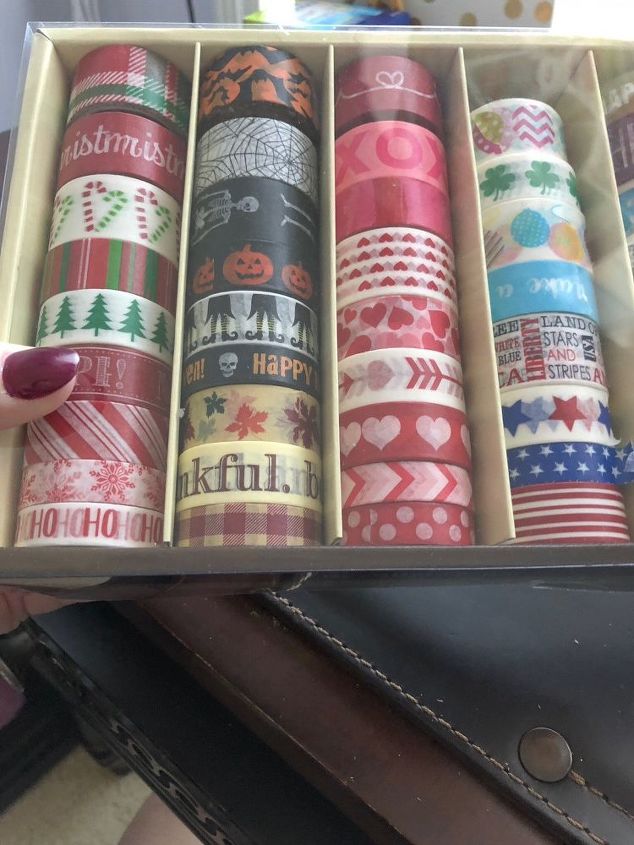
A year of Washi
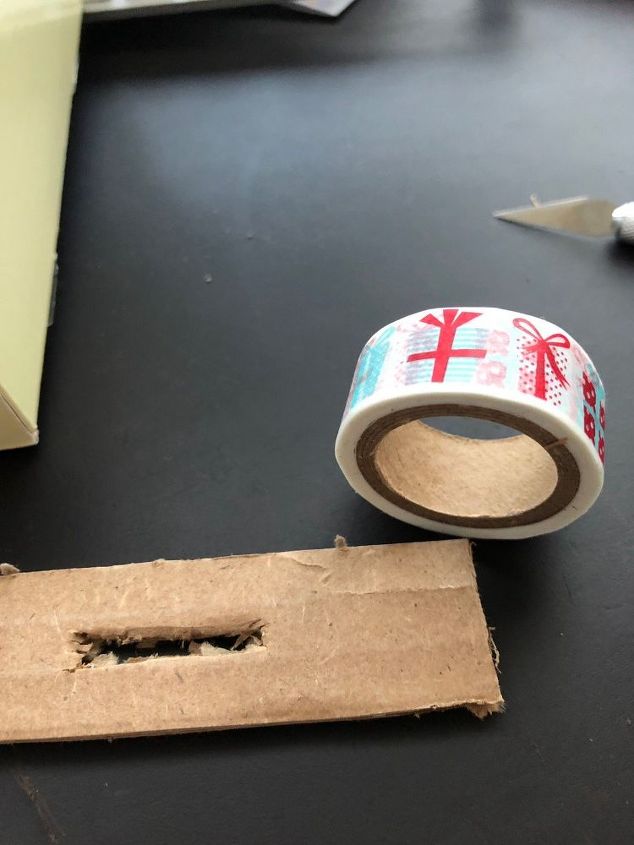
Before applying tape take your stand and with your Exacto knife cut a slit in the middle for your tree trunk to fit into. We‘re going to begin covering the stand first and then working up from the bottom of the tree to the top.
TIP: arrange your tapes in the order you will use them -widest at the bottom and thinnest tape at the top.
TIP: arrange your tapes so they are pleasing to the eye. Words placed apart from each other, colors should be separate from each other, designs centered as much as possible. And always use whimsy when appropriate! I chose a gift tape for the stand so it looks like gifts are under the tree! I found a star in a Happy New Year tape that I knew I’d be using for the tree top.
Begin taping
The whole secret to the polished look is to lay your tape so it extends over all the sides about a half of an inch. Once You lay down your first piece of tape, immediately turn it over and lay another piece so those end pieces match. It doesn’t have to be exact as you will be trimming this off. Put your stand aside when finished. Now we begin the trunk. I wanted my trunk all the same pattern so I will be using several pieces of tape to cover. Again, after laying one, turn it over and do the same. Continue in this manner doing the front, then doing the back etc. Unfortunately I made videos of these steps on my IPhone and I can’t get them to upload. Grrrr! But I did take a photo of the tree as it progressed.
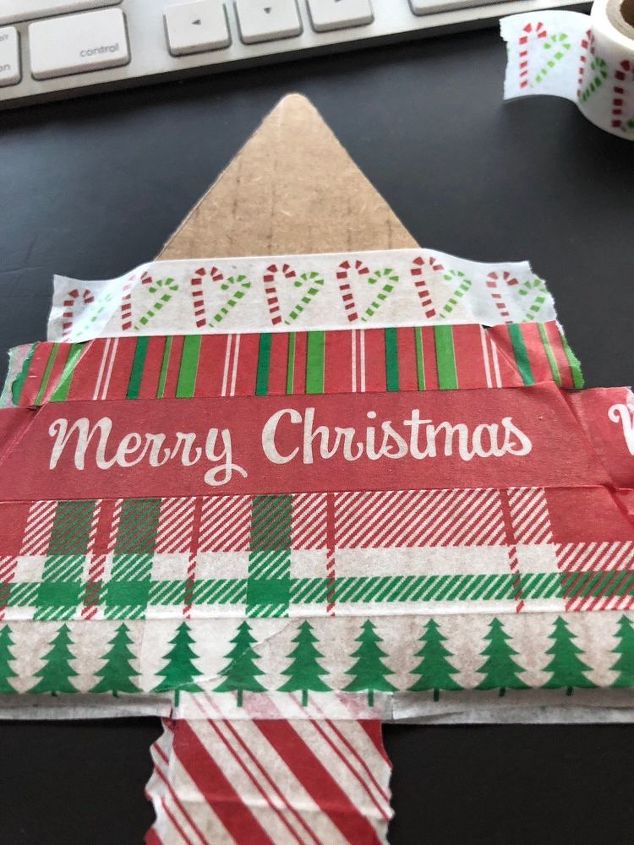
Keep adding tape front and back. Extend over.
After you have all the tapes laid, press along all edges sealing them. Now take pinking shears, trim all edges leaving just an eighth inch. You’ll be able to see the cardboard through the tape so you don’t cut too close. Any ideas why my videos won’t work.? They’re all relatively short! So again no photos til the end. After cutting edges push your fingernail along all edges securing remaining edge tapes to each other. I also took my nail and pushed through the tape on the stand so I could insert the tree into it.

Completed
A cute little cardboard tree that takes minutes to make! Can you see the star at the top?


Any price and availability information displayed on [relevant Amazon Site(s), as applicable] at the time of purchase will apply to the purchase of this product.
Hometalk may collect a small share of sales from the links on this page.More info
Comments
Join the conversation
2 comments
-
I love your thinking, these are super cute!


Frequently asked questions
Have a question about this project?