


3D Printing Station // How to Build

2 Materials
$80
3 Days
Medium
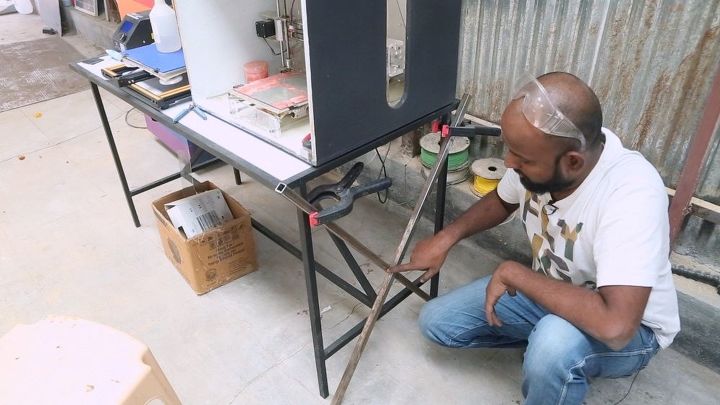
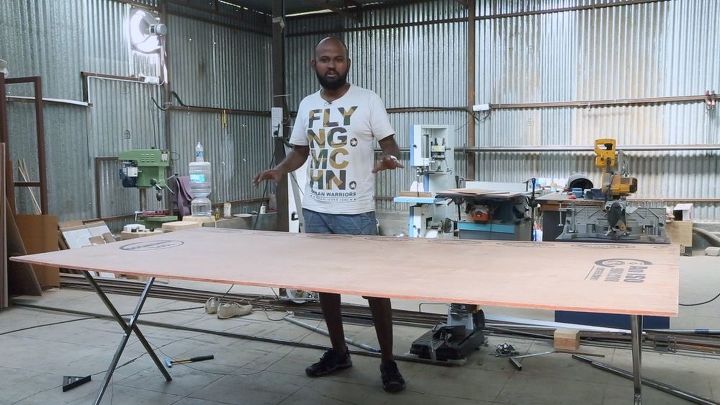
3D Printing does not involve just a machine. There are many more tools like Acetone, rubbing alcohol, scrapper, snipper and tissue paper. These tools are required on a daily basis and need a place to be stored. That is why I decided to build this 3D printing station.
{
"id": "4526771",
"alt": "",
"title": "",
"video_link": "https://www.youtube.com/embed/OtCmT58-2M4",
"youtube_video_id": "OtCmT58-2M4"
}
{
"width": 634,
"height": 357,
"showRelated": true
}
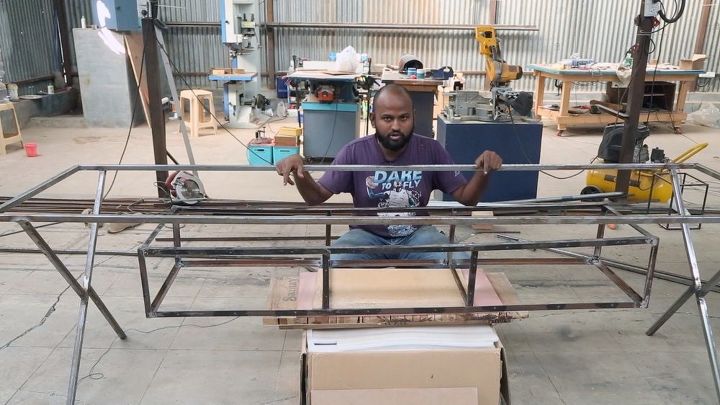
I have three 3D printers now, which require many other tools. Having all together under one table seemed like the wisest thing to do. So I started building with 20mm square tubing.
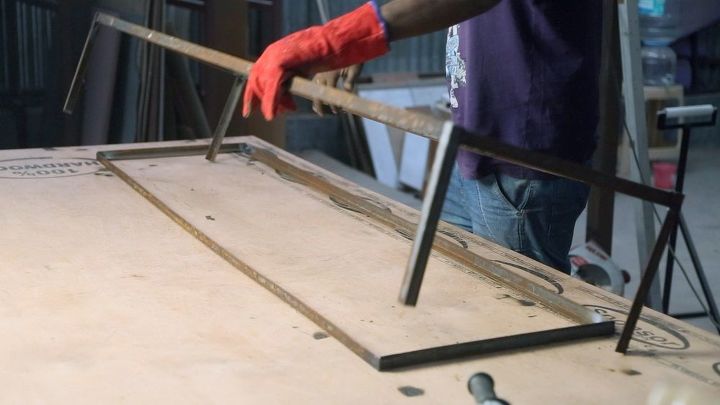
This is an old printer table which I used as reference. I wanted to make a cross leg design so I clamped the metal tubing to the table and marked where it needs to be cut. Once I cut on the chop saw at the marked area I welded it to form the 'X' shape.
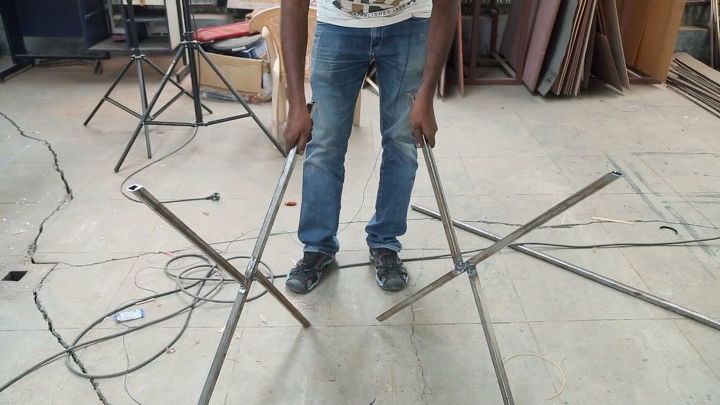
These are the 'X' shaped legs, welded and ready. Now this needs a top. I want the table to be 8 feet long. So I cut that next on the chop saw and started welding it. There will a shelf that will come in between the legs but I will explain that later.
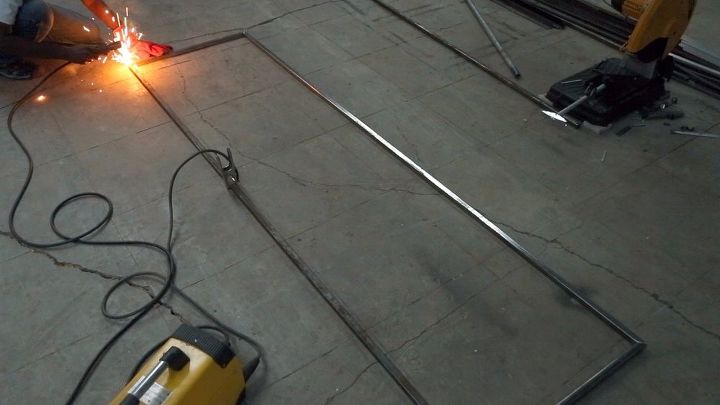
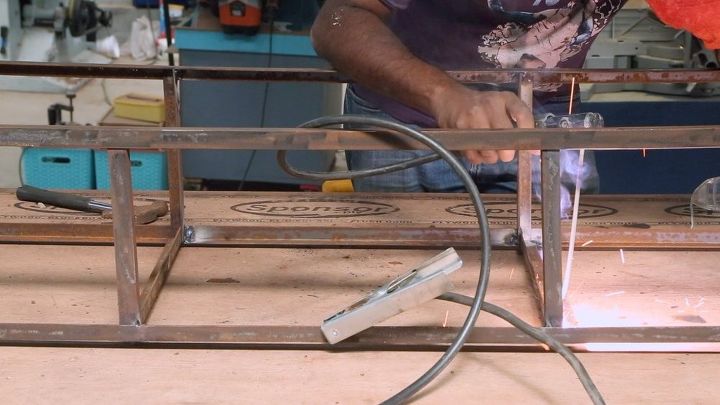
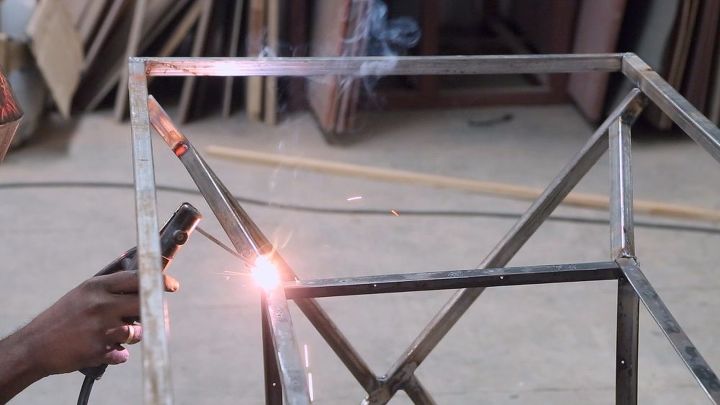
I cut the square tubing laid it on the ground and started welding the corners. I tacked the corners first and then welded the other side. Btw the corners were cut with 45 degree mitre cuts so there were no open ends at the end.
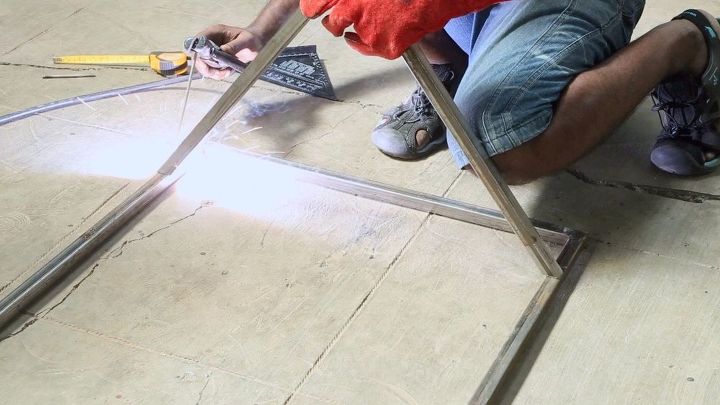
The legs were inset to the table top by four inches and then welded. Some tables have there legs flush to the table top. But I prefer it inset. This will be some space if I need to use clamps when needed.
You can see the table looks completed. But there is much more work involved. I dropped this plywood on top to make a temporary work bench. Now I am going to build the shelf that will go beneath the table. It will be like a cuboid but just longer in size. It will be constructed with 20mm angle iron.
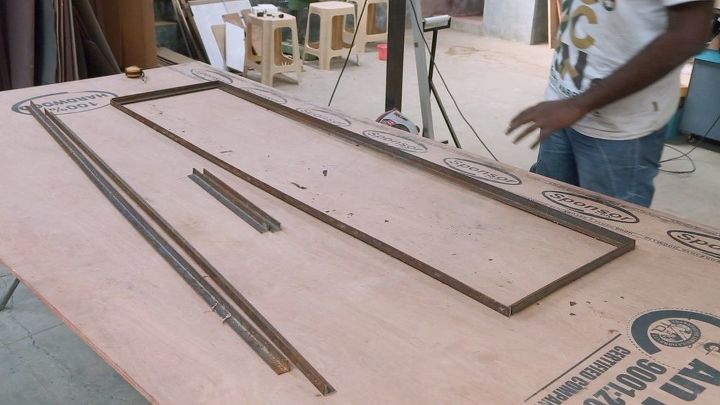
The 20mm angle iron are cut and arranged to form a rectangle. Then each corner was welded to make it permanent. Like wise two rectangles were made.
On one of the rectangle I welded the side pieces. Then I was able to flip that over the other rectangle I made. This essentially made it as a cuboid. Then I welded the corners to complete it.
In between the cuboid I have attached these angle irons. This will create a separation and also provide stability to the cuboid. This will also clear the bend in the cuboid.
The cuboid shelf will be welded to the bottom of the table. I have stacked them on a box and some plywood to know what height will be ideal. The cuboid will be welded to the table on all the eight corners. This will give a hanging like design.
The shelf is welded using square tubing. Along with providing some storage space the shelf also provides lateral strength to the table. Getting the angles right for the corner connections was a little difficult but I was able to fill the gap with auto body filler.
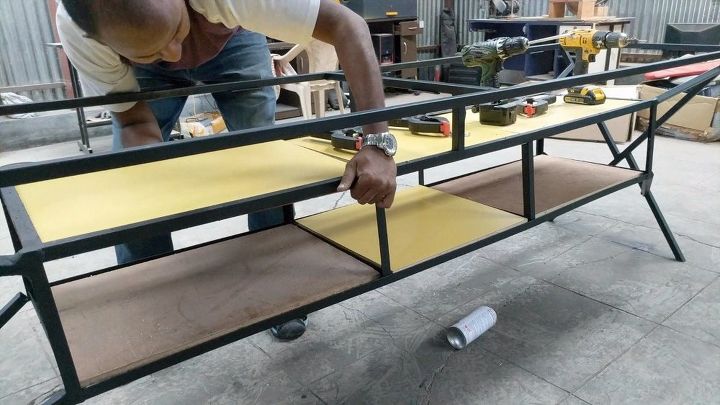
After welding the shelf I primed the metal pieces and coated it with black spray paint. Then the plywood was cut to size and I attached them to the shelf. The plywood has yellow laminate on top. The laminate will help to keep the surface clean. The rest of the plywood which is left bare will be coated in black paint as well. Going for a black and yellow combination here.
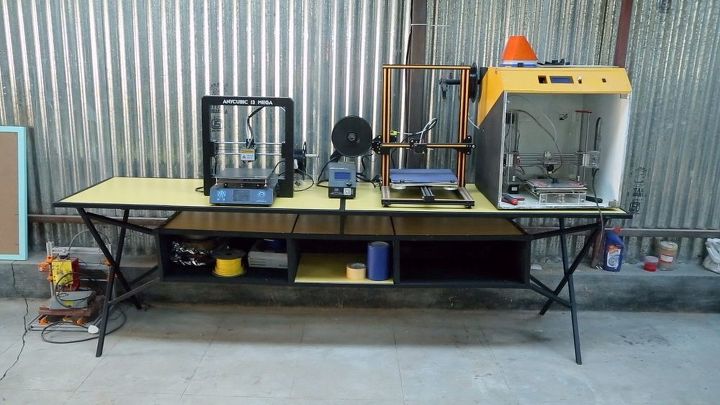
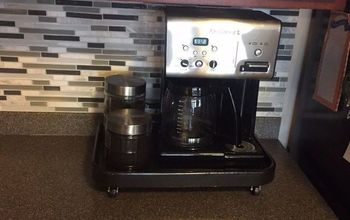
After the table is complete here is the finished view. All the 3D Printers are set on the table. The storage space is filled with 3D printer filament and the tools. Would love to know your comments about this project. Awaiting...
Until next time. Happy Learning.


Frequently asked questions
Have a question about this project?