


Ombre Drawer Dresser

by
Lauren Z
4 Materials
$35
4 Days
Medium
This is a fun way to makeover anything with drawers so that it really stands out! Not to mention that it's just plain fun!

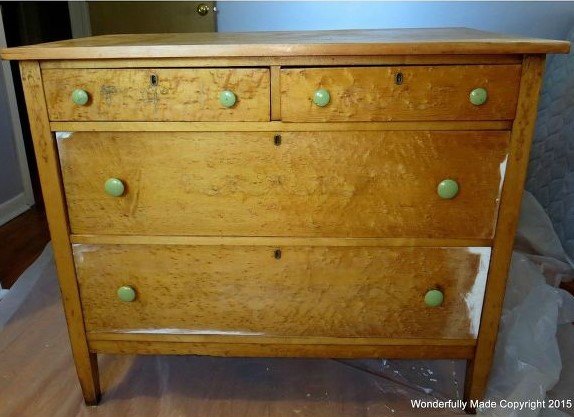
This old dresser was in a bit of a sad way when it was gifted to me but it was the perfect size for my guest room so I figured it was worth giving it a try. The drawers especially had broken and chipped edges which I knew would have to be repaired.
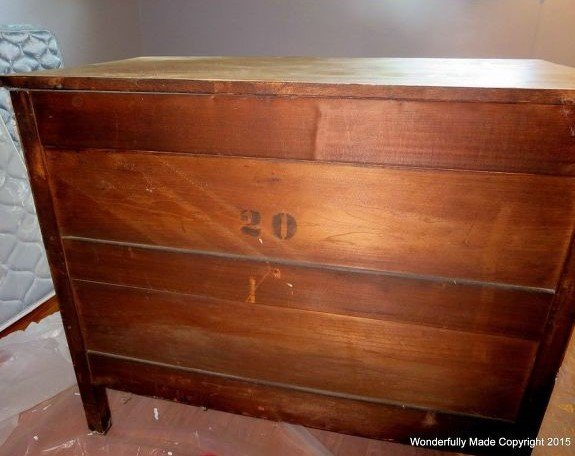
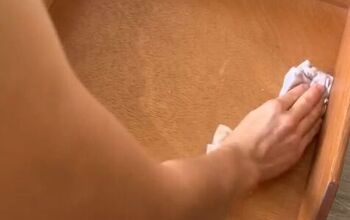
The frame was solid and very old so there was a lot of good about this piece. After removing the drawers and giving it a good cleaning, it was ready for some repairs.
Using wood putty, I began filling in the broken parts and nicks. You always want to start with thin coats and continue to build. It takes a bit of time and patience, but it's worth the process. I sanded lightly in between each new layer of putty. Once I was satisfied with the repairs, I sanded them well until I could not see or feel where the original wood ended and the "fill" began.
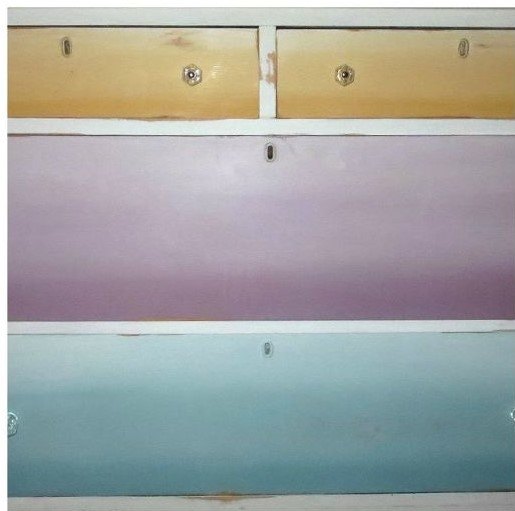
I love using Annie Sloan chalk paint because of the quality and the ease of painting a project. There is no prep needed (i.e. sanding) no matter what the finish of the wood. I chose three colors that complemented the colors in the room. Decide if you want the darkest shade at the top or bottom. In my case, I wanted it to be darker at the bottom of each drawer. Paint the darkest color on first at the bottom. While it is still wet, add a little bit of white paint to the color and brush that on above, slightly overlapping with the dark. Continue adding white until you get to the lightest shade you want to use and finish off. Finally, before it all dries, slightly dampen your brush with water and lightly brush over the ENTIRE piece. This helps to completely blend the shades.
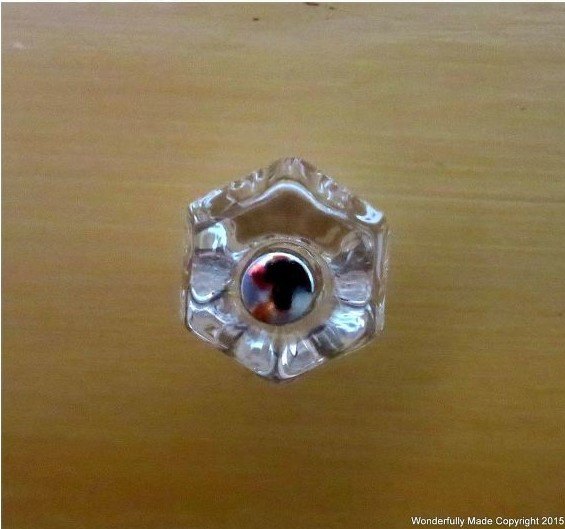
The old wooden knobs were replaced with vintage glass knobs I purchased on Ebay. You can find these types of knobs at most home improvement stores. I chose to go with original, vintage ones.
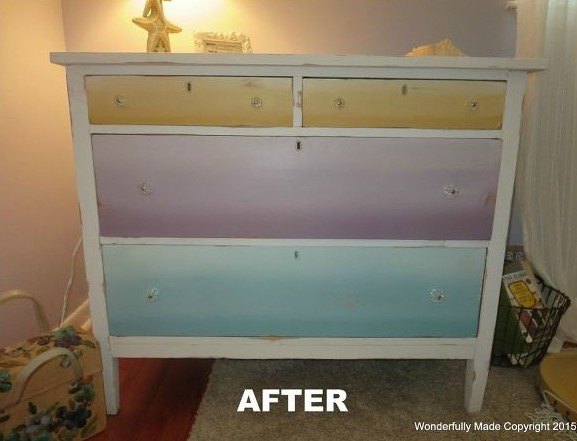
The frame of the dresser was given a few coats of white, Annie Sloan chalk paint. I distressed it lightly and finished with a coat of wax. Of course you can use this technique using just one color on the drawers -- there are a lot of possibilities using the ombre technique!


Any price and availability information displayed on [relevant Amazon Site(s), as applicable] at the time of purchase will apply to the purchase of this product.
Hometalk may collect a small share of sales from the links on this page.More info
Want more details about this and other DIY projects? Check out my blog post!
Comments
Join the conversation
3 of 15 comments
-
If that dresser is birdseye maple, and it looks like it to me, I would have done a simple light sanding and varnish. Birdseye maple is a beautiful and sought after hard wood and it isn't easy to find anymore. I do like your paint job though.
-
Very pretty. I have just the dresser for that.


Frequently asked questions
Have a question about this project?
What a creative idea! I definitely want to try that on a piece. My only question would be did you eventually paint the 2 smaller drawers on top? Thanks for sharing!