


Rooster Wall Art (Country)

3 Materials
$12
2 Hours
Medium
Here's a great woodworking project that's lot's of fun. It's very country and will look great with lot's of Shabby character!
{
"id": "4592278",
"alt": "Rooster Wall Art (Country)",
"title": "Rooster Wall Art (Country)",
"video_link": "https://www.youtube.com/embed/r3yHIx9JMVM",
"youtube_video_id": "r3yHIx9JMVM"
}
{
"width": 634,
"height": 357,
"showRelated": true
}
Check out the video for inspiration....
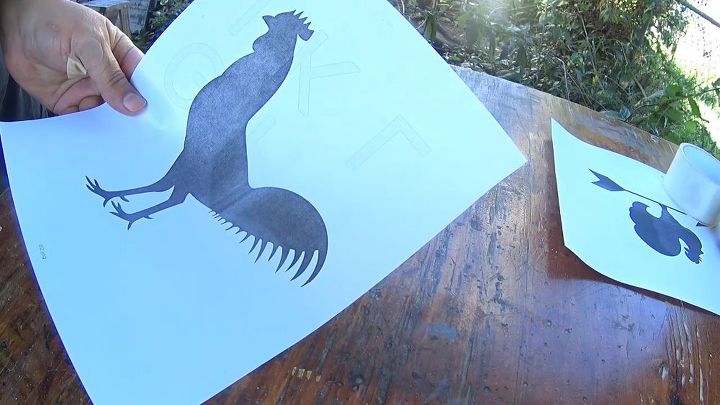
Rooster printout
I printed out a rooster on a regular 8 1/2 x 11 sheet of paper. I have a digital ebook of easy scroll saw patters. You can find this rooster along with 88 pages of images in my Etsy shop. There will be a link at the end of our build. Let's start the project....
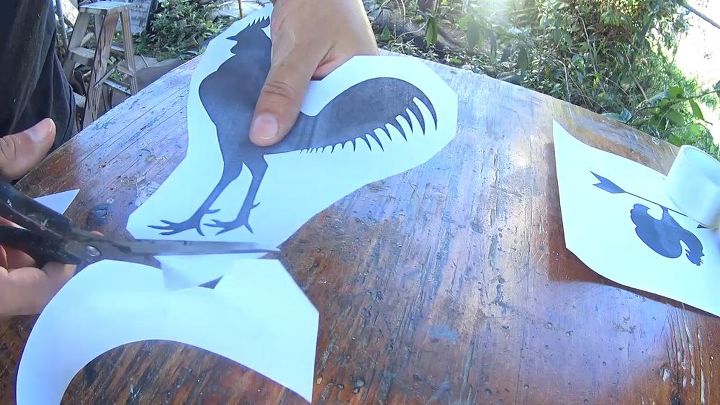
Cut out template pattern
So I cut around the image leaving a little border. We are going to use this template to create our wall art. Check out the next step...
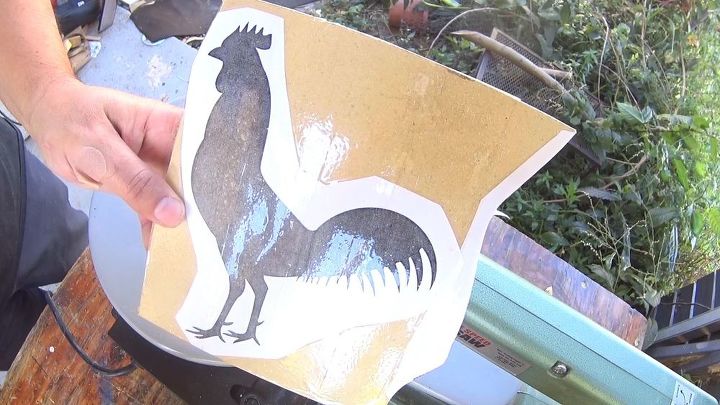
ready to cut out template
I taped the image to a board of wood.
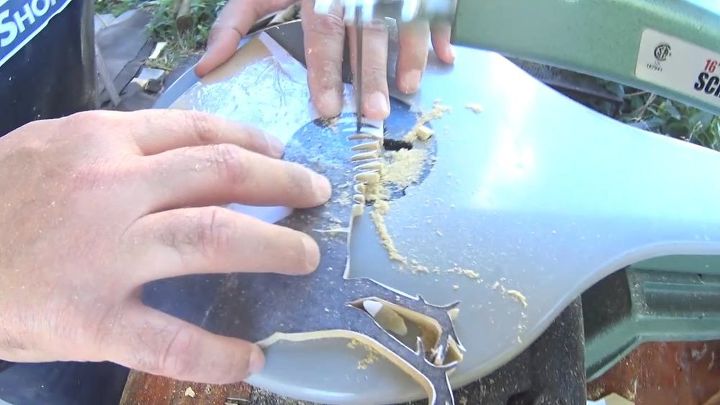
Scroll Saw
Here I'm using a scroll saw to follow the edges of the rooster and cut away all the excess. This is a fun tool to have. The scroll saw can preform a lot of tasks and you'd be amazed at the amount of different projects that can be done on it.
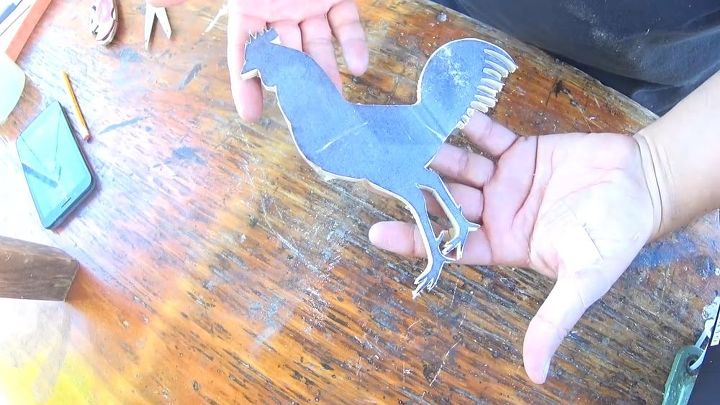
Rooster cut out on a scroll saw
So we have our rooster cut out. I'll just remove the paper template and we can then move on to creating a backer where our little farm dude can rest on....
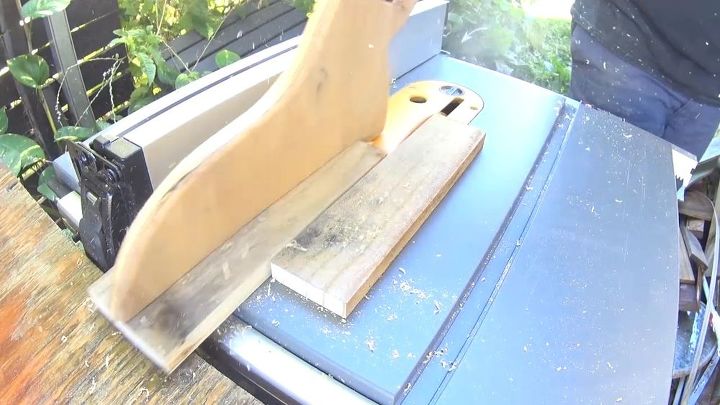
Ripping fence boards
Here I'm cutting out regular fence boards into strips. They will become the backer for our rooster. You'll see how we do it. Oh by the way, these fence boards are dried out. The reason I mention this is because new fence boards are typically wet when bought new. These outside boards are treated to stand up to outside weather. Because of that, I'd recommend only using dried out boards for wall art. These boards I'm using have been sitting outside for over a year. So they are dry at this point. In the end I also coat the piece with a clear coat to seal it all. Long story short. Don't use wet, new boards for and indoor project. You get the picture, let's move on......
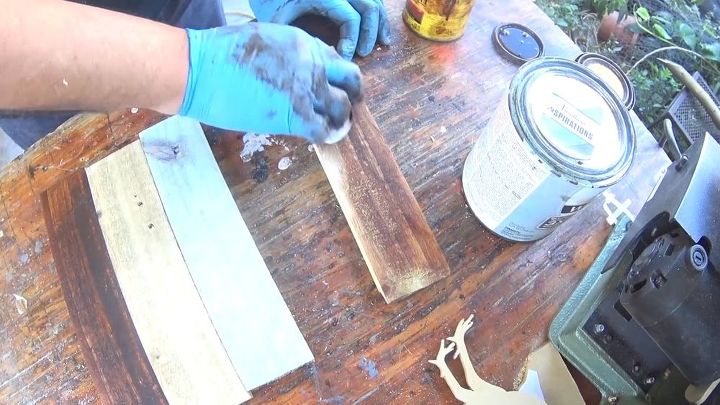
Staining wood different colors
So we have out boards and we'll shabby it up by staining each board a different color. You can get creative and mix the colors you use on yours.
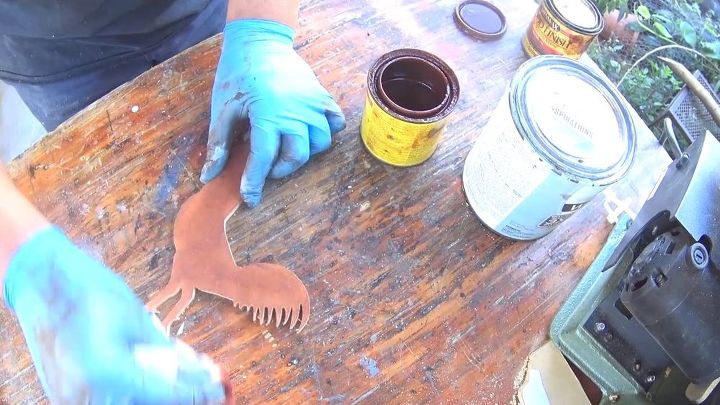
Staining the rooster
I'll also stain the rooster and move on to the next step....
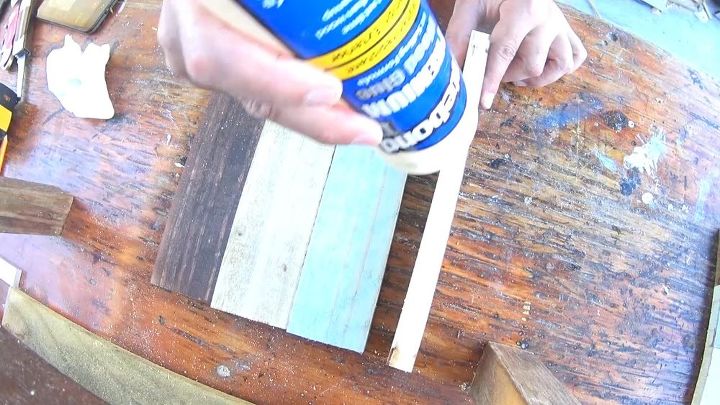
glue up
We will join the boards with wood glue. Add glue to the edges and spread the glue with your finger or a brush. Then press them together and let them dry.
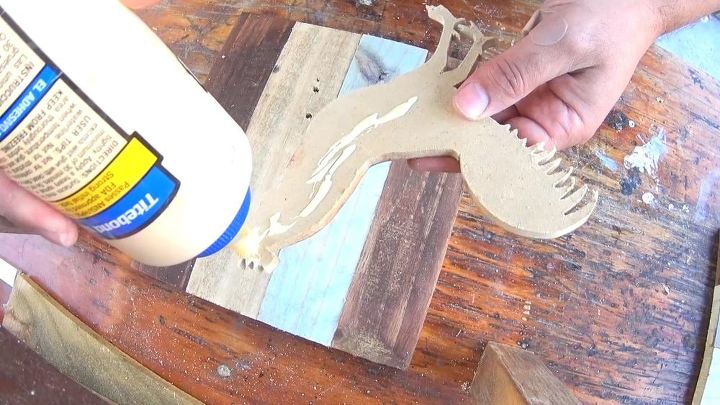
rooster glue up
I'll also add glue to the back of our rooster and set him in the desired spot on out backer.
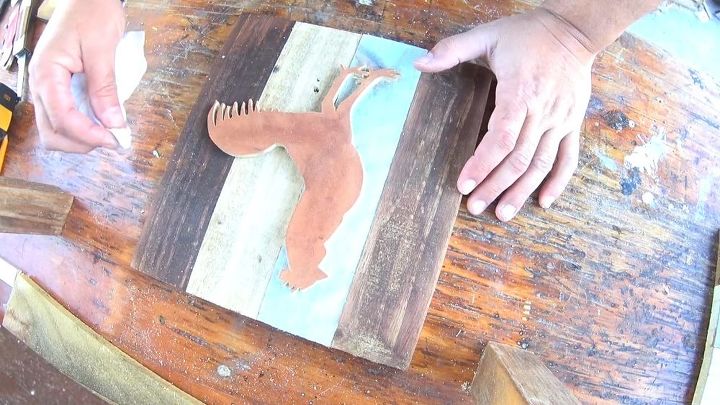
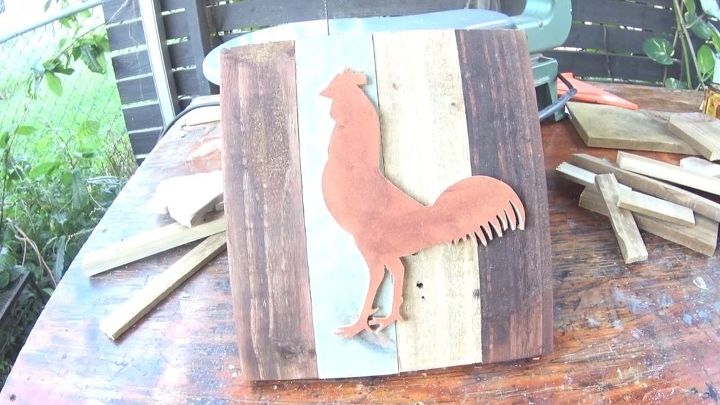
Rooster wall art glued up
Now that all the pieces are glued we will add some reinforcement to the piece. Let's flip our wall art over and show you what we are going to do....
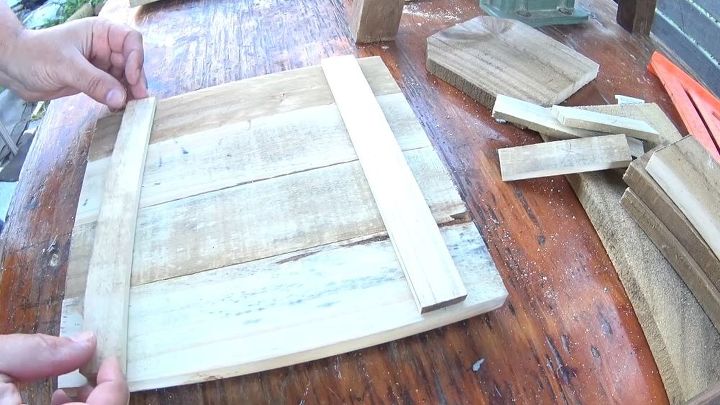
adding strips and hardware
So here on the back we will add these two strips of wood. They will keep the piece stable and we can add hardware so we can hang it on the wall. Check out the finished project....
Rooster Wall Art
Here's our rooster wall art! This piece was sold when I listed it over in my store. I need to make more. Check out the link to see my other items. I hope you enjoyed the projects. I'll catch you next time.


Frequently asked questions
Have a question about this project?