


A "FAUX" SHIPLAP WALL APPLICATION USING JUST PAINT& TAPE
2 Materials
$15
5 Hours
Medium
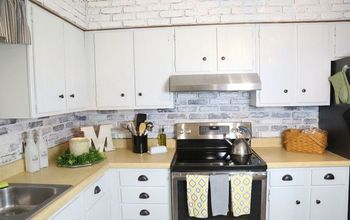
I have just the solution for a bare wall that needs a wonderful vintage look solution! A Faux SHIPLAP TREATMENT, No hammer, wood or tools needed! Paint brushes , lots of masking tape, Paint and patience and time.....believe me the end result will be well worth it.
I first was introduced to shiplap on the HGTV series Fixer Upper, it was love at first sight!
The trick to this application is using both dark and light colored paints. Following these easy instructions you too can have the look of a shiplap wall and shhhhhh no one will even know its not the real deal. The best part is if you tire of it it's a simple paint over if your landlord wont let you do too much of course he will let you paint!
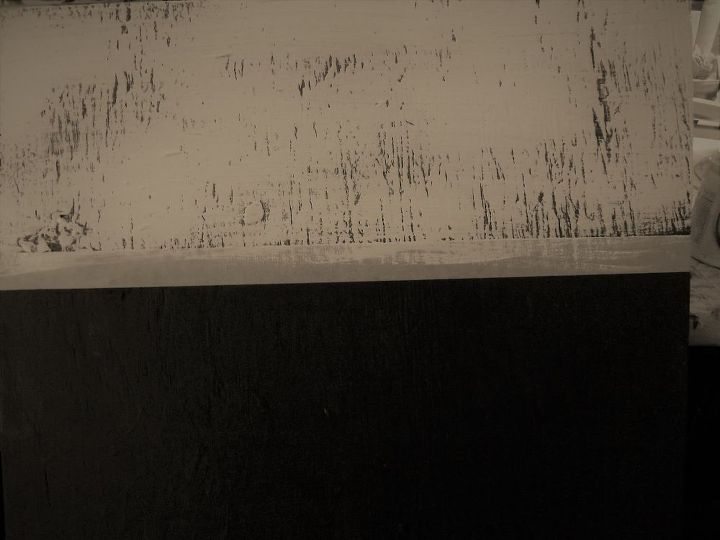
This is where it all began a black wall this is going to be the contrasting colored lines that separate the faux wood boards; so when I paint on the faux boards, you will see a thin black separation line from where the tape was.
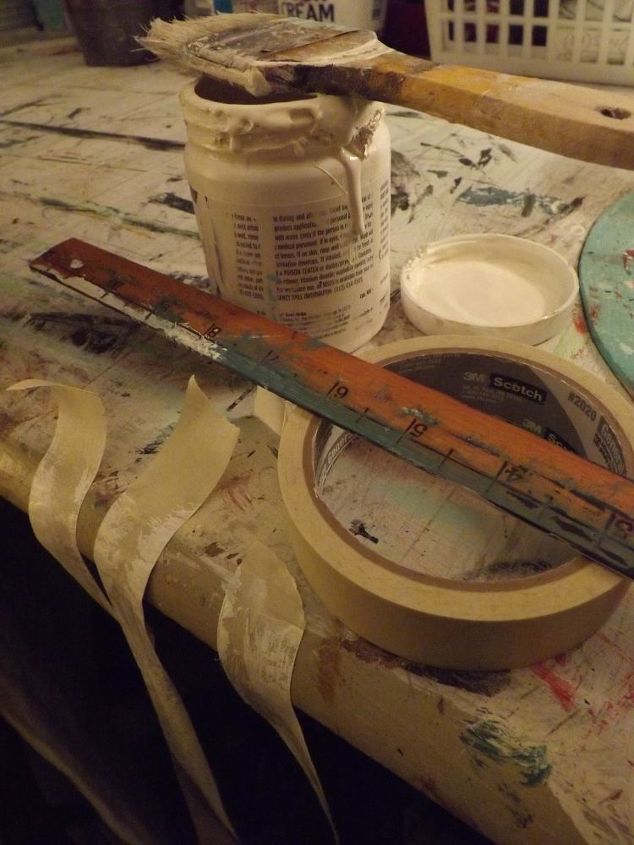
Gather up you tape, ruler, paints-dark and light- and your all set to get started!
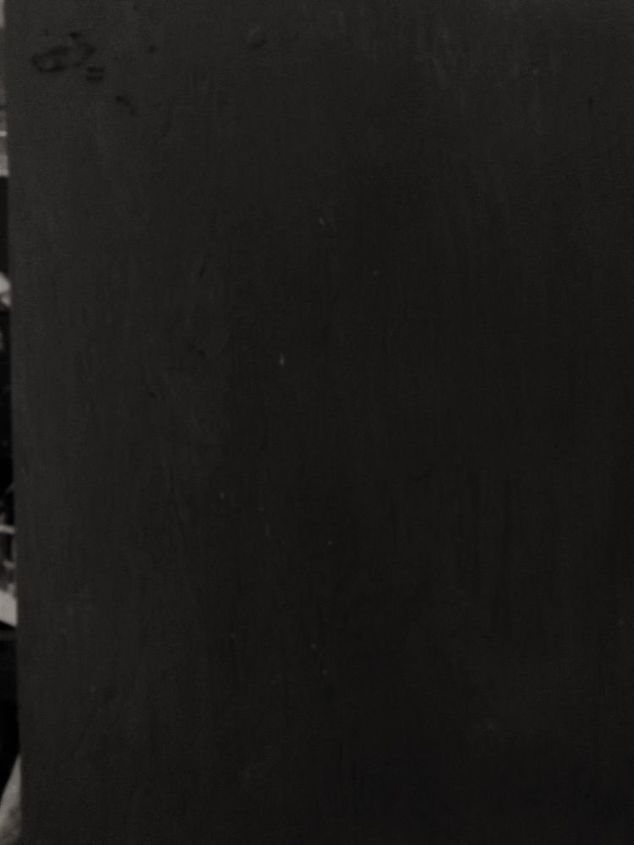
You will need to start with a coat of dark paint. This can be dark grey, black or maybe dark brown depending on your style preference.
After the dark color is completely dry you can begin the taping process. You will tape the wall all the way across, 1 "board" at a time. I think it is better to use just regular masking tape and you will see why....
My faux boards are about 6 1/2 inches wide.
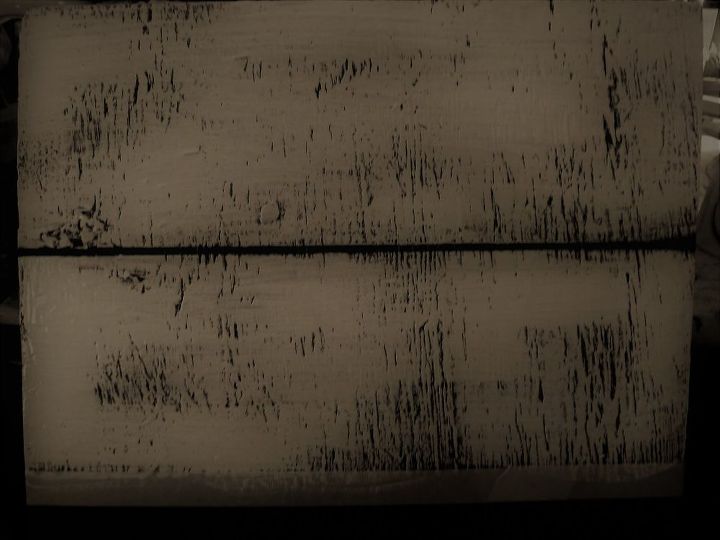
After tape is in place, it's time to paint the first board with the light color!
I chose to have the old vintage look so in some places I did not entirely cover the wall. That's up to you. I have seen some shiplap wallpapers (which by the way I have heard don't come off the wall all that well) with the worn look and some without.
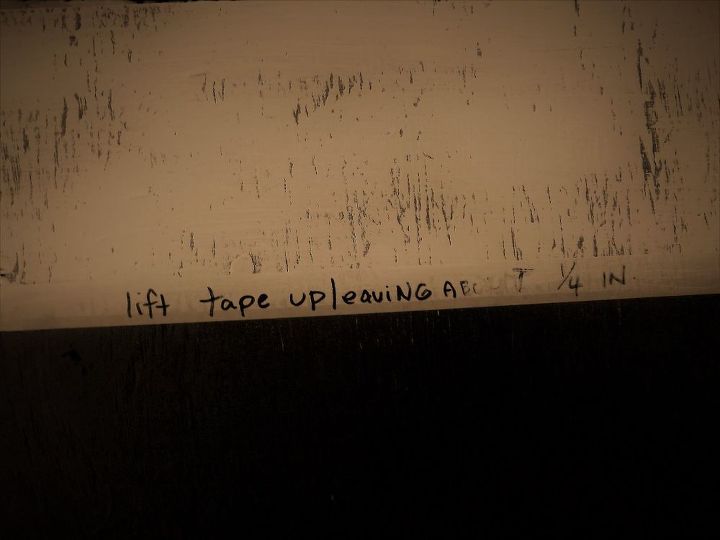
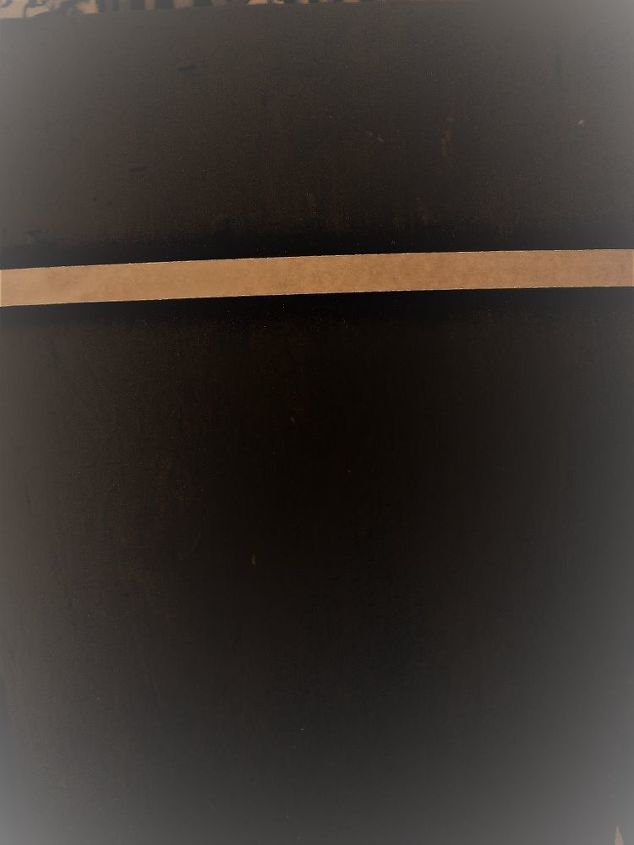
OK people- this is the trickiest part of all and important as well! If you have a helper that would be great I think it is better if you don't try to put the masking tape up in one piece. You are going to lift the tape and place it back down as shown so you have about 1/4 of an inch unpainted underneath. This is where the regular masking tape comes in handy- you can see through the tape! This is going to be that dark space that shows up that divides the faux shiplap up.
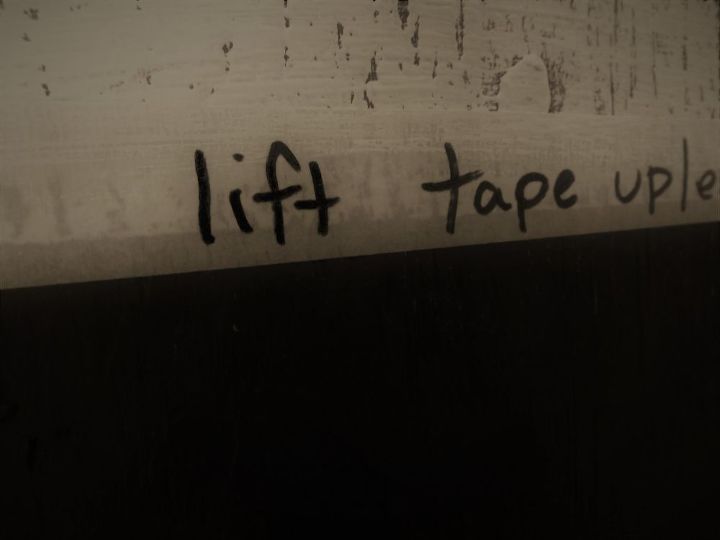
you can see the 1/4 inch better in this photo
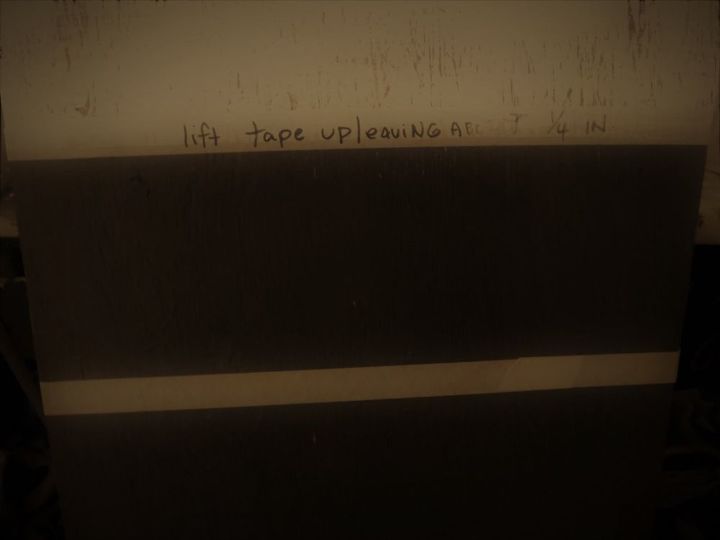
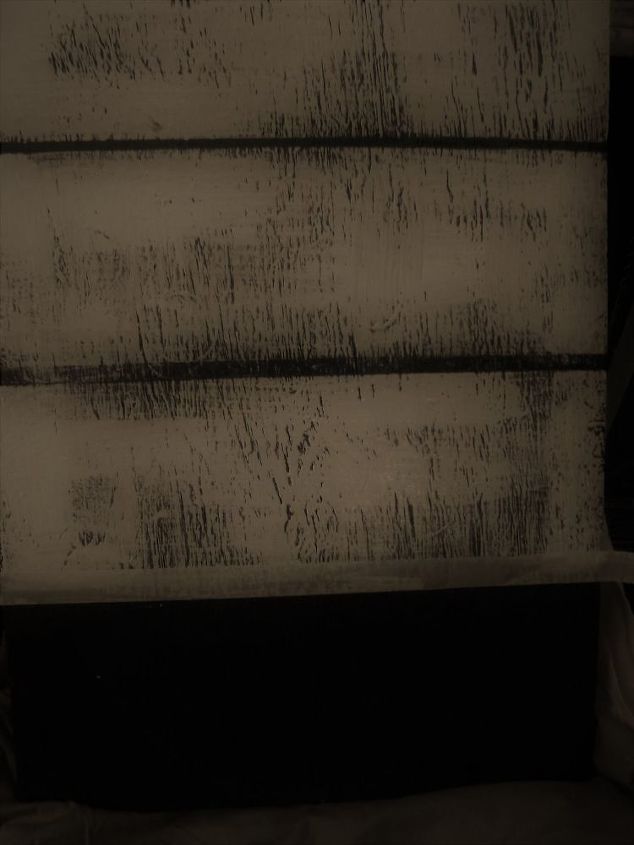
Once you've finished re-positioning the tape, it's time to tape off another segment across. Go ahead and paint within the tape, just like you did before.

It should look like this with the tape set and 2 segments painted
Now, remove the tape and the magic has begun. Repeat these steps until your whole wall is done. Don't stress if everything is not measured perfectly it will all mend together. It is really important to keep the faux boards pretty straight, so if your thinking about having a cocktail while doing this, you may want to wait till your done to celebrate 
This is definitely not the fastest painting project out there, but the end result will be fantastic!
In case you were wondering, I have tried painting in the separation lines (not using the tape) and it just does not look right. You must paint the dark wall first for it to look amazing.
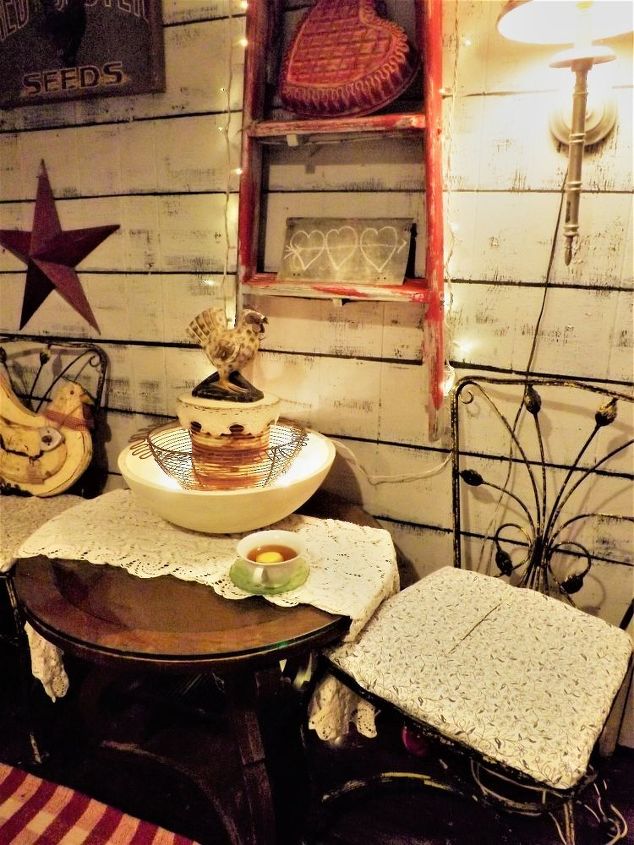
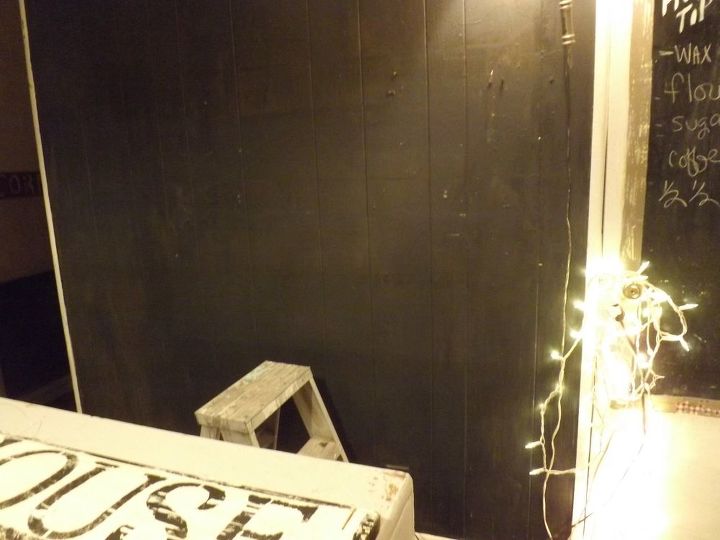
I set up a vintage ladder with white lights , a vintage table and chairs and some other fun stuff and of course some white lights......love my strings of lights......Been sitting here enjoying Tea it has become my happy place.
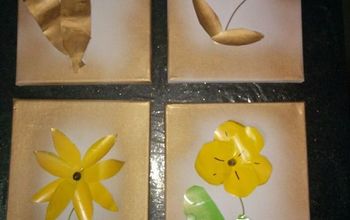
I love the challenge of faux painting so much, I have also done brick & wood grain.
And the most important part to remember when it comes to an application such as this is to have fun with it!!

Want more details about this and other DIY projects? Check out my blog post!
Comments
Join the conversation
3 comments
-
It looks great!
-
I think I’m going to try this


Frequently asked questions
Have a question about this project?