


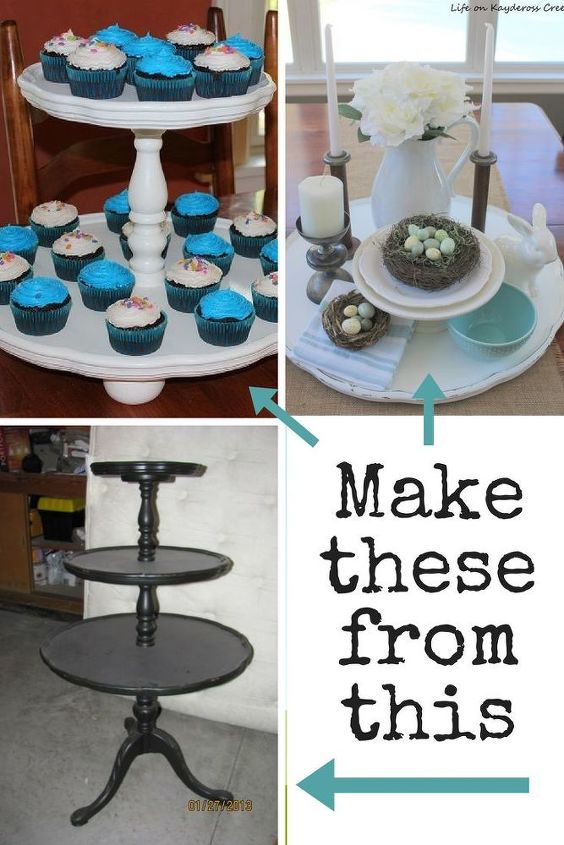
Upcycle an Old Three Tiered Table Into 2 New Pieces
2 Materials
2 Days
Easy
I had this old table in my basement for the longest time and knew I never would use it as it was so I finally decided to pull it out one day to see what I could do with it.
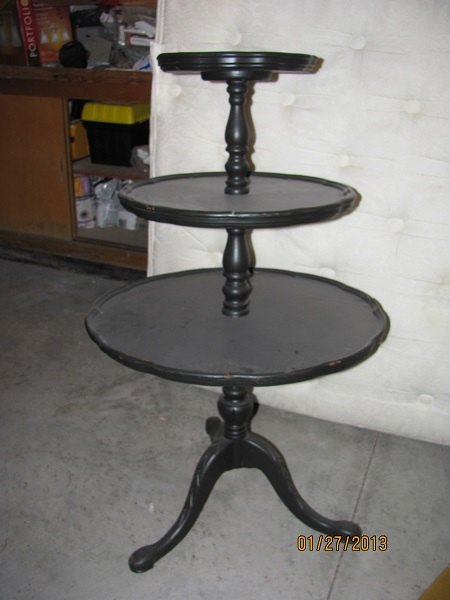
One of the biggest décor trends right now is the 2 or 3 tiered counter stands. I thought that would be a good idea for the top 2 layers. I began to take it apart with a mallet gently because I didn't want to break any of the wood. It came apart fairly easily.

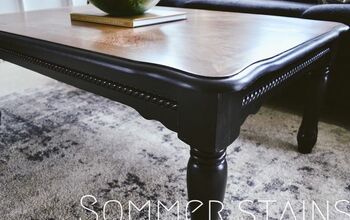
I used homemade chalk paint made with plaster of Paris which helped give it a softer look. The piece had some digs and scratches on it from getting moved around so many times so it needed a little prep work. It got some spackle and some glue and it was ready to go.
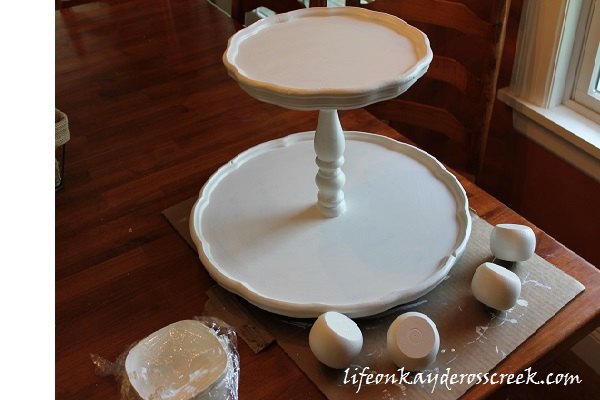
I wanted to raise it off of the table just a bit so I added these cute little bun feet. I think it adds a bit more purpose to the piece and makes it look like something new and not an old part of something else.
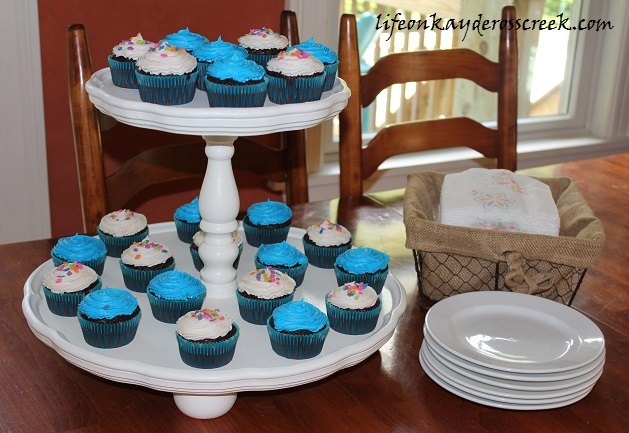
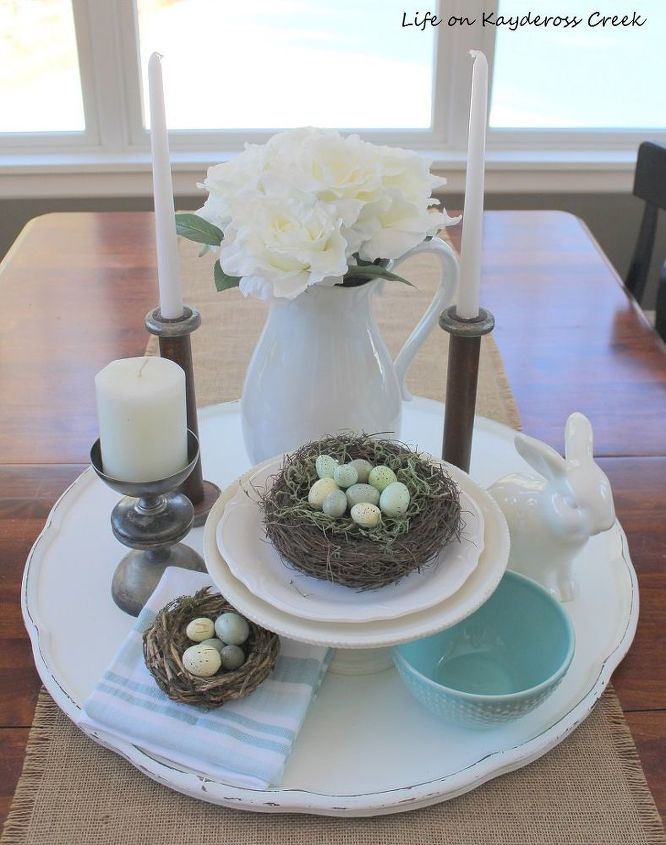
I love the way this sweet cupcake stand turned out. It is so versatile and SO pretty. What a nice way to re-purpose something that otherwise would have sat in my basement.
The 2nd project was made from the largest tier on the bottom. It ended up in my basement again because as a true DIY’er/hoarder, I couldn’t seem to toss it. It ended up getting pretty beat up over time and I was surprised just how much when I went to dig it out for this project.
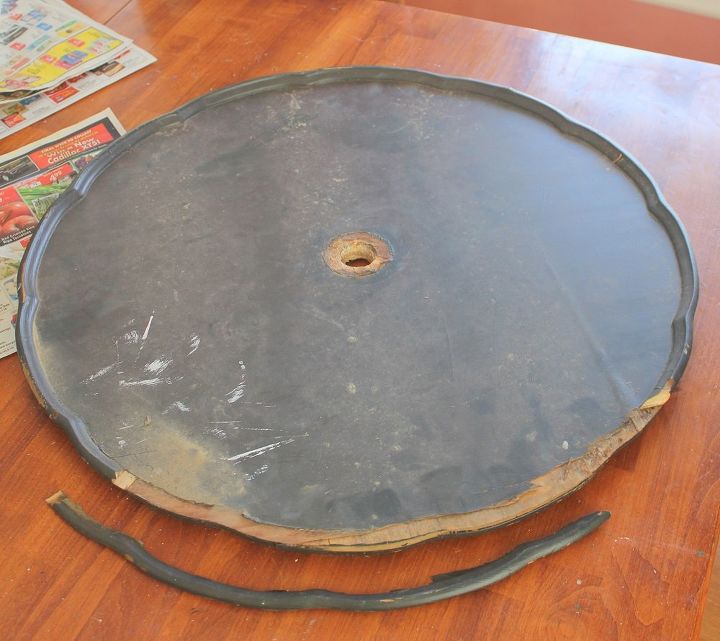
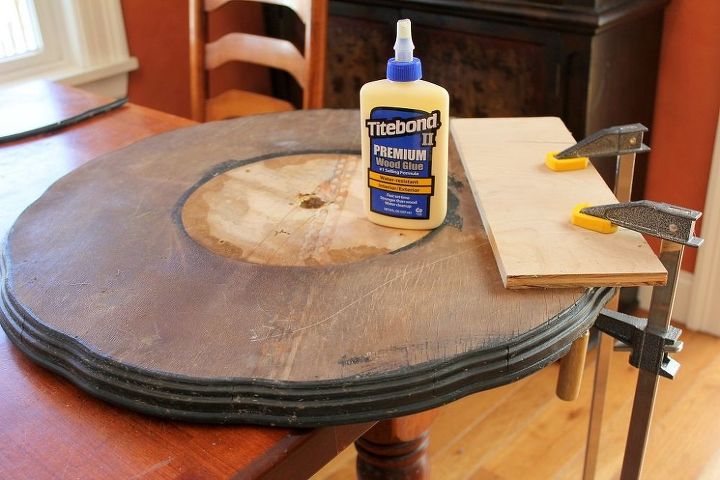
Needless to say it needed a lot of TLC. We had to glue the pieces back on and also fill the whole in. We used wood glue to fix the edges and the layers of laminate wood that make up the base. We clamped it and let the glue dry overnight.
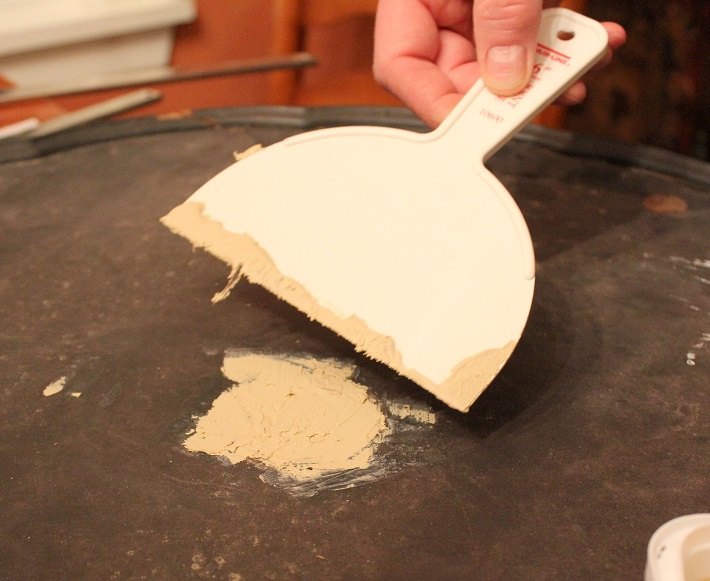
Then we filled in the hole in the middle with wood filler. We used a wide putty knife to spread it out flat and let that dry overnight as well. It still had some cracks in it when it was dry so I went over that with some spackle.
Once everything was dry, I sanded it down and gave it a coat of the same chalk paint.
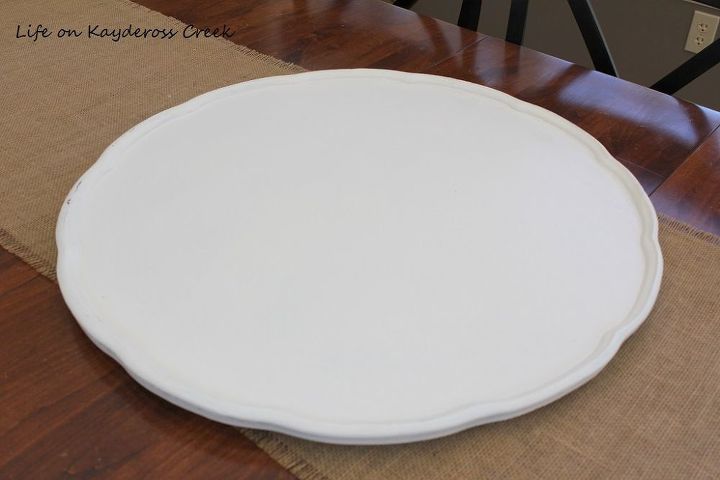
Something someone else may have thrown away turned out super cute and useful. I'm still thinking about adding handles. I did give it a bit more character by distressing the edges here and there.
For more projects like this, please visit my blog, Life on Kaydeross Creek at http://mylifeonkayderosscreek.com or on Facebook at


Any price and availability information displayed on [relevant Amazon Site(s), as applicable] at the time of purchase will apply to the purchase of this product.
Hometalk may collect a small share of sales from the links on this page.More info

Want more details about this and other DIY projects? Check out my blog post!
Comments
Join the conversation
2 comments
-
What a wonderful way to bring life to an old table. Both projects are so lovely.


Frequently asked questions
Have a question about this project?