


Faux Finish Farmhouse Windmill

12 Materials
$10
1 Hour
Easy
I had wanted a windmill for my master bedroom, but I was not spending $300. I decided I'd try this out, using old ceiling fan blades, and spray paint. This project was made from something that was going to be thrown away, but I gave it a new life! I got the windmill look I wanted for only $10 see below how you can make one also.
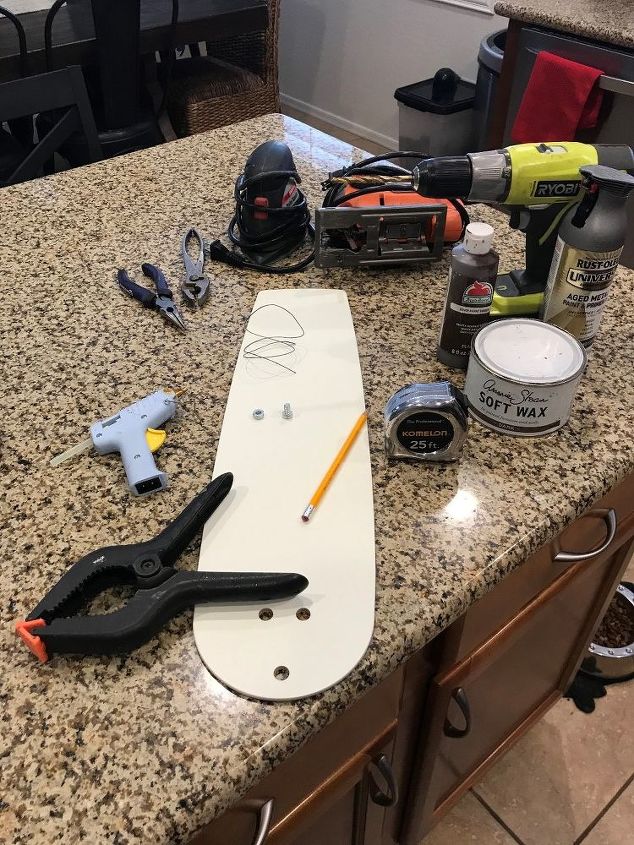
These are all the supplies I used
Fan Blades you'll need 4
Glue gun
Clamp
Picture wire
Pencil
Tape measure
Pliers
Wrench
Jig saw
Drill
Sander
Paint
Bolts and Nuts 3 of each
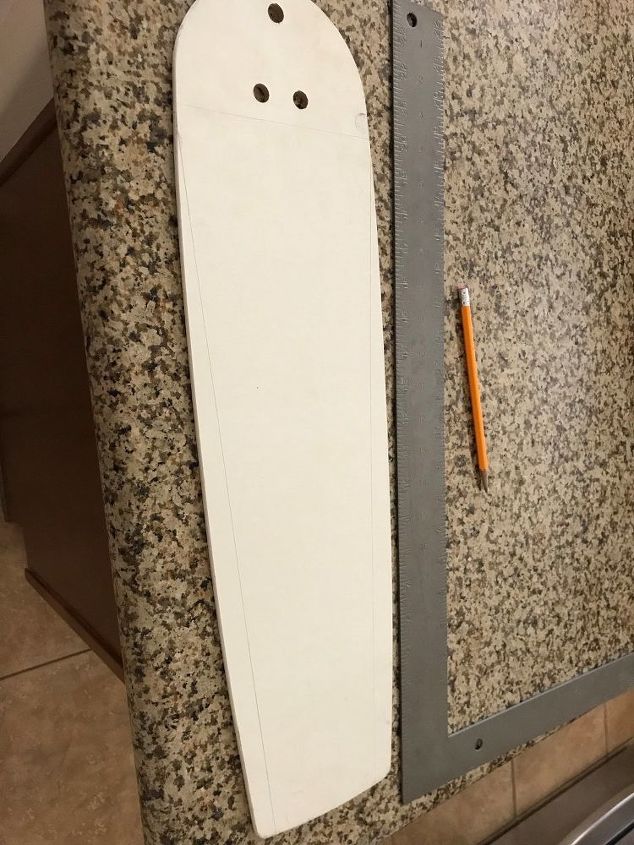
First, I needed to cut them into a more angular windmill blade shape So, I cut the one end with the holes off. Mine where pretty straight on the other end so I left them. I grabbed my straight edge and penciled a line from top to bottom..
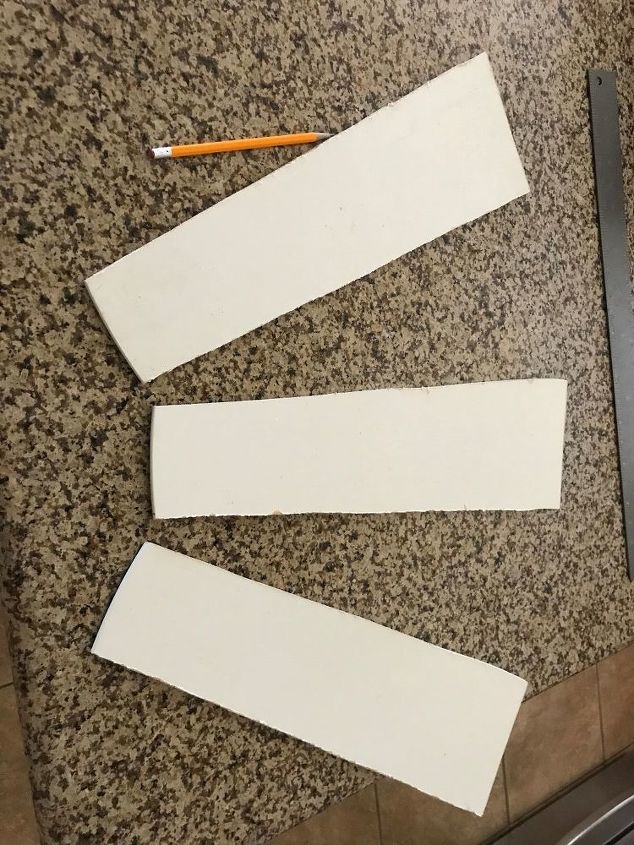
I grabbed the saw and followed my penciled lines and I sanded them because they where not perfect but here they are shaped.

I then painted them to see how they looked. I thought they looked great! I'll explain below how I did this. The next question was how was I going to attach them? Well I had 2 extra blades so I said I'll cut one in a 1/2 moon shape this way all the materials will be the same thickness.
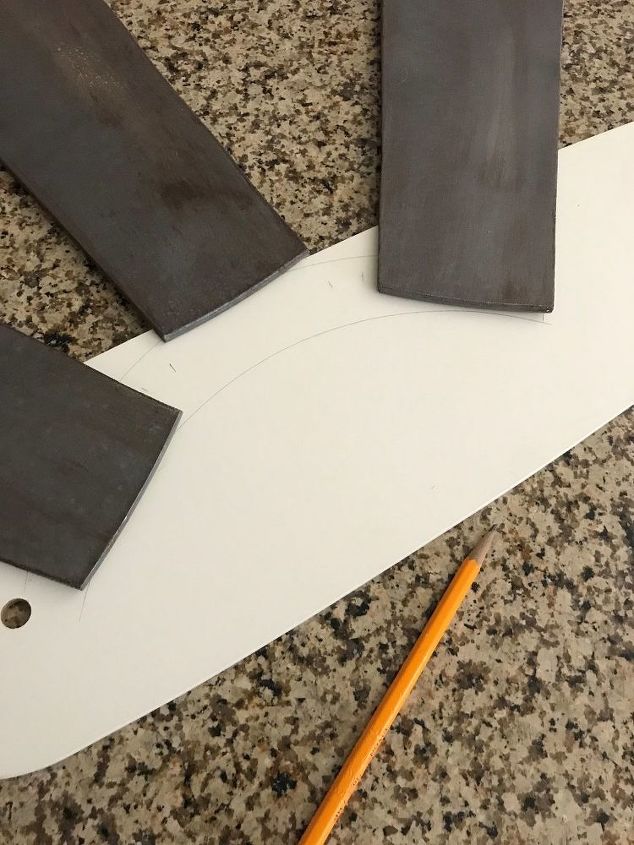
I got out a round pizza pan and used that as my edge to trace, then I moved it down and made another about 2" below

I then took it outside and cut my 1/2 moon. Not perfect again but I new very little would show and that I could sand it in the needed areas.
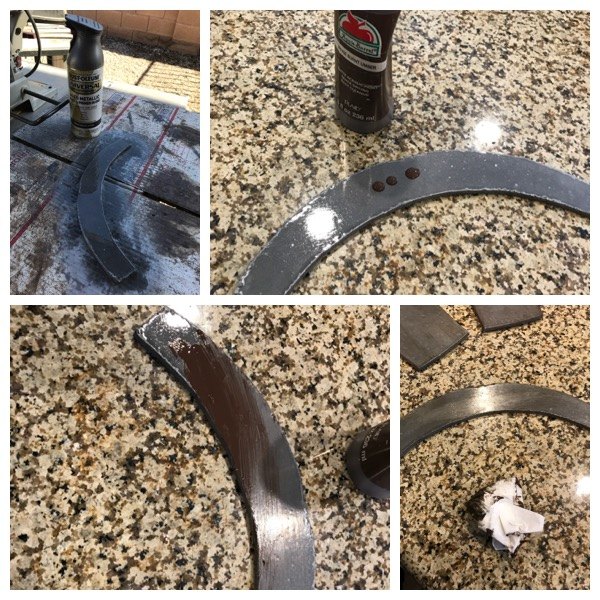
I then painted the 1/2 moon. This is the technique I had used for everything. I purchased Rust-oleum Aged Metallic Weathered Steel and sprayed it once then I let it dry (it was shinny which I didn't like). So I grabbed some Apple Barrel Burnt Umber (brown Paint) and squeezed 3 dots on the 1/2 moon and blades and wiped off with a paper towel. I used more in some spots then others giving it and old rusted feel.. I also used a little Dark brown wax By Annie Sloan on the edges to give it more depth.
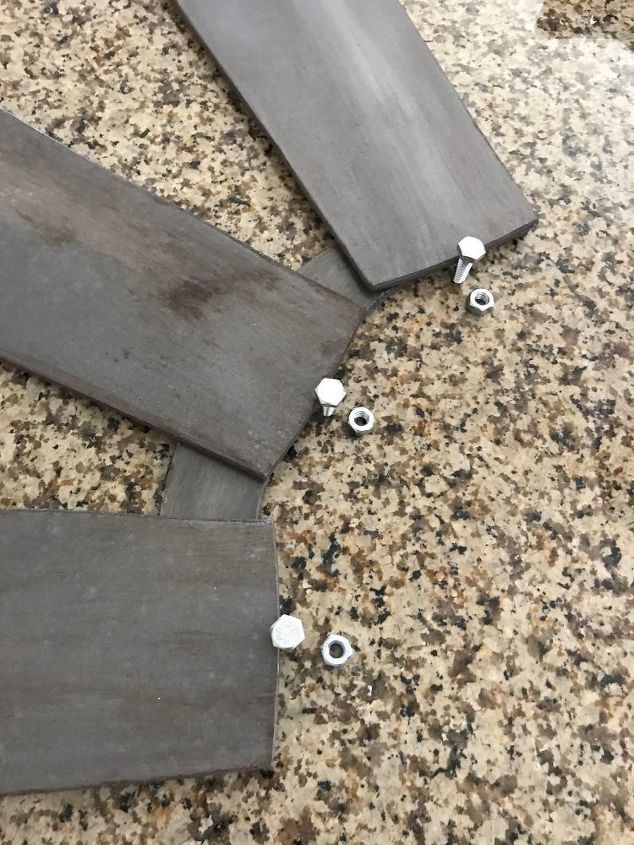
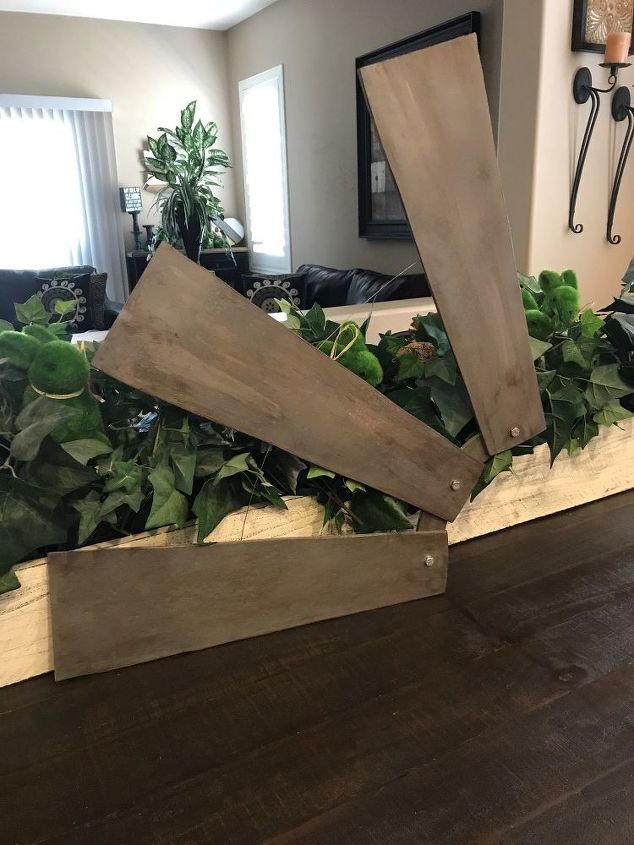
Once I had everything all painted I laid my 1/2 moon under the blades lined it up the way I liked and measured the blades to find the center spot. I marked it with a pencil and grabbed my clamp and clamped the 2 together I then drilled holes in each blade and 1/2 moon. I grabbed the bolts and nuts and tightened with the pliers and wrench so they stay tight and don't move.
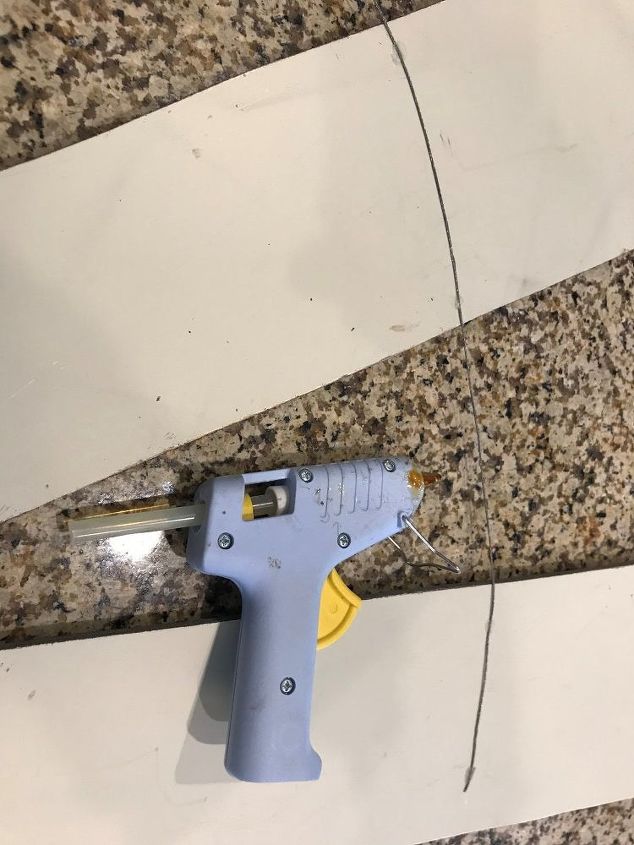
I then flipped them over and added a picture wire on the back of all 3 blades with hot-glue. I used it because the real windmills have a stabilizing wire and I wanted mine to look as authentic as possible.
it's done!
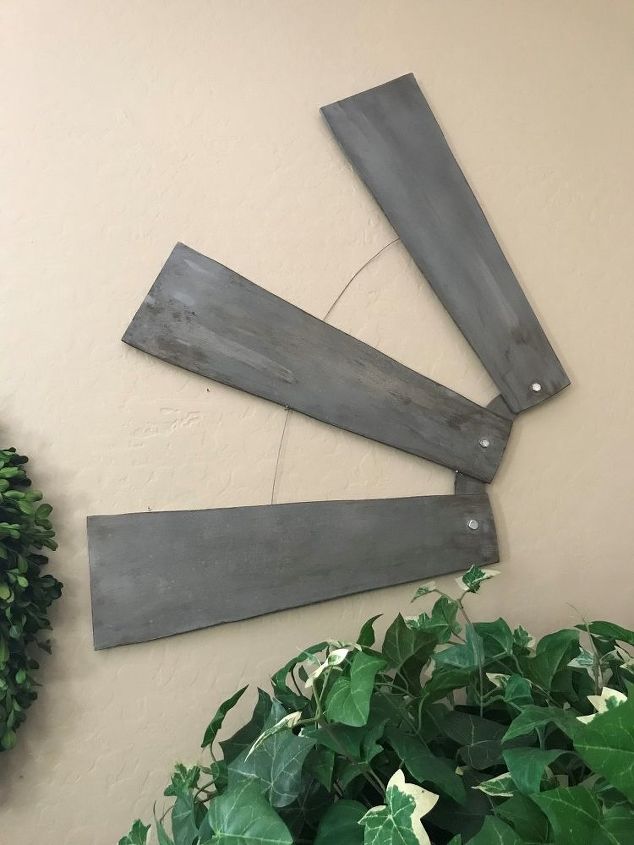
I hung it on my wall I think it turned out great!
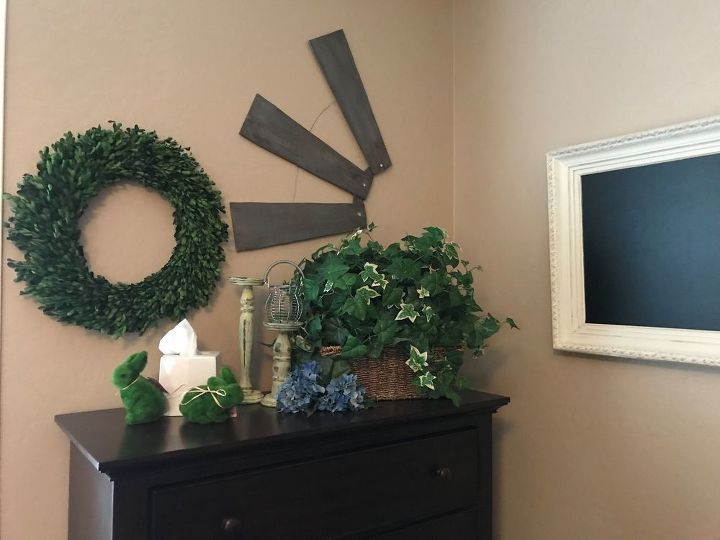
This was my finished look. What do you guys think? Is this the perfect faux windmill job you have seen? It cost me about $10 compared to $300 I'll take it! See many Items I do at Gilbert Marketplace https://www.facebook.com/groups/148871301967379/
Comments
Join the conversation
5 of 14 comments
-
Please make sure you give credit to my blog, Sadie Seasongoods. I appreciate that you were inspired by me, but not giving credit is a direct violation of my copyright policy. Thank you kindly.
- See 2 previous
-
interesting


Frequently asked questions
Have a question about this project?