


How to: DIY Welcome Sign Using Boxes

7 Materials
$12
2 Hours
Easy
Hey guys! For this project I DIY'ed my own welcome sign using boxes as well as items from Dollar Tree and Walmart. I’m the maid of honor in my cousin’s wedding so I am hosting the Bridal Shower. I saw this really cute idea on Pinterest and decided to personalize it to my liking. Let me know what you think!

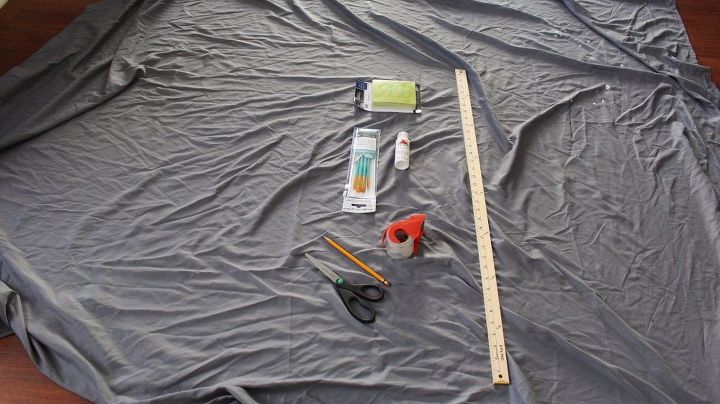
Here's a list of items that you will need to complete the project as well as their prices. (Yep, it's a pretty affordable DIY in my opinion.)
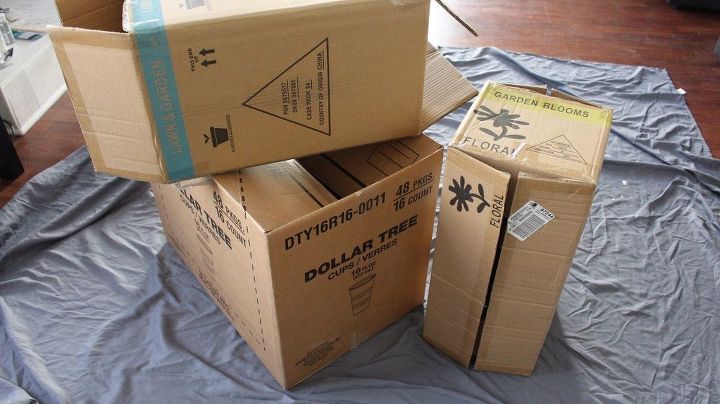
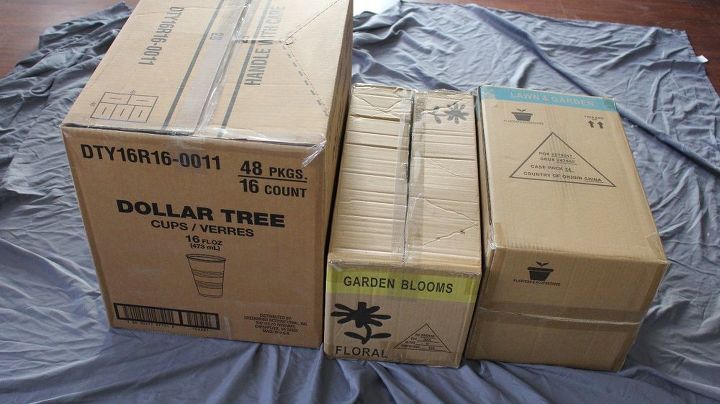
First, you're going to tape your boxes in prep of wrapping them. You want to make sure that they are sturdy when you are taping them, so that when you start tracing using your stencils, you don't poke holes in the wrapping paper / gift wrap.
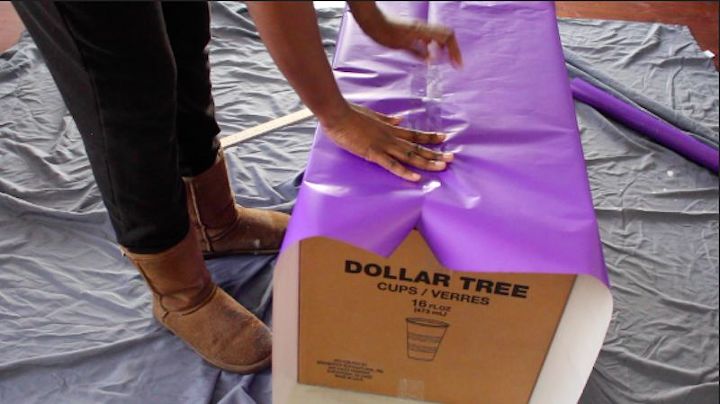
Step two: wrap your boxes with your wrapping paper / gift wrap.
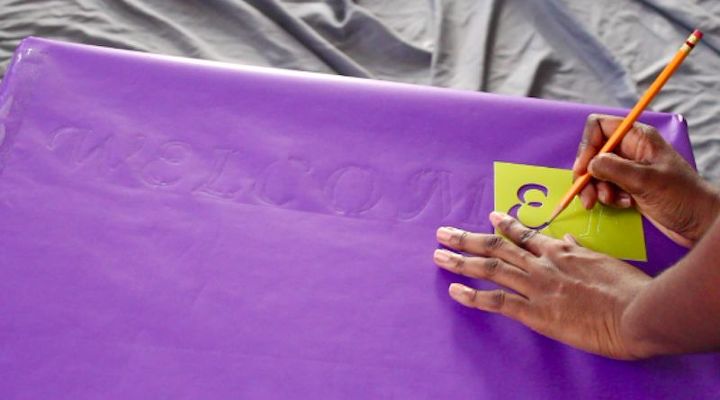
Step 3: Get out your stencils to outline your message in preparation of painting in your letters.
Note: I used stencils because I'm not good at free hand painting or caligraphy. Lol
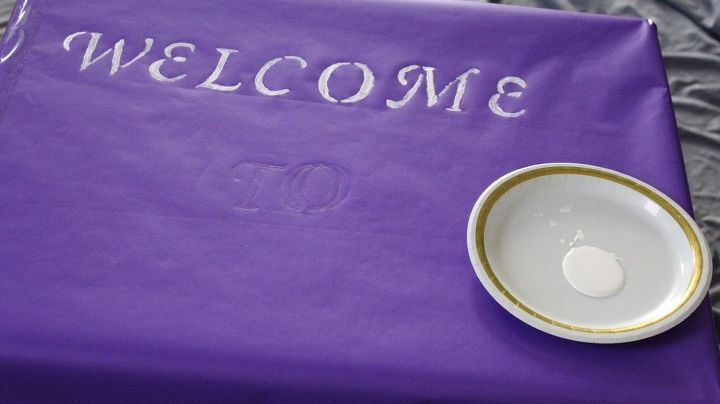
Step 4: Pick the paint of your choice and use it to paint in your letters.
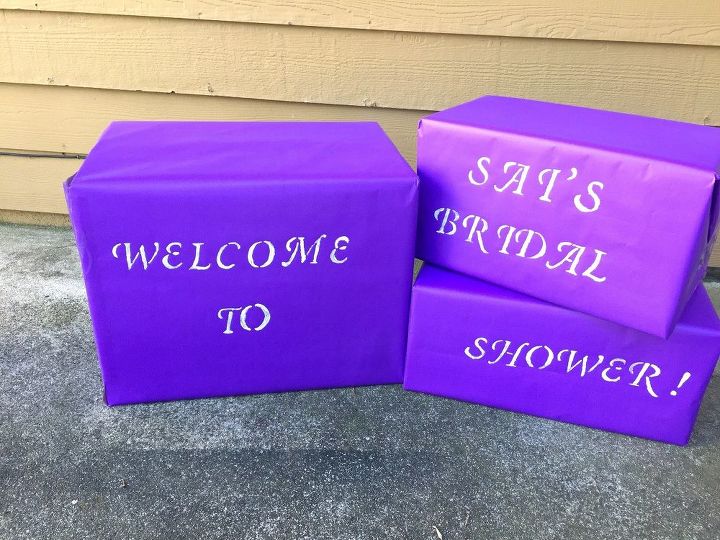
Step 5: Let your paint dry, and your Welcome Sign (or Welcome Message) is READY!
{
"id": "4663364",
"alt": "",
"title": "",
"video_link": "https://www.youtube.com/embed/_4p5w0Xx-m8",
"youtube_video_id": "_4p5w0Xx-m8"
}
{
"width": 634,
"height": 357,
"showRelated": true
}
To get the full tutorial, check out my video here!
Comments
Join the conversation
2 comments
-
So cute! Simple, easy and inexpensive. You could even drape some flowers or ivy across the top. That's my kind of project.

-
Thank you Linda!


Frequently asked questions
Have a question about this project?