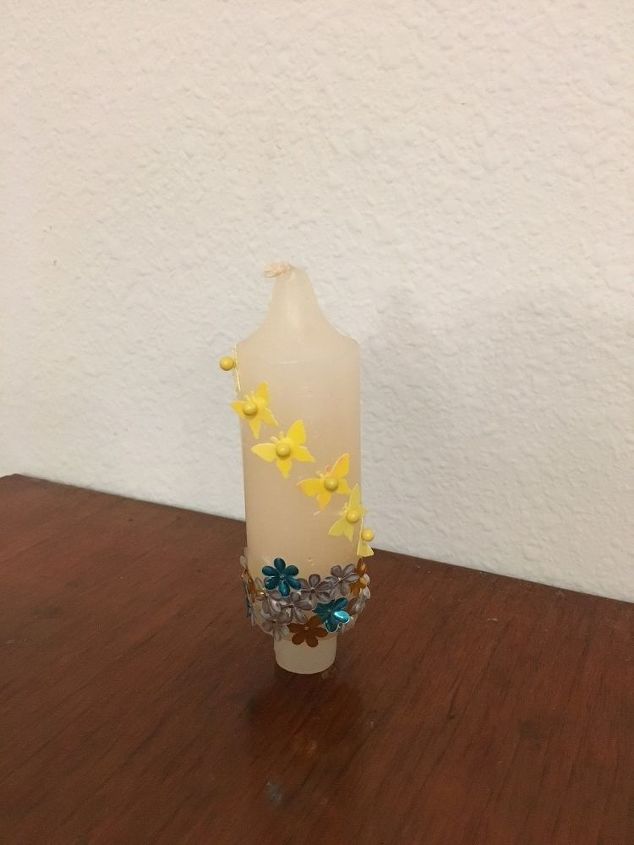
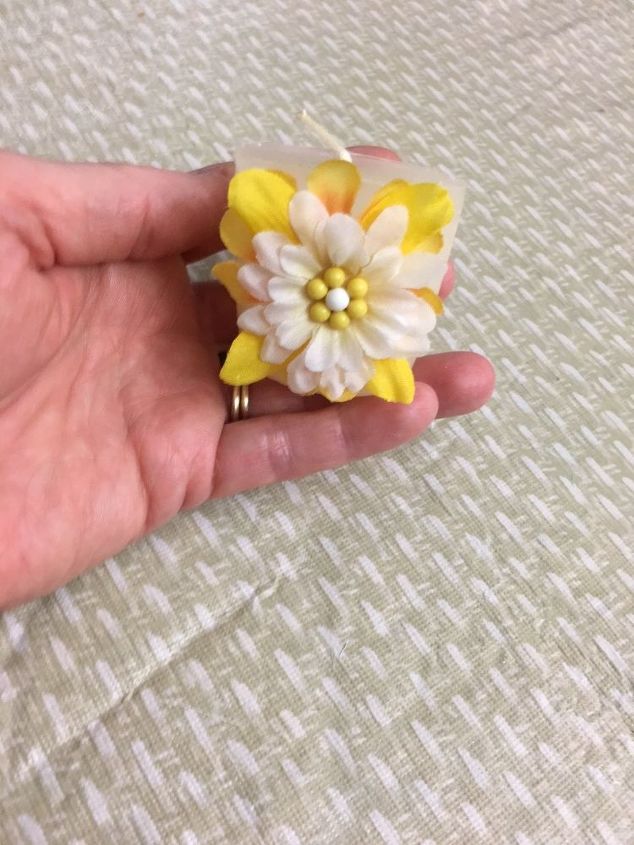
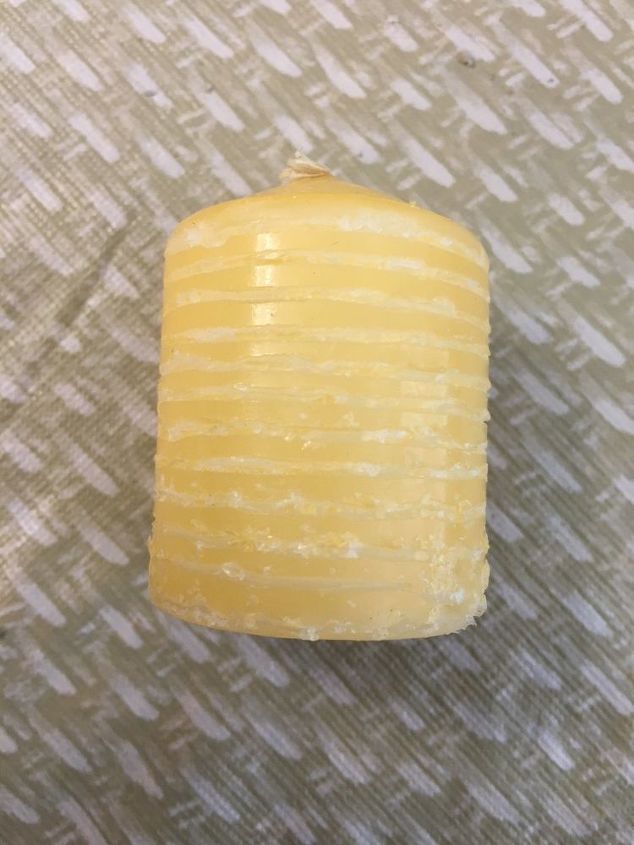
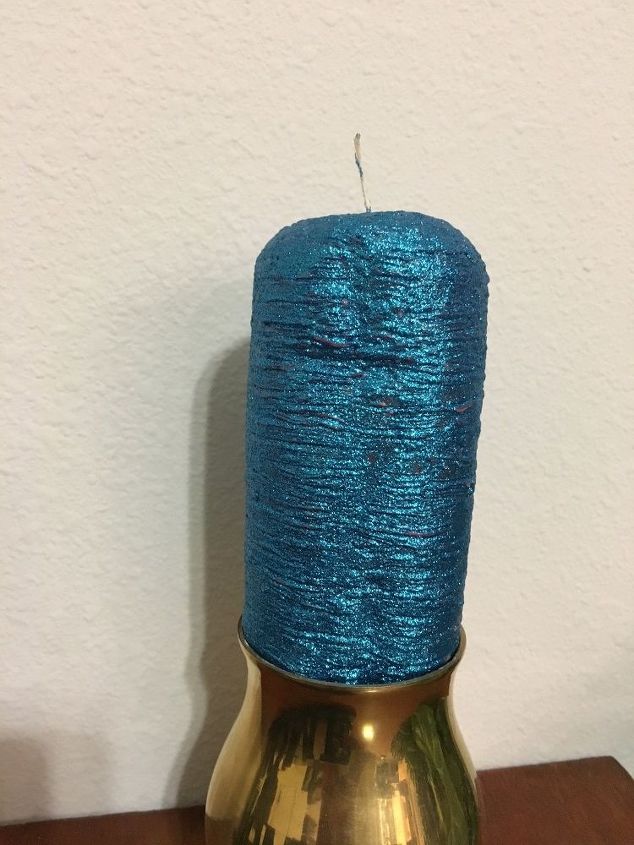
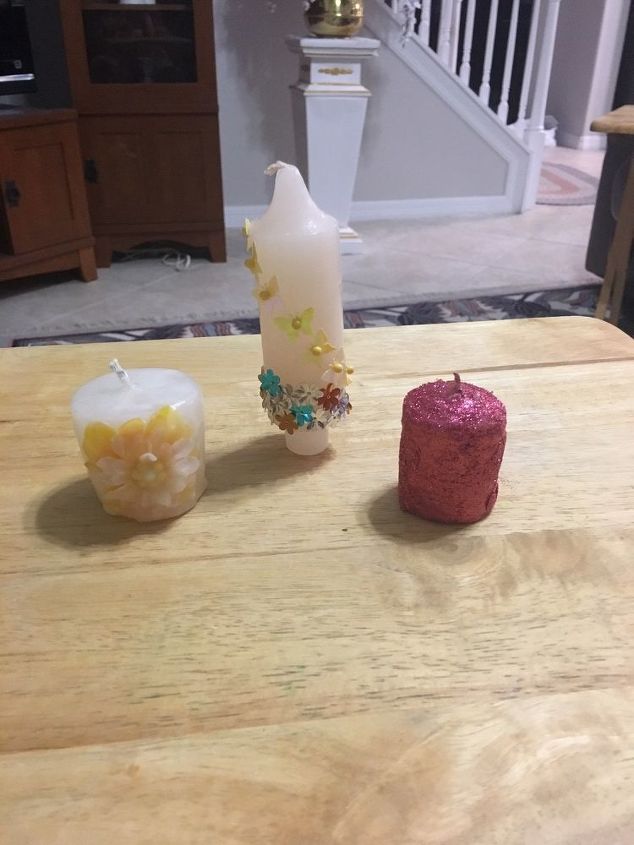
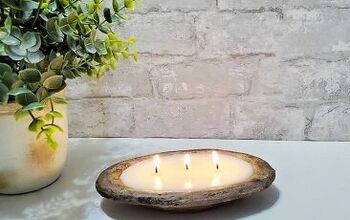
Easy Candle Make-Overs

Kelly Condie Thompson
by Kelly Condie Thompson
7 Materials
$10
2 Hours
Easy
There are lots of ways to make your candles so much more special than just pillars of wax. Allow me to elaborate. These are examples of candles that can be used for decoration. I have not tried actually burning them. So let the buyer beware - as the old saying goes.
I started with a plain old emergency candle. I chose some multi-patterned sequins from a bag that I had in my craft stash. Using some wire cutting pliers, I cut some pins off so that they would be a length that would penetrate the candle and hold on the sequin, but not be so long as to make it difficult to push all the way in (about half of the pin length). The heads of the pins were large enough that they would not slip through the holes in the sequins. If not, I would use pins with larger heads, such as glass headed pins or quilting pins. I then devised a plan and pattern for how I would apply the sequins to the candle. There needs to be space for your eye to rest in between the sequins. So, I put the flowers around the base, making a bed of flowers for the butterflies. I then used the butterflies to encircle the candle in a winding fashion. I like the end result. All that is left is for me to find a candle holder to put it into.
You can see that I mixed up the colors of the flowers on the bottom so that it was varied in appearance. You can also see that I needed to use different pins to hold the butterflies on the candle with. They had larger holes than the flowers did. After I "finger-pushed" all the pins with sequins into the candle, I went back and used the point of the needle nosed pliers to make sure that the pins were all the way pushed into the candle.
For the next candle, I used a votive and some flowers that I took apart to make the flower that I wanted it look like on the candle. After assembling various parts of various silk flowers, I again used some glass headed pins that were cut to size. I attached the compiled flower onto the candle with these flowers. It makes the center look three dimensional and held the candle in place for the next step.
Holding onto the wick I dipped the entire candle into some clear melted wax that I had readied prior to beginning this phase of the project. The silk flowers absorbed the wax and were held in place with a soft layer of wax. It looks very frozen in place and will be much easier to just rinse off when the dust settles onto it. Every part of it is enclosed in wax.
For the next candle, I took a pair of sharply, pointed craft scissors and cut shallow lines all the way around the candle horizontally. This was to help the glue hold to the candle. Have you ever tried to put glue on a candle? It just won't stick to it. But, with ridges in the candle glue can stick to the wax and so can fine glitter.
I used my favorite glue - quick grip, in the yellow and now blue tube - and smeared it all over the candle with my finger. Then I used quickly used some fine glitter to sprinkle over the entire candle. I let it dry and then did the same things again to give it a second coat (some of the candle was still showing through). I even texturized, using the aforementioned technique, to do the top. Only I went around in a circle surrounding the wick in the center. It just didn't look right with the sides one color and the top another color of wax to me. On some candles, it could be appropriate to leave them plain wax - your choice. I like how it turned out.


I had done a previous, larger pillar that was pink. You can see some of the pink of the candle showing through the glitter. It gave it an interesting affect. One side I glittered twice to completely cover and the other side, only once for the affect. I was also trying to hide the deep gouge in the side of this one with this glittery disguise. Didn't really do that - oh, well... I still like how this turned out, too.
This is the final result of the three candles that I did and just explained this time. Just simple ideas that anyone can do. Candles are pretty decorations - whether you actually light them or not. See what fun things you can do with yours!
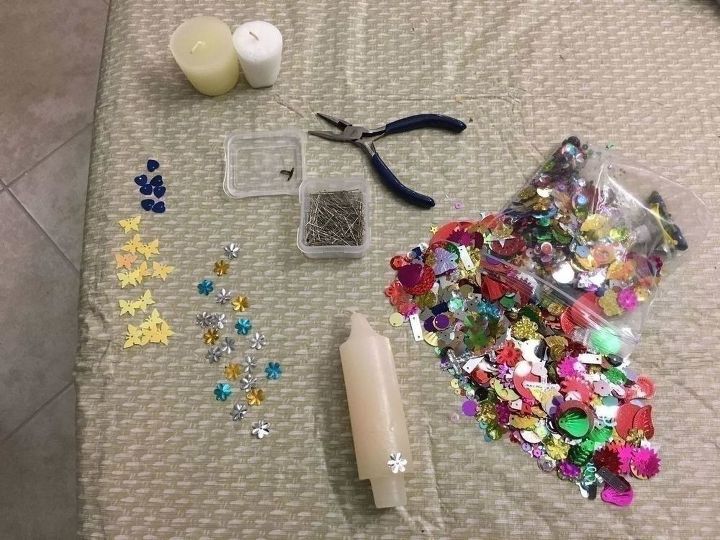
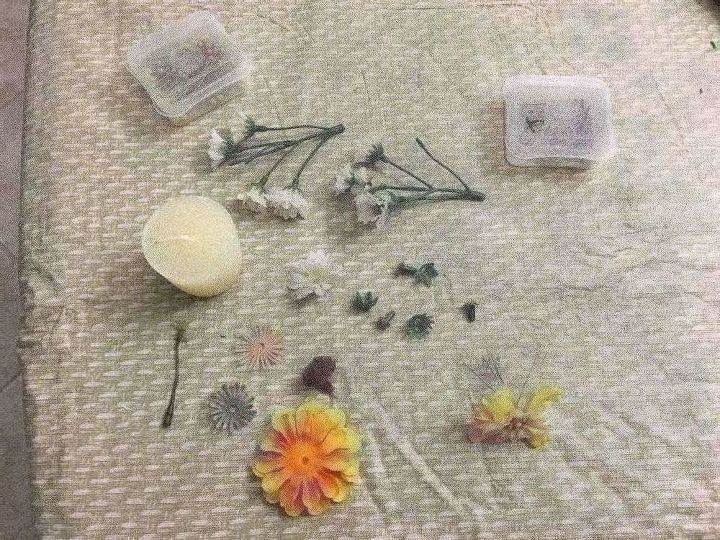
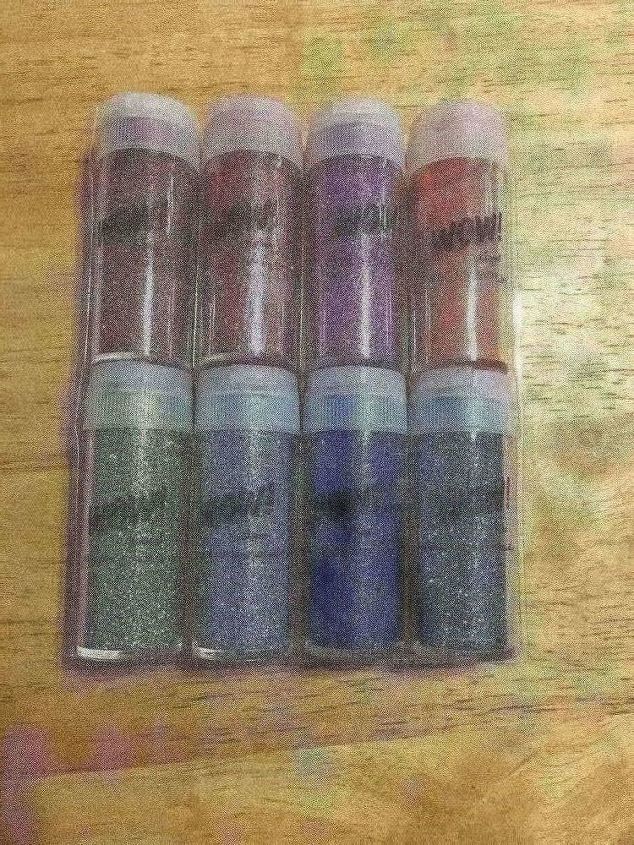
Resources for this project:
See all materials
Any price and availability information displayed on [relevant Amazon Site(s), as applicable] at the time of purchase will apply to the purchase of this product.
Hometalk may collect a small share of sales from the links on this page.More info
Frequently asked questions
Have a question about this project?
Comments
Join the conversation
 2 comments
  • Wendy Wendy on Mar 25, 2018

    Iove your ideas! Thank you!

  • Paige Paige on Jul 10, 2020

    Great candle DIY! I LOVE it, it's so cute


    My interest in being the best candle maker I could be, lead me to take many classes to learn how to perfect my art. I also read books and researched everything I could.


    I discovered that while there was tons of information available, only a tiny bit of it was actually useful. I was also fortunate to have the help of many candle makers from whom I learned how to be a master at candle making and how to impress everyone with my great smelling candles.


    Candle Making 4 You equips me with the knowledge and skill so I can make my own candles in the comfort of my own home. I save money and make money at the same time. Several bonuses will also be mine when I purchase this system.


    It's a course that teaches you how to become a professional candle maker for fun or profit. I highly recommend it. Here's a link to their site.

Next