


The Trick To Perfect Hand Lettered Signs
3 Materials
$3
1 Hour
Easy
I've seen a lot of different methods to writing on wood signs, but mine has to be my favorite. I do not have a printer, so most methods I have seen will not work for me (graphite paper, press and trace, cut out and adhere letters, etc). But I do have a projector....
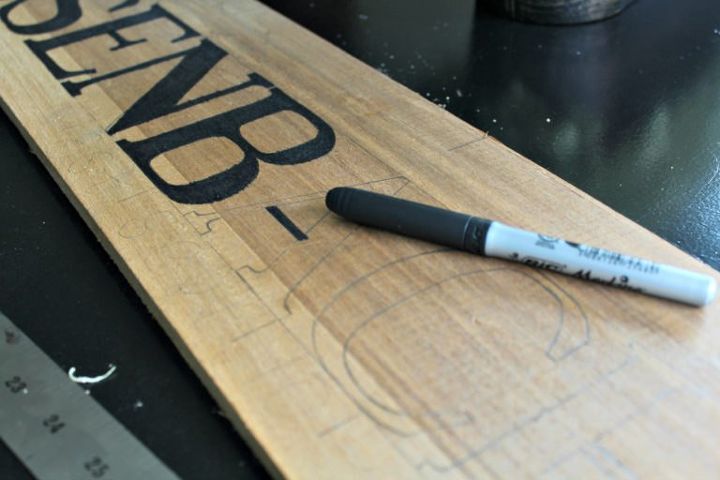
In the past, I would measure out my sign, pencil it all in, and then use a Sharpie to fill in the letters. But I have figured out a more efficient and professional looking way as you can see in the video below...
{
"id": "4818024",
"alt": "",
"title": "",
"video_link": "https://www.youtube.com/embed/jyO7xQNtKpc",
"youtube_video_id": "jyO7xQNtKpc"
}
{
"width": 634,
"height": 357,
"showRelated": true
}
This video showed you how you can get perfect hand lettering by projecting the design on your computer to the wood sign! This can help with the hardest parts of hand lettering like serifs, spacing, and cursive fonts.

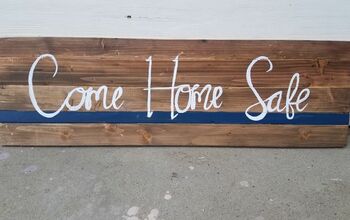
I also really prefer Sharpie paint pens for hand lettering signs because you get way more control than using a paintbrush and paint. This 5-pack of oil-based Sharpies is cheaper per pen than any you will find in the store and has all the best colors.

For this sign, I also stained it with a DIY wood stain recipe. I also used acrylic paint to add the bark-like gray streaks. Be sure to click on my blog link at the bottom of this article to see many more signs I've made and get more insider info from a sign maker!

If you are a fan of video tutorials, subscribe to my Youtube channel! Thanks for reading!
Resources for this project:


Any price and availability information displayed on [relevant Amazon Site(s), as applicable] at the time of purchase will apply to the purchase of this product.
Hometalk may collect a small share of sales from the links on this page.More info

Want more details about this and other DIY projects? Check out my blog post!
Comments
Join the conversation
1 comment
-
Good idea, old overhead projectors work too, if you can borrow one from a school... I did!


Frequently asked questions
Have a question about this project?