


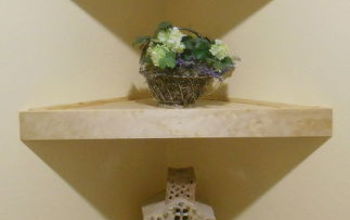
Creative Corner Shelves

3 Materials
$36
2 Hours
Easy
Creative and Sturdy Corner Shelves
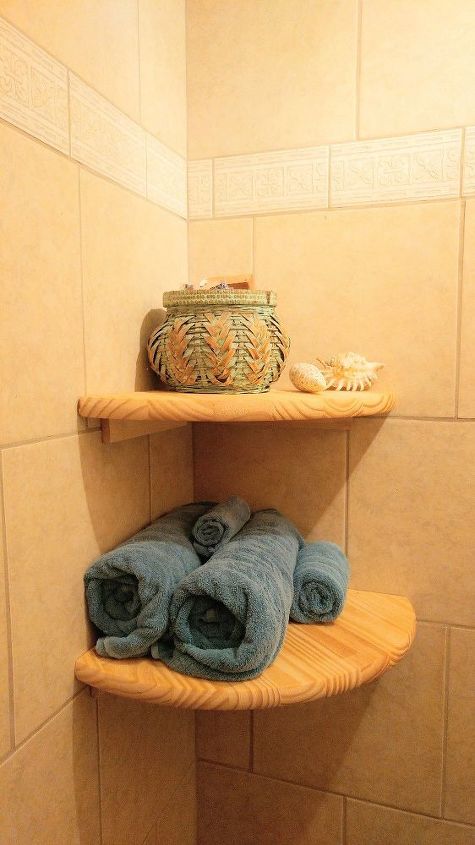
I needed a set of shelves in our space challenged bathroom that complemented bamboo items that were in there.

Scavenging in my stockpile, found goodies, tools and made the list of what I needed and off to the toy store I went. As usual, getting side tracked, but eventually getting to the wood department!

Measured wall, to determine width, measured the wood... And did it again....
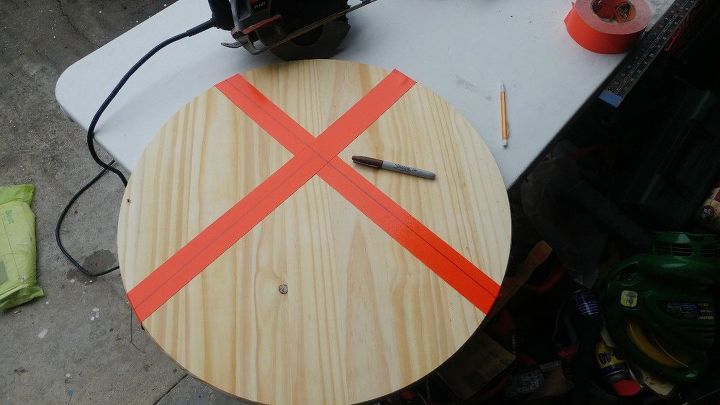
I moved the square around to get the desired wood grain. I put tape down in the area I wanted to cut ( to keep the wood from fraying or splintering) , I measured again with square and marked. Wanting my bottom shelf 15 inches on the wall. I cut wood ! Taking this peice in and setting in place, I found out that my house is crooked. (Imagine that) So had to thumbnail an angle to correct this error.
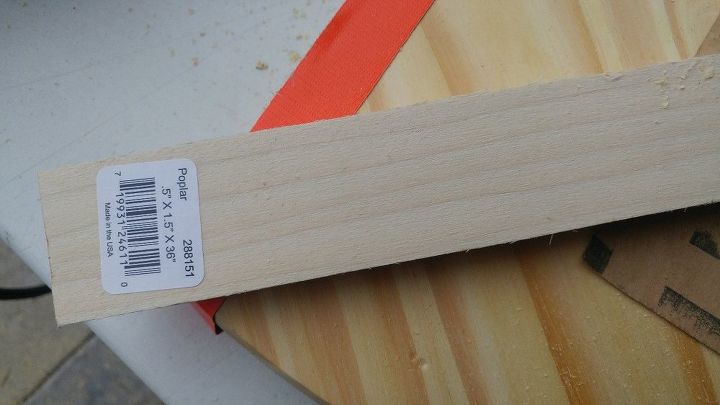
I then cut the poplar trim 13 inches. At this point, I am going to tell you to angle cut one end, as you will see the square cut in the end.

Let the sanding begin!
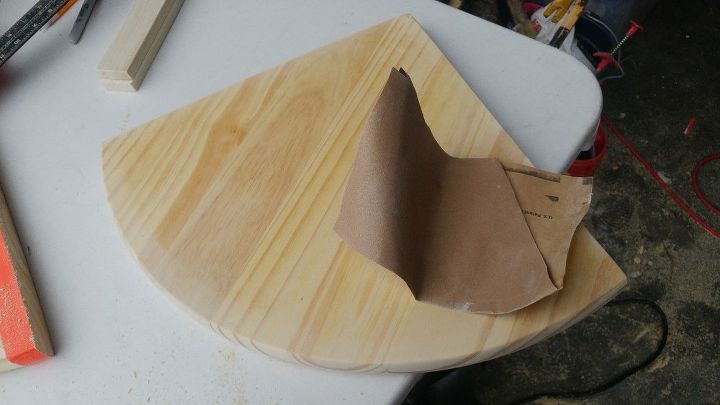
And keep sanding!
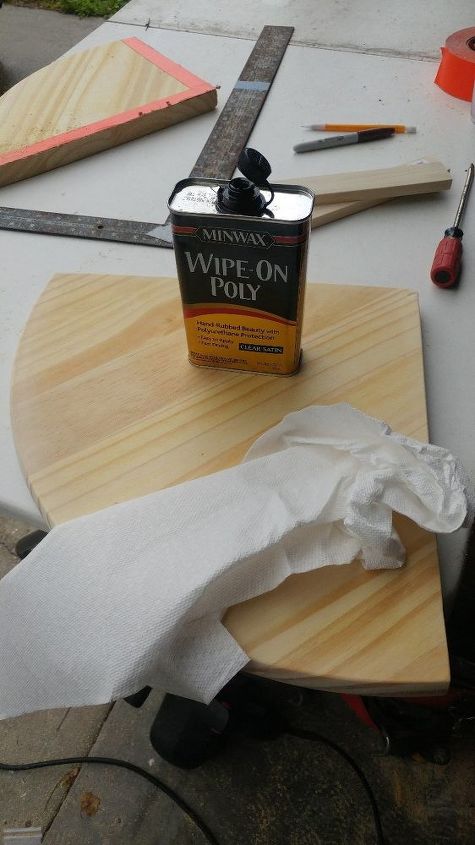
Smiling at my pretty price of wood, it's now time for the Wipe On Poly. Paper towell or rag it on. Outside is a good idea... The first one I did in the bathroom, and I was feeling really too happy about my project. So well ventilated area is HIGHLY recommended.
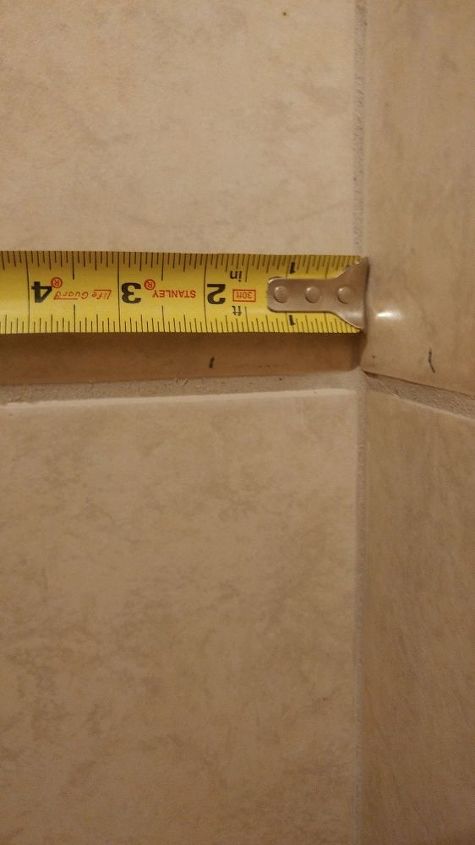
Measuring an inch from the corner, this is where the brace will go. I am aiming for the grout, so not to crack the tile. On dry wall you won't have this issue.
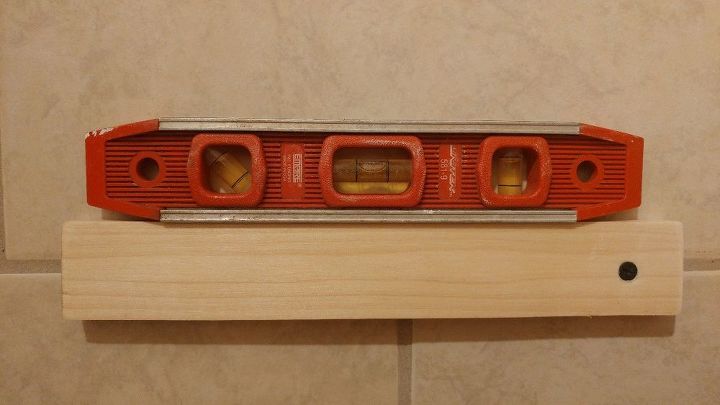
I drilled a small pilot hole through wood and grout, and drilled a recess for the screw head, then put in one screw. Put the level on, taped in place so it wouldn't move, and drilled my next hole, along with the recess, then put the screw in. I put a dap of wood putty on top of the screw head.

Marked line for next trim (brace piece)
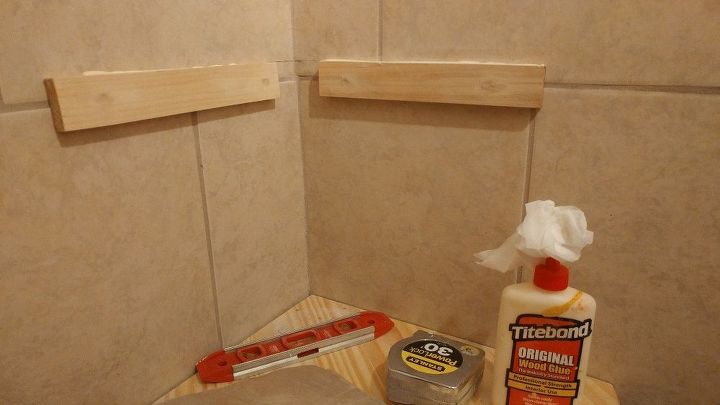
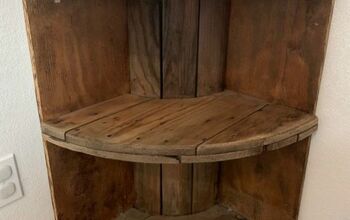
With both braces in, I put a bead of wood glue down and set my shelf in place.
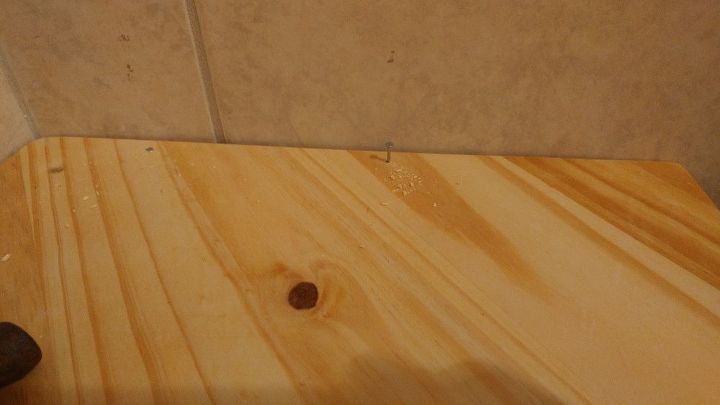
To keep the shelf from falling off, I drilled a pilot hole, just through the shelf, then put a small nail in hammering it into the wall bracket. I put two nails on each side.

The next shelf above is one inch smaller, and the brace price is one inch smaller as well. This was a dilemma, but it looks great that way!
Comments
Join the conversation
1 comment
-
Smart use of that wood! Loving this!


Frequently asked questions
Have a question about this project?