


HOW TO CLEAN WHEN YOU’RE COMPLETELY OVERWHELMED BY THE MESS
2 Materials
$100
2 Weeks
Easy
Have you ever felt overwhelmed by your mess? I don’t mean the kind of mess you can clean up in ten minutes, I’m talking the kind of mess that’s spent years slowly accumulating until one day you realize you have a big problem but by this point it is so overwhelming that instead of cleaning it up you do nothing.
There are people in this world that will never struggle with having a clean home, there are people that will never even have to attempt the 10-minute mad dash when company unexpectedly calls and says they’re on their way… I am not one of those people, and if you’re still reading this then you probably aren’t either.
Before we dig in on how to clean the mess, first we have to figure out how it got this way in the first place. Odds are it took you years to get to this point but it happened so slowly that it’s been unrecognizable.

My issues started long before we even moved into our current home most likely as a child but I’ll spare you all of those boring details.
Basically, we had spent a few years saving up money to purchase a new home, back then decorating wasn’t even on my radar and I was fine with simply living inside those four walls.
After closing on our home we decided we wanted new furnishings since most of the things we had were hand me downs so we just stuffed all of our old stuff into the attic and moved on with our lives… Well sort of.
Little by little the items just kept piling up until there was no longer room in the attic or the shed…
So what happens once you’ve exhausted all of your storage options? Your home becomes cluttered with stuff and when left alone it will then continue to build until one day you realize you can no longer clean your home.
Living with it is nearly impossible and the feelings that come with being in a constant state of chaos are completely paralyzing! For too many years I lived this way and after becoming so frustrated with myself, my life and our home I finally decided enough was enough!
After thinking things over and trying to figure out what hadn’t worked in the past we came up with a solution that actually worked so if you’re ready to have a clutter-free and clean home lets get started!
The Root Of The Problem
Now that you know how your home ended up this way you need to create a plan to prevent it from happening again. Wheather its a clothing, paper or shopping problem the easiest way to deal with it is to admit there is an issue then think of ways you could stop the flow.
The constant flow of stuff is what got you into this mess, whether it’s clothes or shopping you can go on a no spending spree for a few months and see how that changes things, experiments like this usually open our eyes to how bad our habit truly is and you will likely love the results of those few months so much that you may even continue it by only buying true necessities.
Stop The Flow
If paper clutter is the problem the best way to deal with it is to go completely paperless! If you’re still receiving paper bills opt for electronic delivery instead and this will greatly decrease the amount of paper coming into your home.
For things like school work and other important papers creating a process that enables you to easily keep up with the flow is key.
Create a designated drop zone for important papers by using something like this or this for things such as insurance documents medical records, or schoolwork you don’t want to part with.
At the end of each week/month whichever is easiest for you, scan the documents to your computer using a scanner, this is the one we use and it is cheap and easy to use.
Once the documents are scanned to your computer then you can easily upload them to software such as Dropbox which is a free service up to a certain storage level.
Masterplan
Now that we have stopped the flow of incoming stuff we can now work on cleaning up the damage that has been done up to this point.
This is the least enjoyable part of this process and if your anything like me this when the trouble starts because it can feel completely overwhelming when you’ve allowed the mess to get this out of control so the best way I have found to deal with it is a two-week decluttering marathon! I know it seems crazy but hear me out for a minute!
You didn’t create this mess in a day and you’re not going to clean it up in a day either so pull yourself up by the bootstraps and get ready because we’re going to clean up years of clutter fast!
During this two-week decluttering marathon you will need to delay all other obligations when I say all other I mean everything even cooking dinner for you guys that work a 9-5.
Put off anything that will take up time because you’re going to need it these next two weeks.
Enlist everyone in your homes help, I highly doubt you created this by yourself so having everyone contribute is key.
Set a start date as well as an end date and make sure everyone is aware that during this time the most important thing is getting your home back in tip-top shape.
You may hear a few groans from the kiddos but having those extra hands never hurts and allowing them to take control of their own space is going to not only make them feel great for contributing but will also be a huge help to the process.
To prep for the marathon designate Four separate zones:
Trash
Donate
Sell
File
Having the following items on hand will to help things move as quickly as possible:
Trash bags
Boxes
Three, Two, One, GO!
On your designated start date begin with spaces that you can use for storage such as the attic, shed, closets, etc.
Start by removing one item at a time and deciding which drop zone it belongs in. You may be tempted to hang on to long-lost items as you find them but think long and hard before you do that, how many times have you used the item?
If the answer isn’t at least weekly you probably don’t need it and if you haven’t seen the item for a few years chances are you won’t be needing it anytime soon.
If you have items that are of value and in good condition, you should strongly consider selling them. Not only will it free up space but it will put that money back into your pocket where it belongs.
Be ruthless with what you choose to trash. If something is broken or missing parts or pieces, chunk it! Continue this step until all of the possible storage areas are cleared with only the essentials being left behind.
Haul Off The Mess
Once you have cleared out the areas you will be using for storage its time to pack up everything in your drop zones and haul it off, whether it be to a place like Goodwill, a thrift store, or someone you know may be in need of the items.
After you’ve dropped off the donations haul off anything remaining in the trash drop zone and photograph and list the items you want to sell.
Throughout this process, you will likely do this step multiple times but as annoying as it is its just part of it.
Look on the bright side each time you complete the steps your home will become a little bit lighter! Yay for skinny homes!
Evaluate Storage Options
When all of the junk has been removed and all of the items have been hauled off you will then need to evaluate the area and think about ways you could better use it for storage.
For example, one big issue I have is extra decor, like its everywhere extra and since being a home blogger requires me to have these items I needed a way to store what I wasn’t currently using but still have quick access to it when I needed it.
For me these shelves were the perfect fit, they are skinny enough that they fit perfectly along the wall in our two car garage and not only do I have quick access but they allow me to see everything that’s on the shelf.
Creating this extra storage area solved several of my issues and made my blogging ways bearable for the rest of the family.
So try to think outside the box on this step, come up with ideas to add more efficient storage areas to your home be it with storage baskets, decorative boxes, or even shelving like I did.
In areas like the shed your options are really limitless, you can use a pegboard and hooks as a great option for tools which will also give you added floor space once the tools are properly hung.
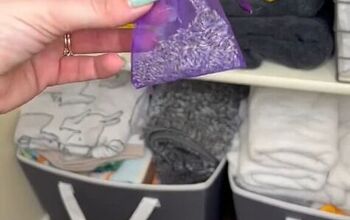
In closets using stylish baskets is an easy way to store toiletries as well as those not so pretty medical supplies.
Creating these stylish storage areas is also going to encourage you to keep them that way because who doesn’t love a pretty closet.
Moving on
When you have finished evaluating and creating the storage options you need you can then move on to the rest of your home.
Leaving the drop zones in place start with the simplest room first and just pick up one item at a time and decide which drop zone it belongs in.
The more you do this the easier it will get, pretty soon you will be chunking items in those drop zones like its nobody’s business and well on your way to a completed room.
Don’t move on from that space until it is completely finished I’m talking cabinets cleaned out, old toiletries are thrown away, anything that is questionable chunk it! Then and only then can you move on to the next one.
Before beginning each space be sure to check your drop zones and when things begin to fill up its time for another haul.
Work your way through each and every room in your home following these same steps until each space has been 100% decluttered and what you are left with are essentials that you know for a fact that you will use/need on a regular basis.
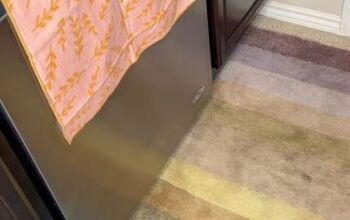
Time To Clean
We finally made it, this is where you actually get to do something that’s going to completely blow your mind… You’re going to clean and guess what?
It’s going to be 1000x’s easier for your home to stay clean now that you’re no longer moving clutter around. Do you want to know why? You can’t organize clutter, it is and will always be just that and until it has been removed from your home it will never truly be clean.
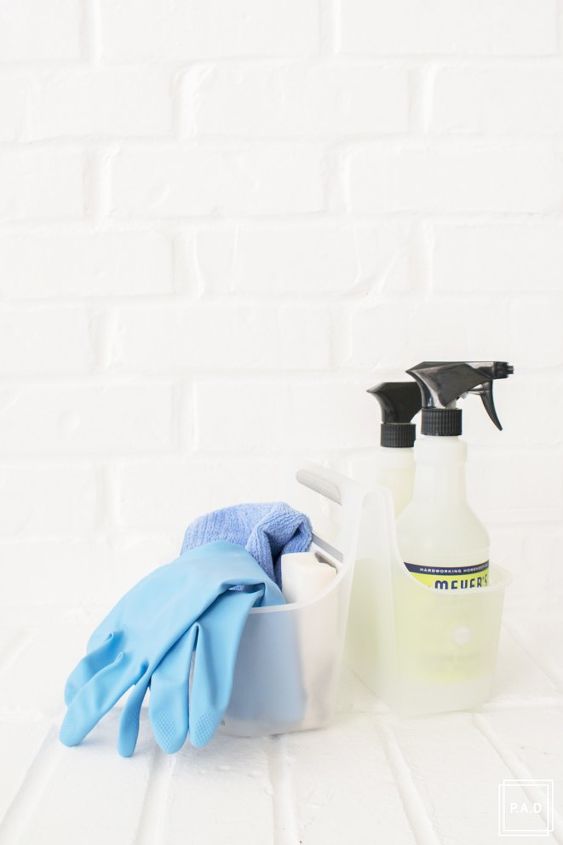
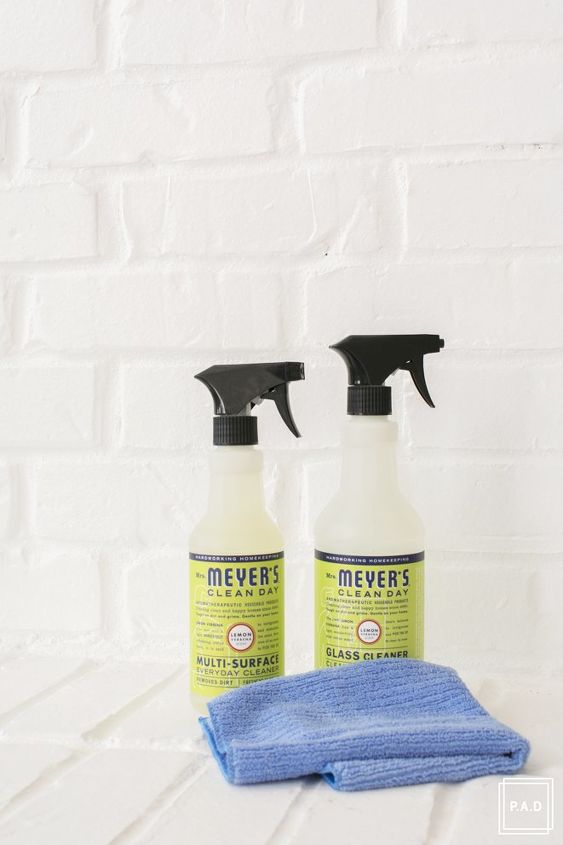
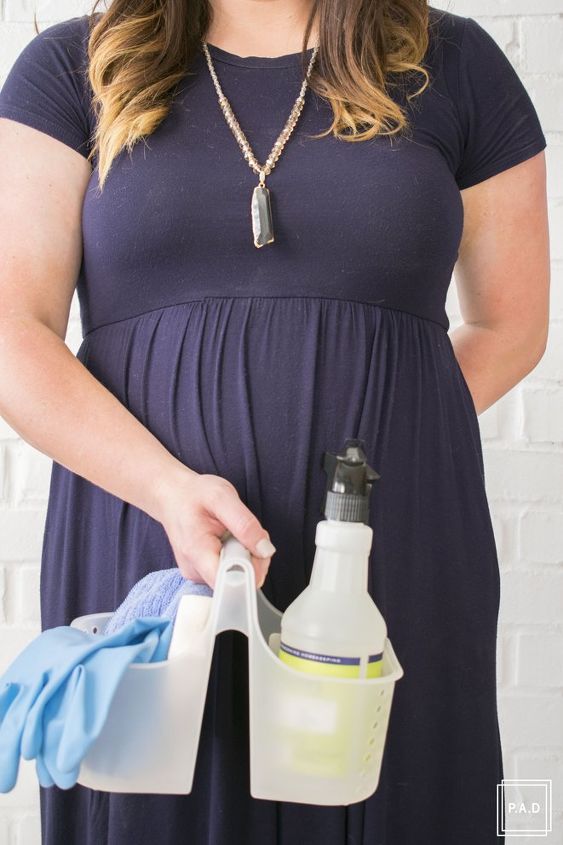
For this step, I like to use my tried and true cleaning bucket. It has everyday cleaning items that I can have easy access to so there’s no leaving the room 5x’s to get a different cleaner. In the bucket I like to keep the following things:
Cleaning Bucket
Blind Cleaner
Microfiber Cloths
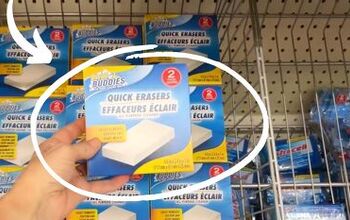
Magic Erasers
Mrs. Meyers Everyday Cleaner (Basil is my favorite)
Creating A Habit
Once you finish decluttering and cleaning your entire home I cannot even tell you how good it will feel, that giant weight is FINALLY going to be lifted off your shoulders!
To ensure that your home stays this way you will need to keep up on the cleaning but don’t worry it won’t be anything like it was before.
Periodically, you will need to go through and do a small decluttering marathon but just like the cleaning, it won’t take you near as long.
Right now our cleaning schedule is set to weekly and our decluttering schedule is every three-four months but you could go even longer than that.
Daily Schedule:
- Laundry
- Dishes
Weekly Schedule:
- Pick a day of the week to deep clean and stick to it.
- Floors
- wash bedding
- kitchen
- bathrooms
- kids clean their rooms
- master bath
- living room
Monthly Schedule:
- Dust everything
- Clean Baseboards
- Move and vacuum under furniture
- Clean windows & Blinds (This tool is super handy)
Seasonal:
- Repeat the decluttering steps in this process.
The key to making this work is you actually have to do the work if you ever want to be free from your messy home.
Learn how to make this process work for you, if something is too often or maybe not enough just tweak the system to make it work for you and your family.
Being free from all of the clutter and mess is going to feel so good that you will actually want to keep your home clean and t
Now pat yourself on the back, you’ve done a hell of a job if you’ve made it this far and you deserve a glass of wine or maybe a beer if that’s more your speed.
Cheers to all that you’ve accomplished and most of all your clean home!
Head over to the original article for tons of cheap organizing options to help with the process.


Any price and availability information displayed on [relevant Amazon Site(s), as applicable] at the time of purchase will apply to the purchase of this product.
Hometalk may collect a small share of sales from the links on this page.More info

Want more details about this and other DIY projects? Check out my blog post!
Comments
Join the conversation
1 comment
-
Thank you! This is perfect timing for me. We just bought a new home. We had stuff in storage for a year while relocating and buying a house. I find myself looking at items and thinking why do I spend so much time with this shuffle. So much time wasted with stuff and realized I wanted to enjoy my time doing productive things. So definitely this helps me see I need to keep stuff from coming in and have a routine. TRASH, DONATE, SELL & File
I am going to post those words in my office. Thanks again!


Frequently asked questions
Have a question about this project?
I like your ideas especially clearing the storage areas first. But I have a couple of questions and I could use the help. When you list the drop zones, you don’t mention any for items out of place. Is that what the “File” category is?
Also, how do you decide how to set up storage when you haven’t figured out what you are going to keep?
I hope you have some thoughts about this. My apartment is hard to fit things in and completely out of control!
Thanks!