


DIY: The Easiest Embroidery Floss Tassels
3 Materials
$5
5 Minutes
Easy
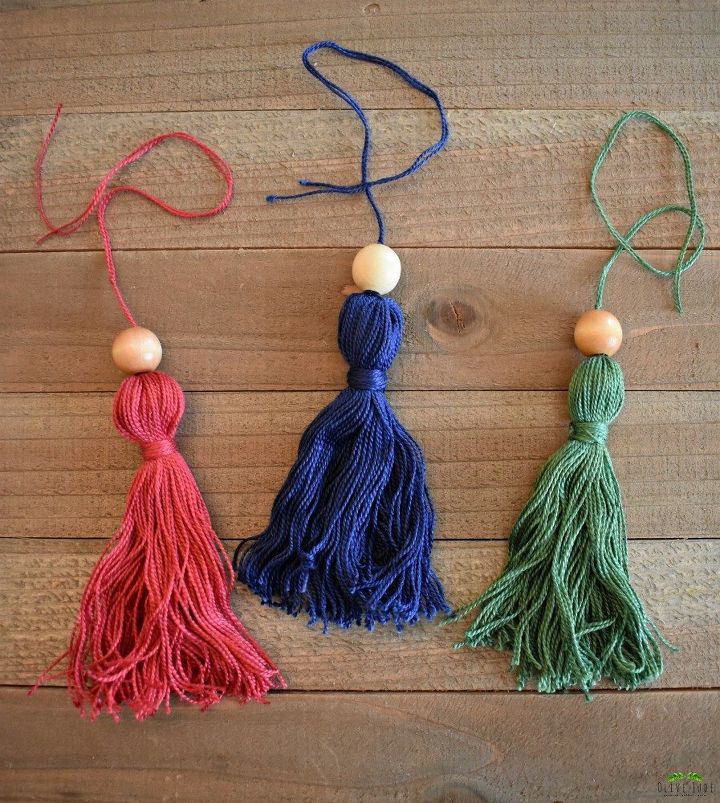
Tassels are everywhere! You can find them on throws, pillows, and wall hangings. They aren’t just there to adorn your home, but they are center stage in fashion too.
With these dangling beauties being all the rage right now, I decided to jump right in and make some for my home. There’s something so refreshing about creating my own decor and these DIY tassels have to be one of the easiest projects yet. You can make one in less than 5 minutes at a very affordable price.
See how easy it to make these tassels at the link below.
http://olivejude.com/2018/04/09/diy-the-easiest-embroidery-floss-tassels/
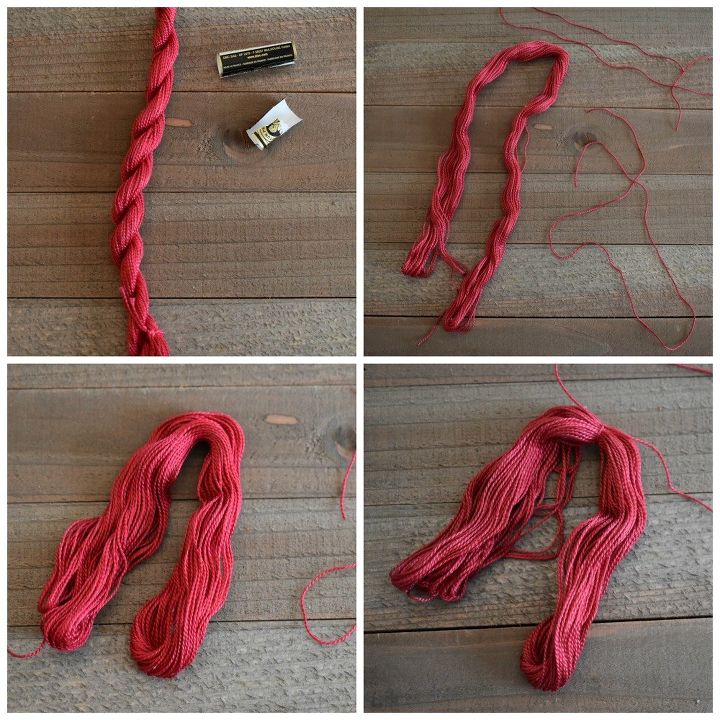
1. Start with a standard skein of embroidery floss in a color suited for your space. Remove the paper and carefully untwist it.
2. Cut off 2 lengths of floss, about 10 inches each, and set aside.
3. Carefully, fold the skein in half.
4. Tie one of the 10 inch pieces around the fold.
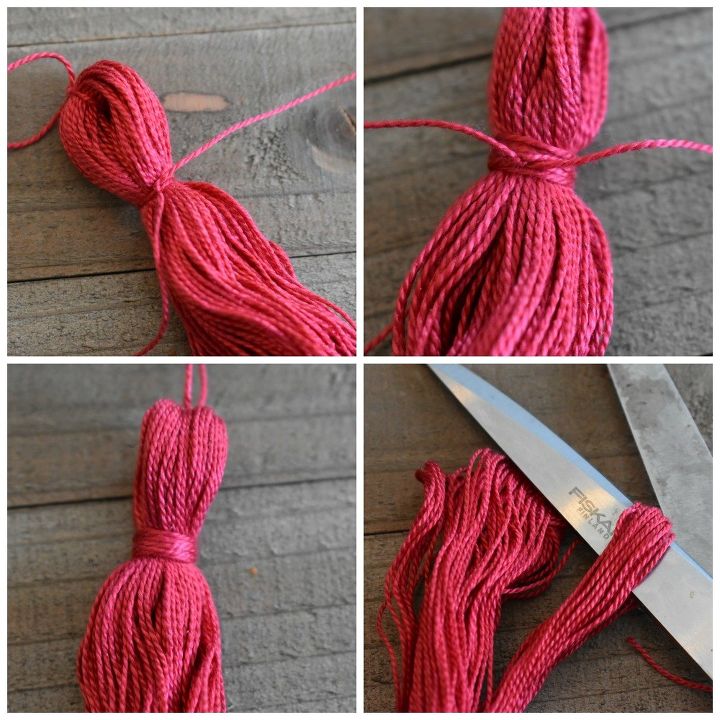
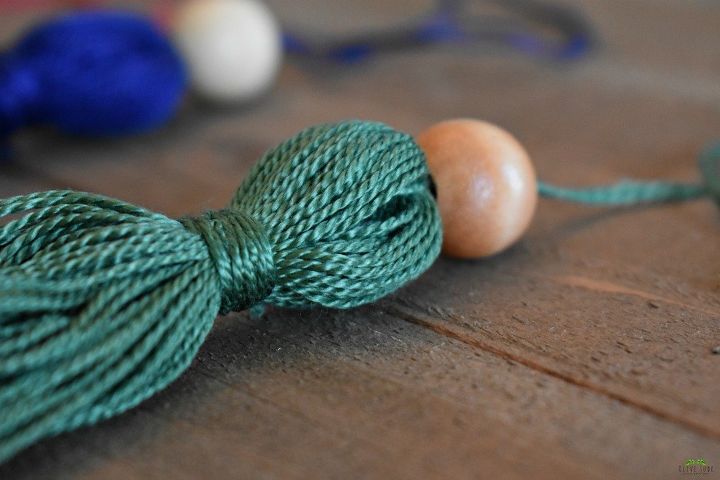
1. Wrap the other 10 inch piece of floss around the folded skein near the top and tie in a knot.
2. Using the extra length of floss, wrap both ends around the skein, making a thicker band.
3. Secure with a knot and trim the long ends.
4. Cut through the loops at the bottom and trim any uneven edges.
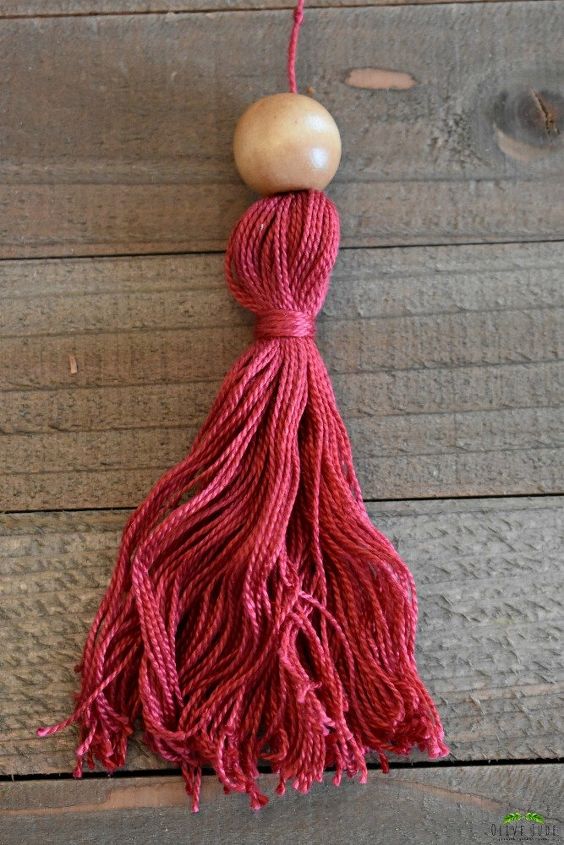
Give your tassel a little poof to add some “weight” to it.
If you’d like, add a wood bead to the top for some added texture.
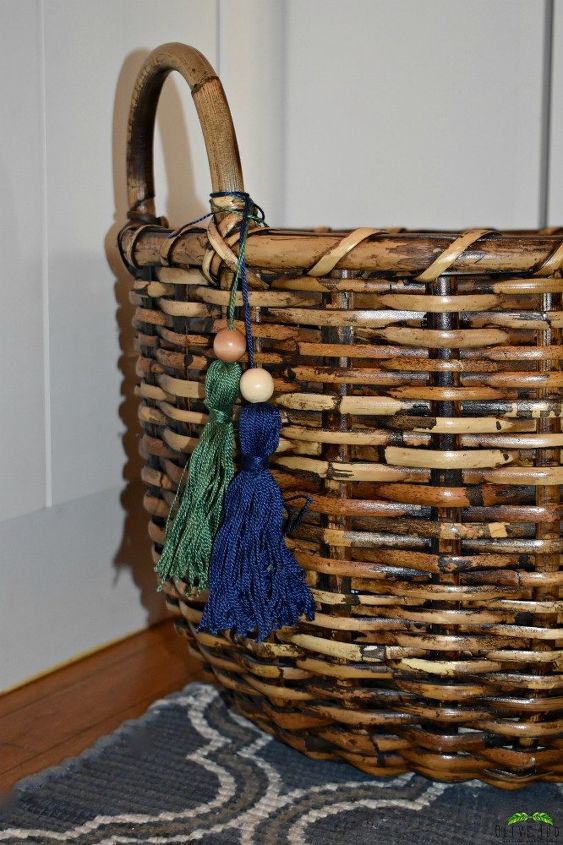
Tie the two ends to make a loop and hang your new tassel wherever you need a little ornamental power.
Resources for this project:


Any price and availability information displayed on [relevant Amazon Site(s), as applicable] at the time of purchase will apply to the purchase of this product.
Hometalk may collect a small share of sales from the links on this page.More info

Want more details about this and other DIY projects? Check out my blog post!


Frequently asked questions
Have a question about this project?