


Upcycled Cabinet Door To Custom Sign Makeover

by
Donna Powell
3 Materials
$15
4 Hours
Easy
Last year I helped to refinish some cabinets for a small kitchenette at our church after some massive storm damage. Unfortunately we found that the cabinets themselves had too much water damage and had to be replaced AFTER I had already stripped and re-stained the old cabinet doors.
Not one to throw something like this away, I held on to the four newly refinished cabinet doors just because I knew I could find something to do with them one day.
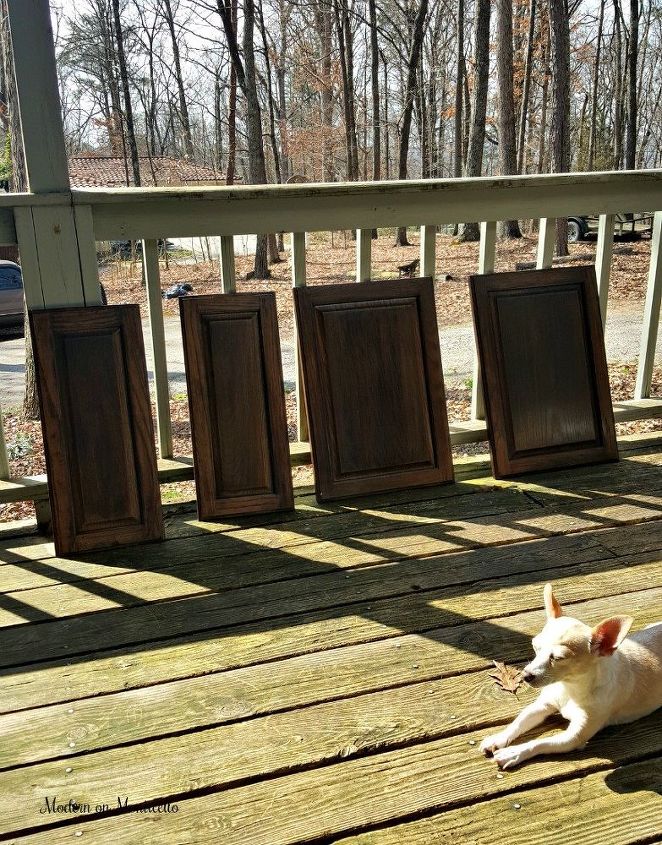
Upcycled and recycled projects are some of my favorite types of projects. I decided to make custom signs using the two smaller cabinet doors and plan to make custom trays for the two larger doors at another time.
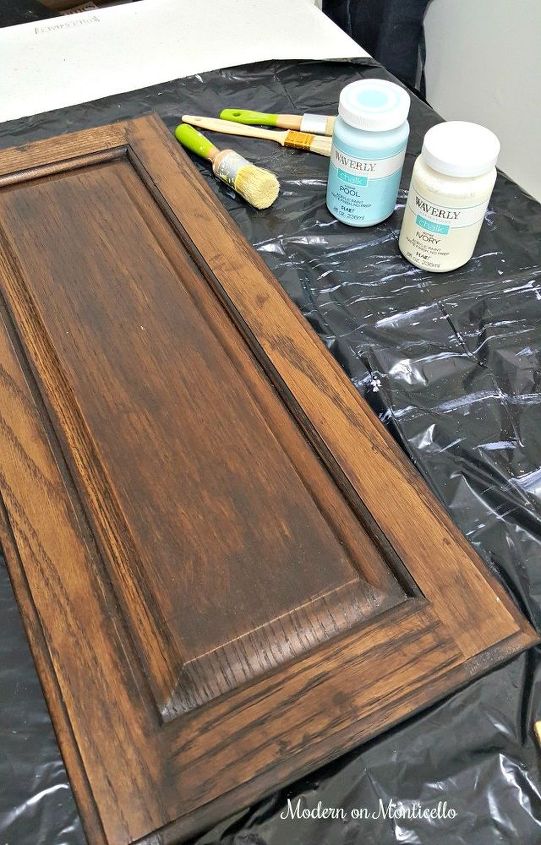
First thing I needed to do was to clean the cabinet doors thoroughly and use a deglosser product to remove the top layer of shine from the door.
The very top surface I had just applied last year.
But this was not the look I wanted for the custom signs so the stain had to be covered up.

Chalk paint was my first choice of paint for the cabinet doors as a base coat because it would act as a primer coat and cover the existing stain very well. One cabinet door had a white chalk paint base coat and the second door had orange chalk paint as the base coat.
Along with the base coat, each door was treated to several layers of other paint colors using a dry brush technique. This technique is easy to apply by wiping off any excess paint from the brush on newspaper and then making quick and light brush strokes over the surface of your project.
Dry brushing is a light coverage that adds texture and allows the base coat to show through.
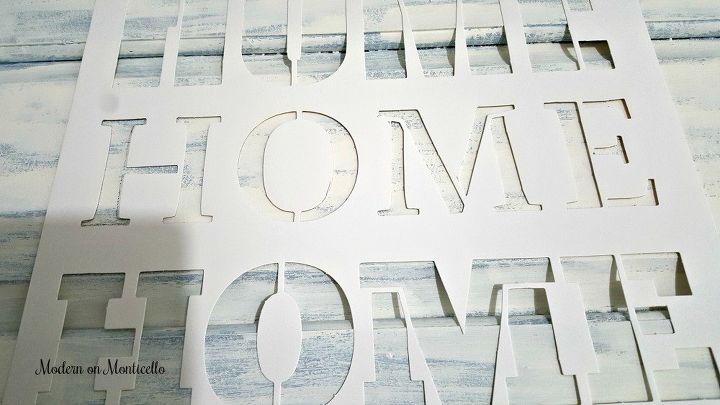
Stencils were the easiest way to create the "Family" and "Home" sayings with acrylic paints.
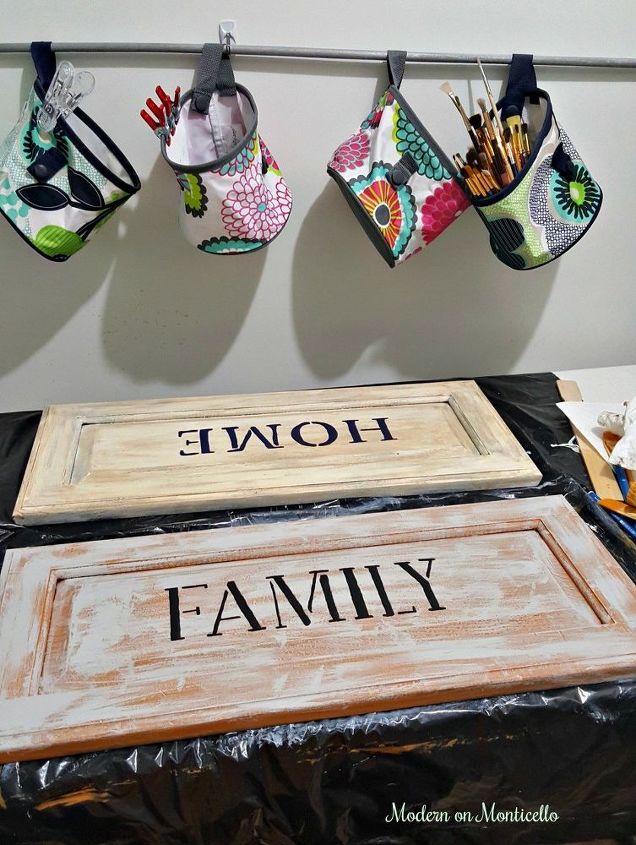
After painting on the stenciled letters, I felt that the black lettering was too dark against the aged background.
The signs needed more distressing.
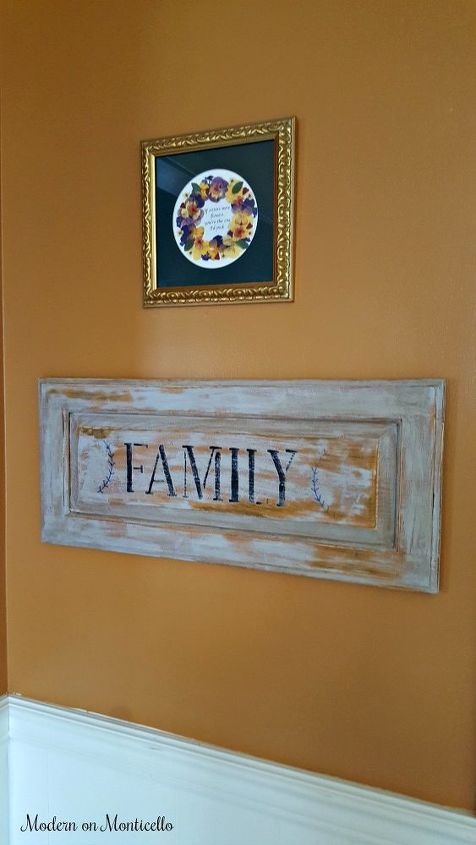
The final steps included a coat of dark creme wax and sanding to give each cabinet door sign a even more aged vintage look.
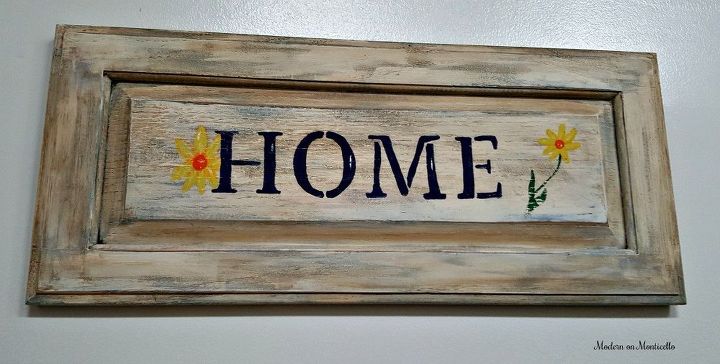
I also free hand painted whimsical flowers on the "Home" sing just for fun. Since I finished these signs, a few of our visitors have commented on them and have not even realized they were originally cabinet doors.
This project took me a few hours to complete and allow for drying time of the paint. However, the project is very easy to do.
To be able to hang the cabinet doors, I installed two sawtooth hangers to the back of the cabinet door. These can be found in any hardware store.


Any price and availability information displayed on [relevant Amazon Site(s), as applicable] at the time of purchase will apply to the purchase of this product.
Hometalk may collect a small share of sales from the links on this page.More info
Want more details about this and other DIY projects? Check out my blog post!


Frequently asked questions
Have a question about this project?