


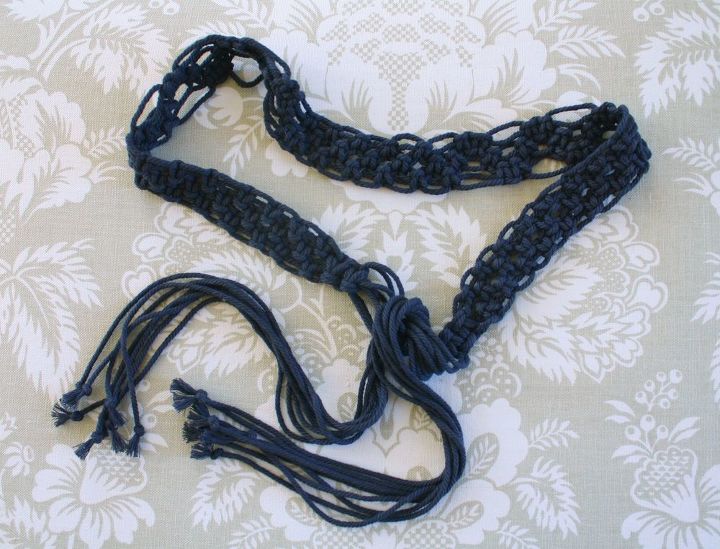
Macrame Belt for Beginners
Not only is this tutorial easy and perfect for the beginner macrame artist, it will add an adorable bohemian touch to your wardrobe. It uses only one type of macrame knot, the Square Knot.
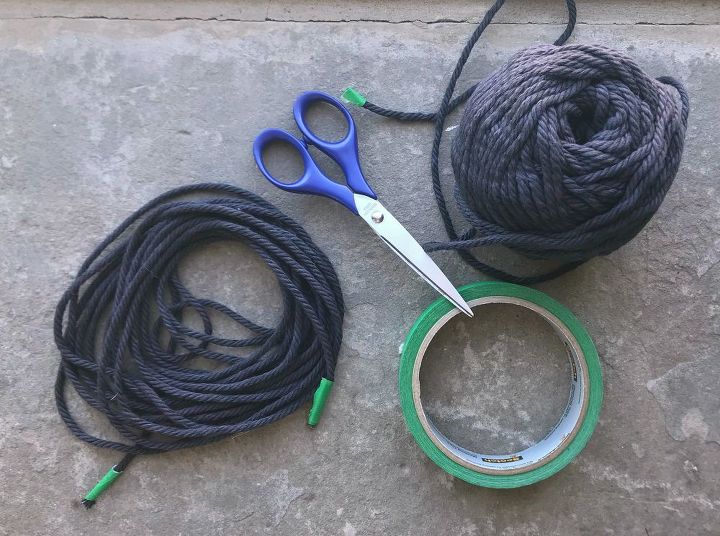
preparation
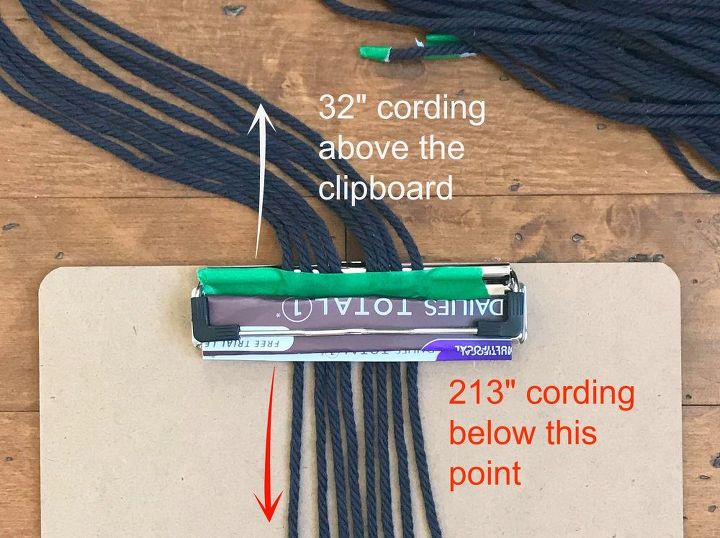
Cut 8 strands of macrame cord, each measuring 12 feet long. Tape both ends of each piece of cord with a small piece of masking tape to prevent fraying. Next, use a clipboard to hold the 8 cords secure, placing them through the clamp according to the lengths shown below.
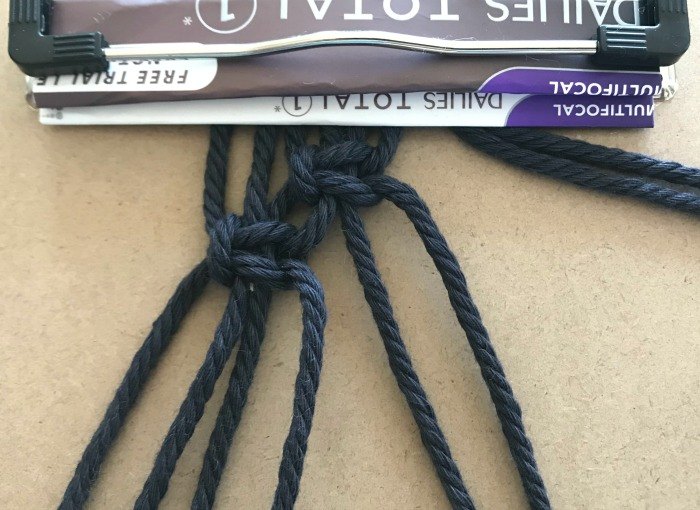
step 1
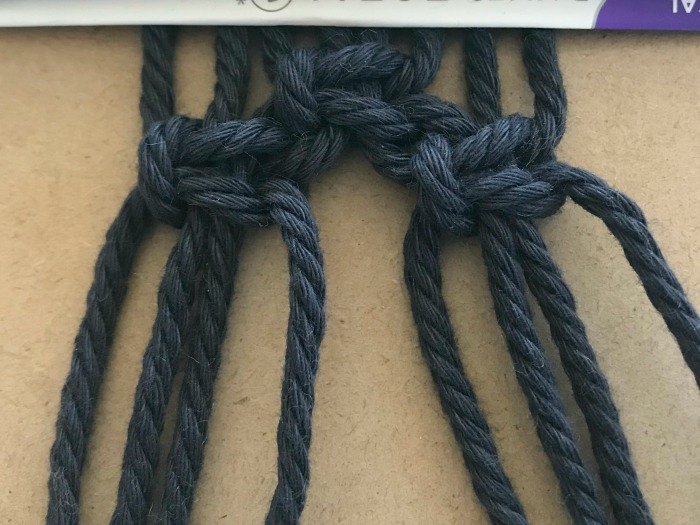
To begin the first sequence of knots, using the middle 4 cords, tie a square knot, as shown below. (In case you’re wondering, I placed some folded cardboard underneath the clamp at the top of the clipboard to ensure the loose cords were stable. It’s called being resourceful!)

step 2
The second row will consist of 2 square knots. Using the first 4 cords on the left, make a square knot, as shown below.
Then, with the remaining 4 cords, make a second square knot. This completes the second row.
step 3 – complete the first pattern sequence
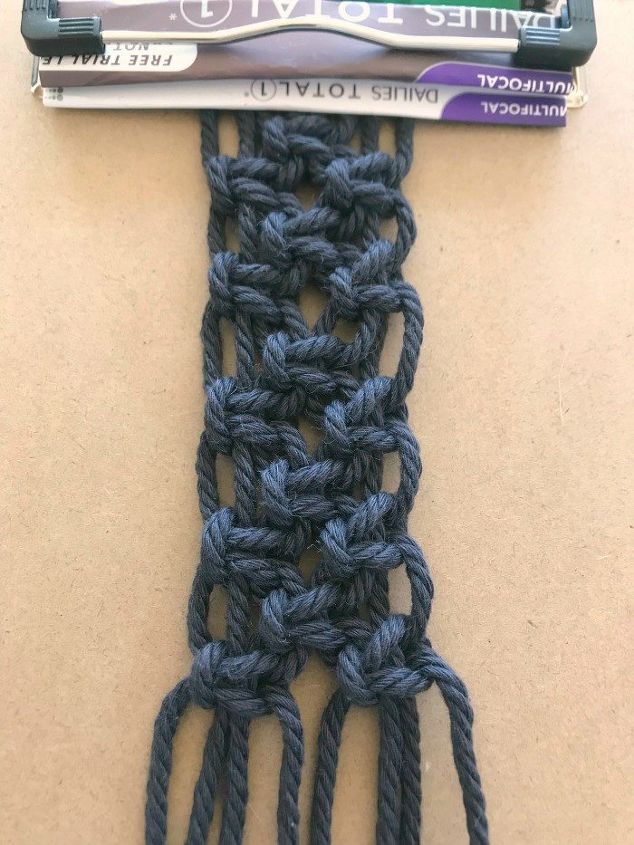
Continue repeating steps 1 & 2 seven more times, so that you end up with 16 rows in total. (The photo below shows only 10 rows; keep going until you have 16!)
important tip
As you begin to near the bottom of the clipboard, simply lift the clamp and move the belt higher. You will need to make this adjustment several times throughout the process to make your work easier.
step 4
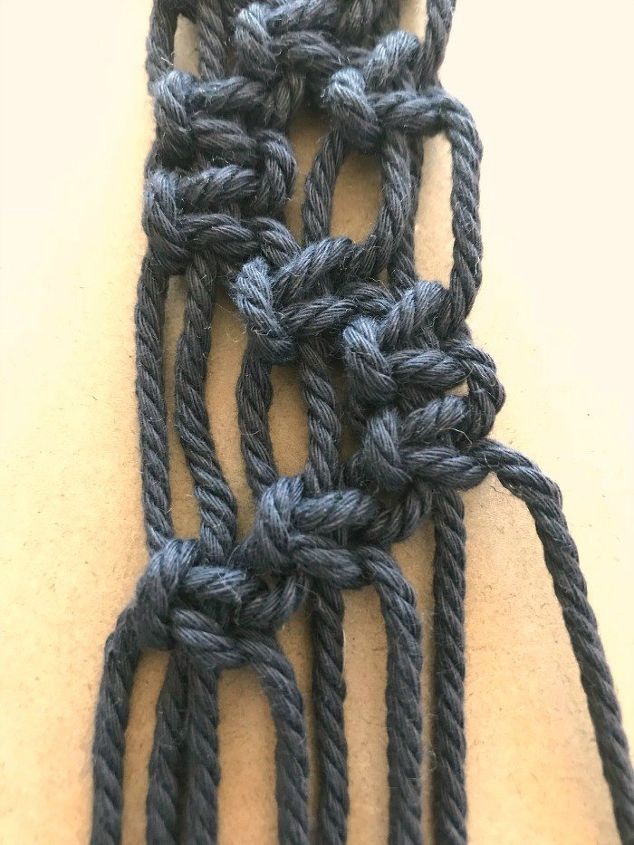
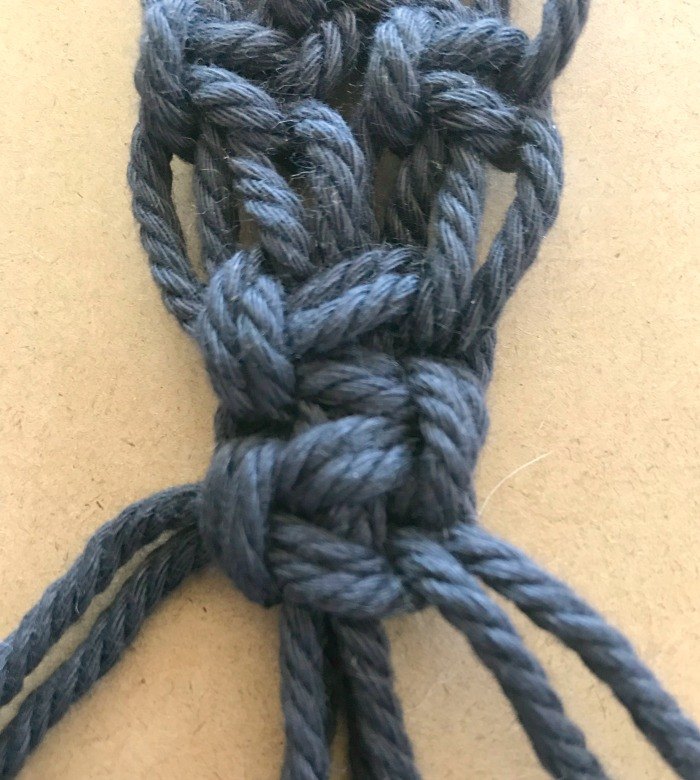
The next pattern sequence will consist of square knots woven from side to side, creating an “S” design. For the first row, use the first 4 cords on the left to make a square knot. For the second row, starting with the third cord from the left, make another square knot. Then for the third row, starting with the fifth cord from the left, make another square knot. This will create the diagonal design shown below.

step 5
Now simply repeat that step, this time beginning with the first 4 cords on the right. You will end up with 3 rows of square knots forming a diagonal design from right to left.
step 6 – complete the second pattern sequence
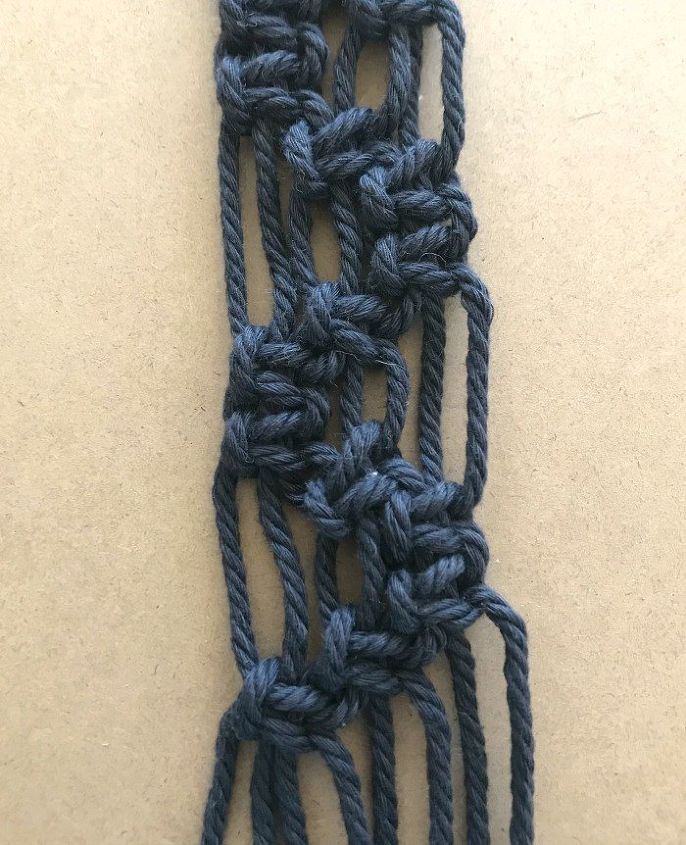
Repeat steps 4 & 5 two more times and you will end up with a total of 6 diagonal slants. This completes the second pattern sequence. (The photo below only shows 4 slants; keep going until you have 6.)
step 7
Repeat steps 1 & 2 five times, until you end up with a total of 10 rows of square knots. You will notice we are repeating these 2 pattern sequences for the duration of this belt.
step 8
Now repeat steps 4 & 5, resulting in 6 more diagonal slants.
step 9
For the last belt segment, repeat steps 1, 2 & 3.
step 10 – finishing the ends
To finish this end of the belt, simply tie a double square knot. Then immediately tie a second double square knot directly beneath the previous one.
Trim the rope approximately 20″ down from the last double square knot. Tie a knot near the bottom of each cord to prevent fraying.
step 11
Repeat step 10 for the other end of belt as well. And guess what? You are finished! I love the simplicity of this belt, as you can wear it in so many ways – tied around the waist, hung loosely around the hips, with jeans or with a cotton peasant shift. It definitely adds a bohemian touch to your wardrobe.


Comments
Join the conversation
-
These would make great guitar straps. Great share!


Frequently asked questions
Have a question about this project?