


Vintage Vanity Makeover
Giving this vintage vanity a makeover was a project that I put off for a couple of months after I brought it home with me. I debated on how I wanted to give it a new look.
It had previously been painted a drab brown color, so I knew that had to go. In trying to decide between giving it a new paint color or stripping it down to the bare wood and staining it, I weighed the pros and cons of each. Ultimately, I decided to paint it using a color that would go well in our master bedroom.
If you’re on team never paint, no doubt you’ll think I made the wrong choice, but I’ve always thought as long as you a love how a piece looks, it’s not the wrong choice.
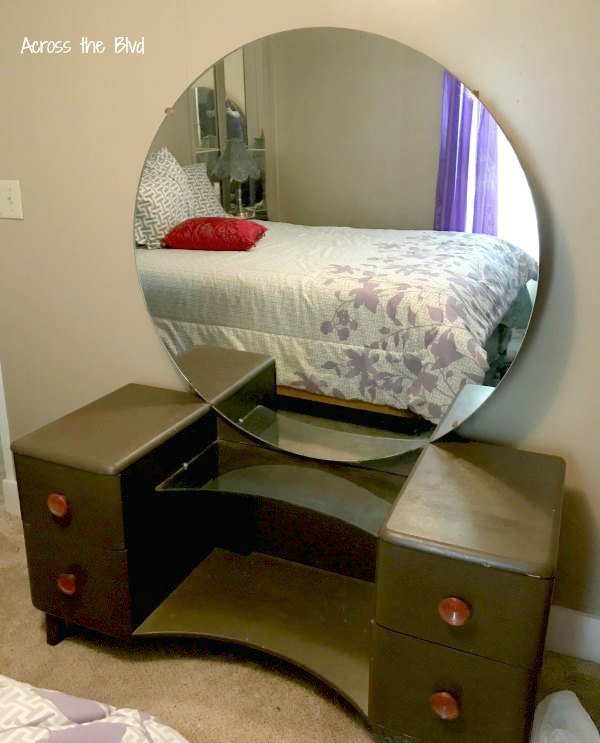
This vanity is part of a set of bedroom furniture that I recently brought home from my mother’s house. She wasn't the original owner of the set. She purchased it at an estate sale of some of our extended family members.
It dates from the late 1940s. The legs have a mid century modern look and the round mirror is found in a lot of late art deco pieces.
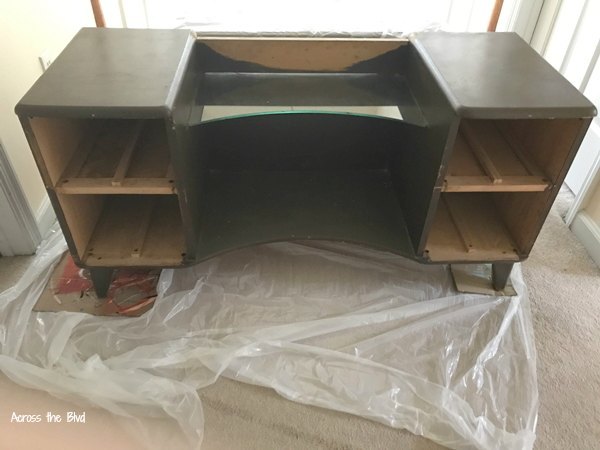
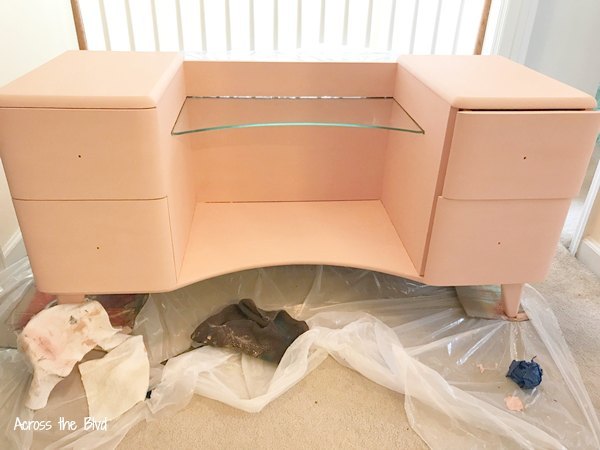
We removed the mirror before transporting the piece to our house. Before painting, I sanded it down using my palm sander. I didn't sand to remove the paint, just to get a smoother surface. In this photo of the drawers, you can see it had a pretty rough paint job.

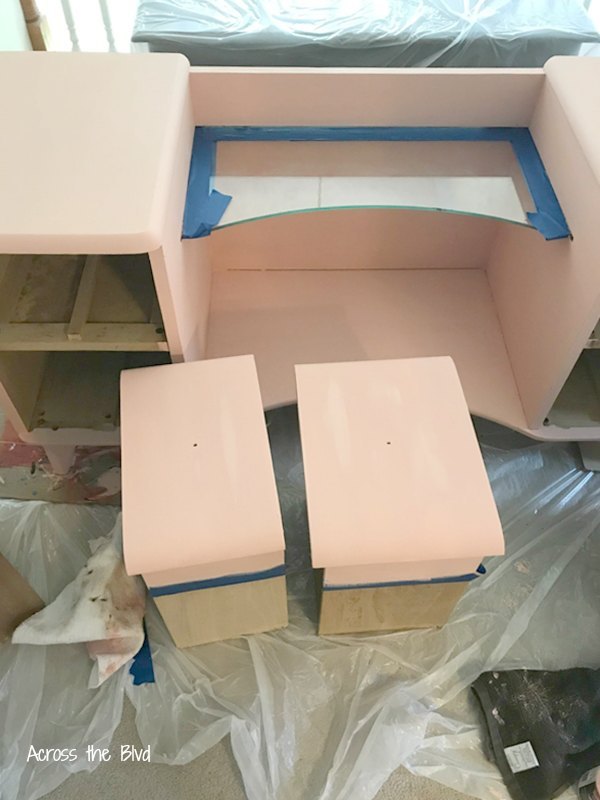
The glass shelf can only be removed if you remove the entire back panel of the vanity. That wasn’t going to happen! Before painting, I used painter’s tape to tape the glass surface on the top and bottom of the glass.
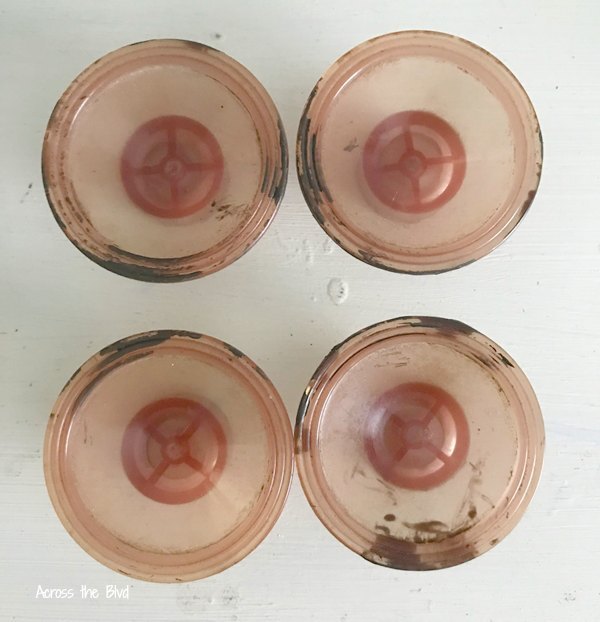
Look at these drawer pulls! Apparently the last time this piece was painted, the pulls were not removed. They were covered in brown paint. I used CitriStrip Paint and Varnish Stripping Gel to remove the paint and then painted them using Krylon Metallic Paint in copper.
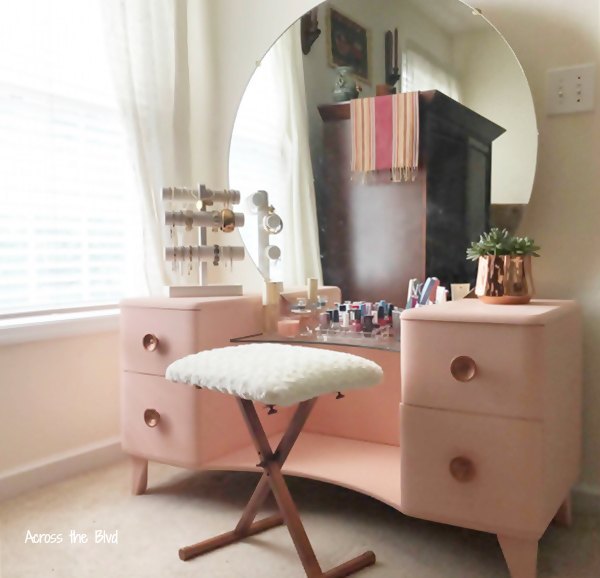
Since I knew I was not going to be painting anything else this shade, I didn’t want to buy a lot of extra paint. Lots of chalky paint comes in at least a quart size can. That was way more than I needed to for this piece. I used Craft Smart Multi-Surface Premium Chalky Acrylic Paint in Deep Peach. This comes in 8 oz jars. I used about a jar and a half.
It didn’t turn out as deeply peach as I would have liked, but I was happy with it.
I allowed it to sit overnight to make sure that the paint was completely dry.
The final step was to apply a finishing coat of Minwax Polycrylic Protective Finish. It's easy to use and I prefer it over wax. I waited most of the day before touching it to move it.
Once we reattached the mirror and the drawer pulls, it was ready to move into our bedroom.
I paired it with the small folding bench that also got a makeover. The makeover for the bench looks great next to the soft color of the vanity.


Comments
Join the conversation
-
Beautifully done!
- See 1 previous


Frequently asked questions
Have a question about this project?