


My Lighting Challenge

Grab a few things I already had to make this!!

First off, a always wear my Hometalk T-shirt when I work on my projects, helps me think!!!
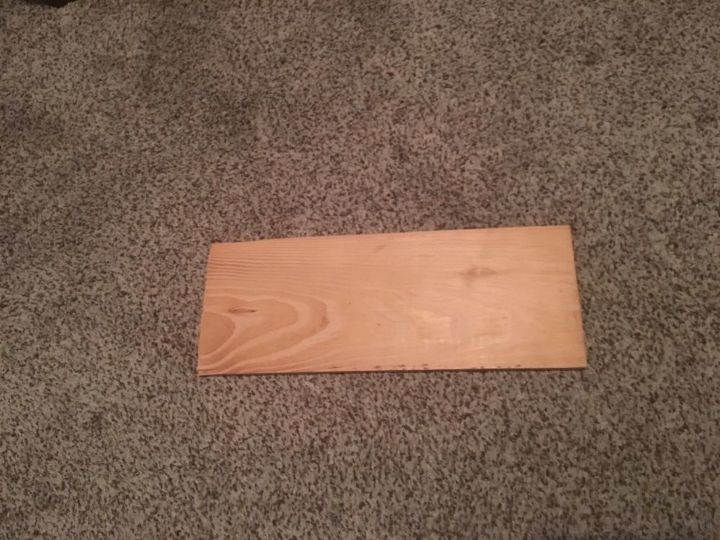
So I grabbed a 12” piece of wood I had, gave it a little sanding.

Then I tried to give it a unique look, so I used a napkin.
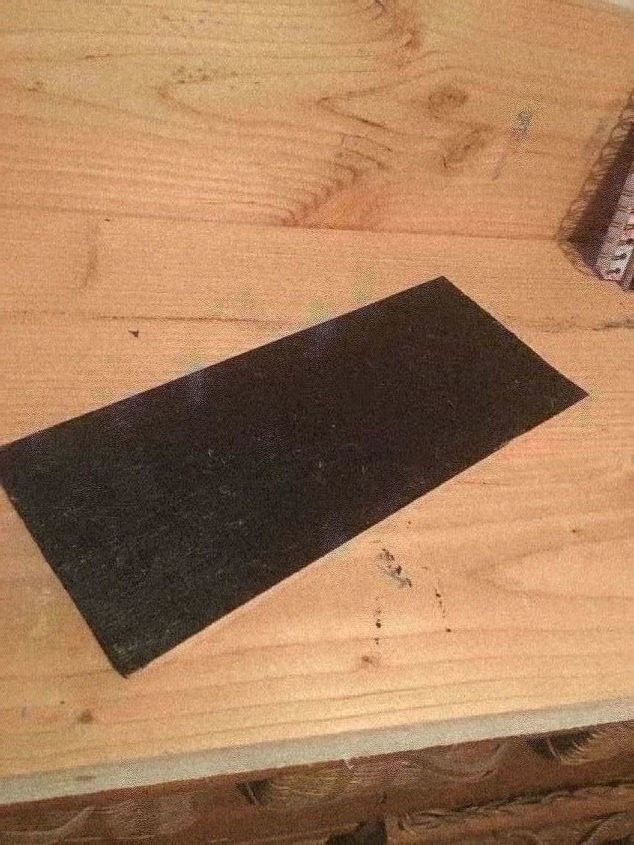
Well it did not turn out the way I wanted it too, so I painted it black, and when it dried, it gave I a crinkled look! It took me about a day to figure out what I was going to do.
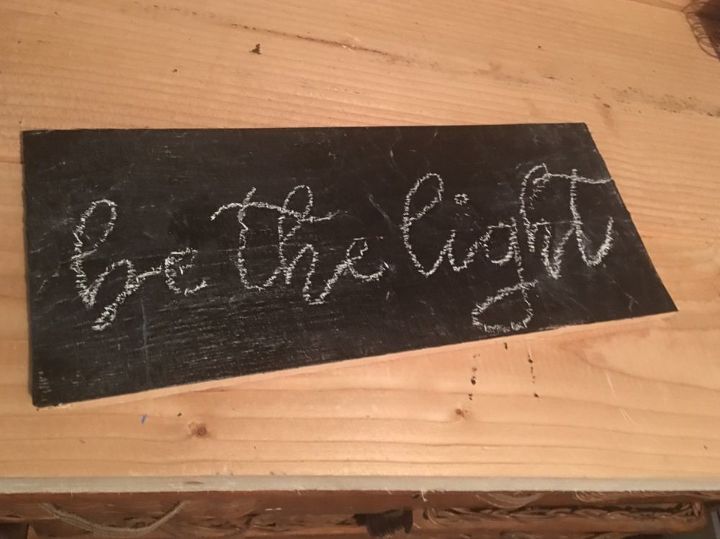
Then I found this idea on Pinterest, so I free handed the wording! (I always use chalk first) .
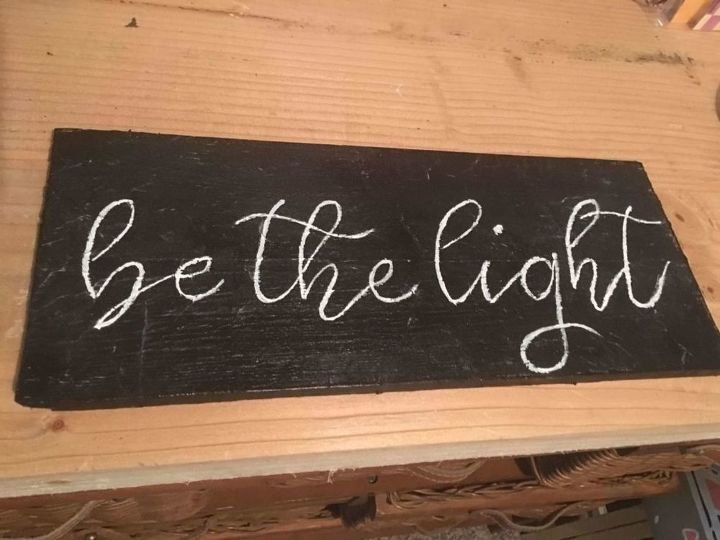
Once I was satisfied with my wording, I painted it white.
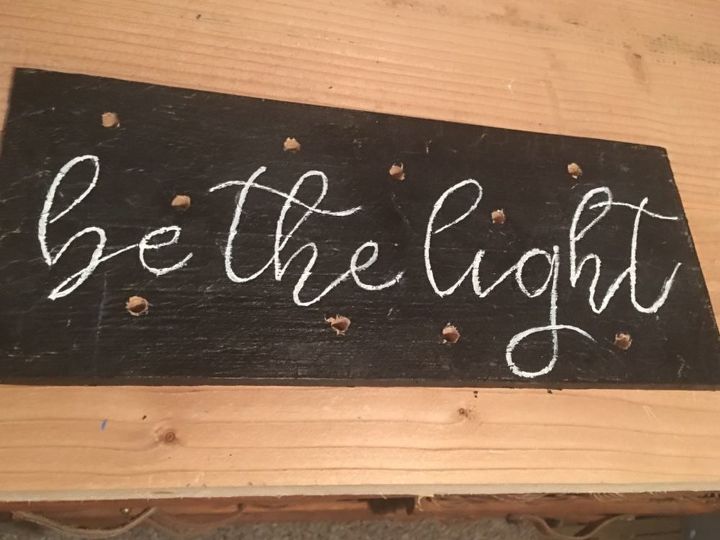
Then I got the idea to add white lights, so I drilled the holes where I wanted the lights to go.
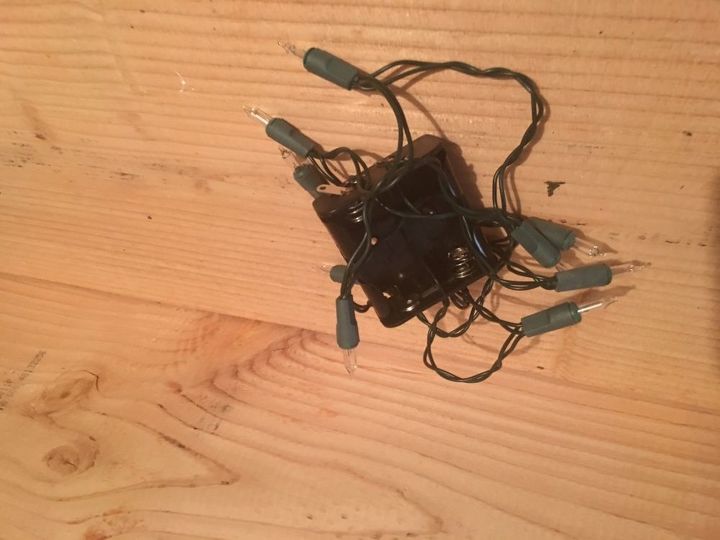
I had a small (10) light set that is battery operated, so that’s how many holes I drilled.
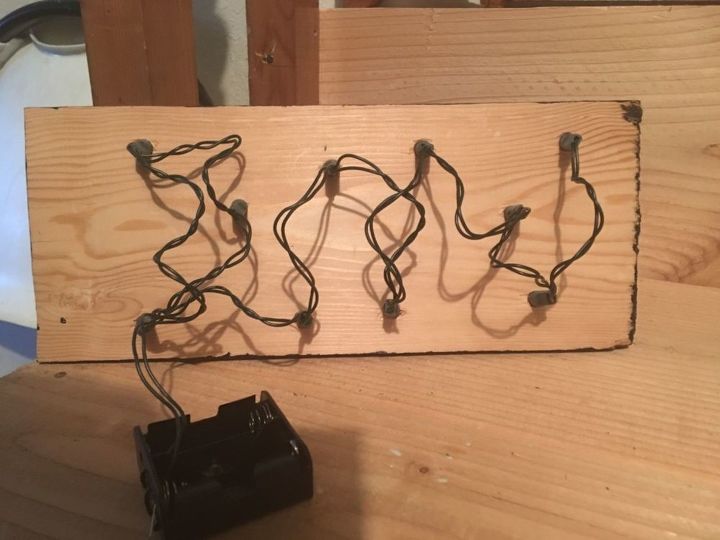
Once I drilled the holes, I started placing my lights.
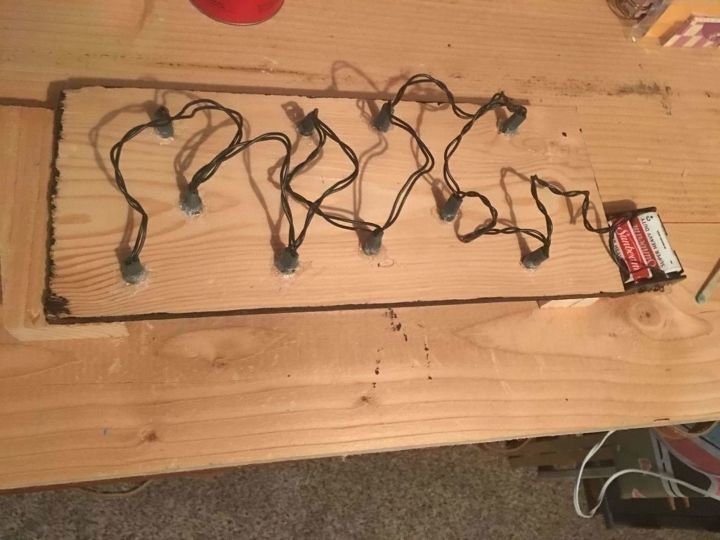
I glued the lights in place, as not to fall out.
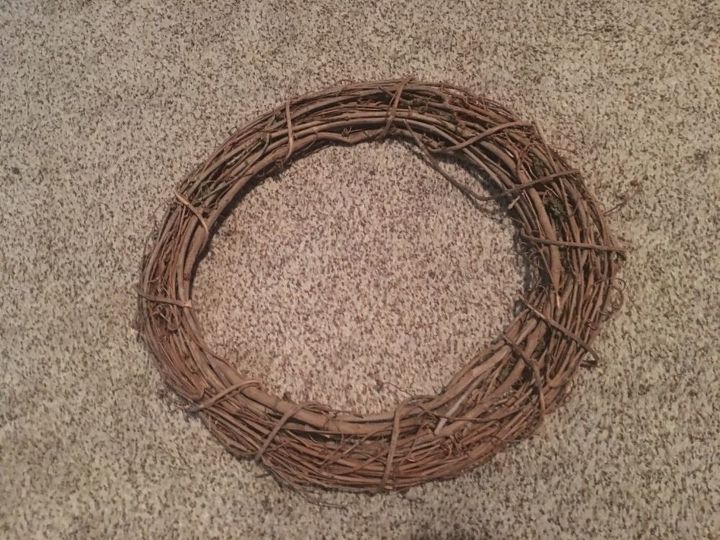
Next I used a wreath for the base of my sign!
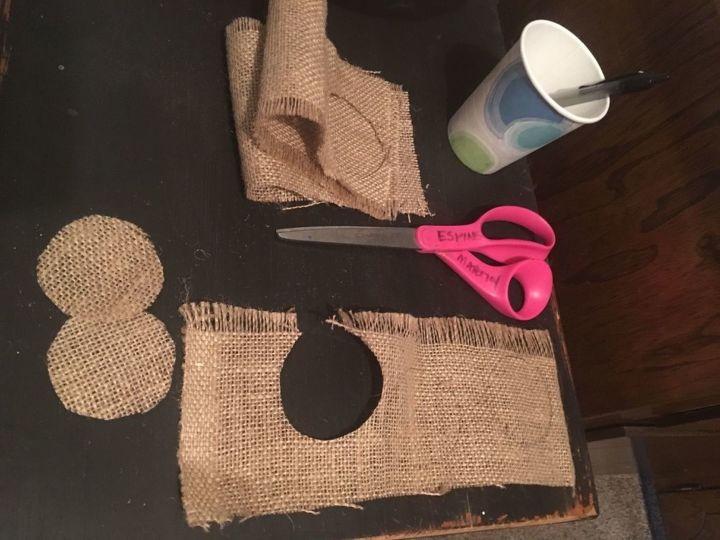
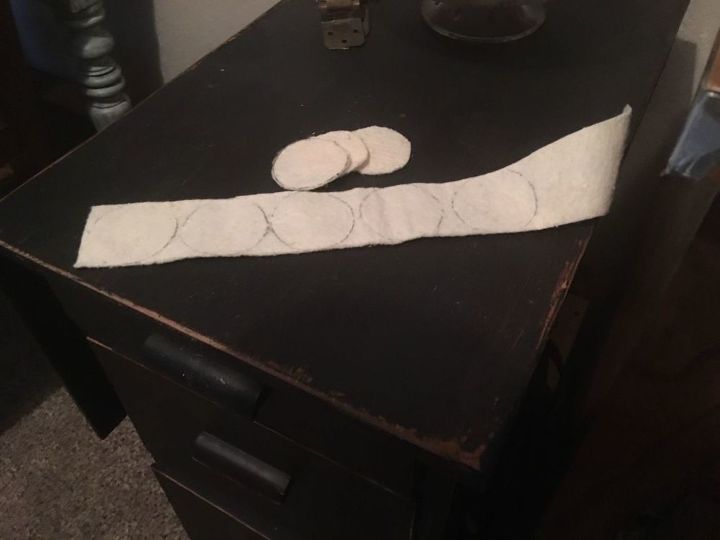
I cut out circles to make flowers for the wreath, just to add cuteness. Once my flowers were done I got glued them on the wreath, (sorry I didn’t take that picture
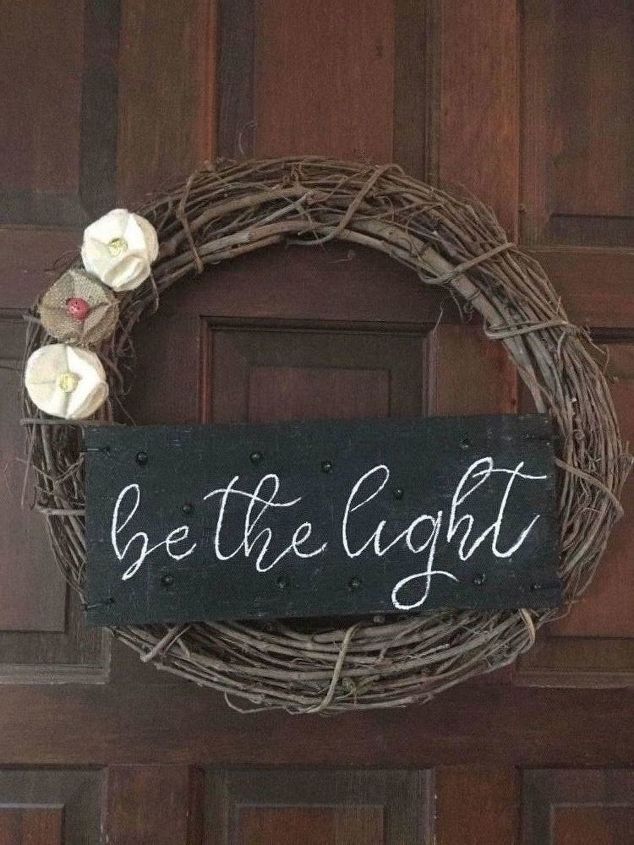
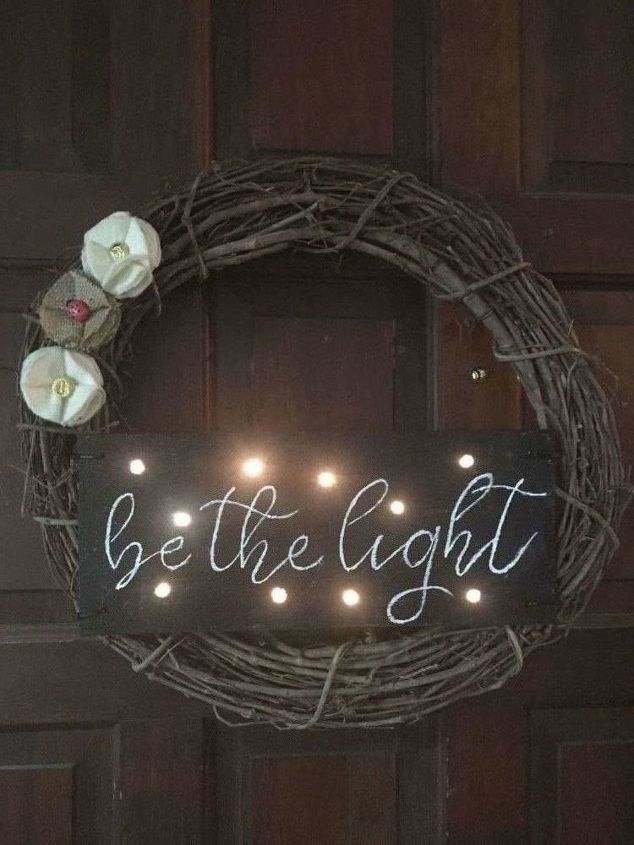
But here is my finished product, both, with lights off and on!!


Comments
Join the conversation
-
Love it... what a great little project!!!
-
This is so cute, and I love the simplicity of it.


Frequently asked questions
Have a question about this project?
I love your wreath, the sign is great, and I love the little flowers, could you please tell me how you made them, they are so cute. Thank you so much, for sharing...