


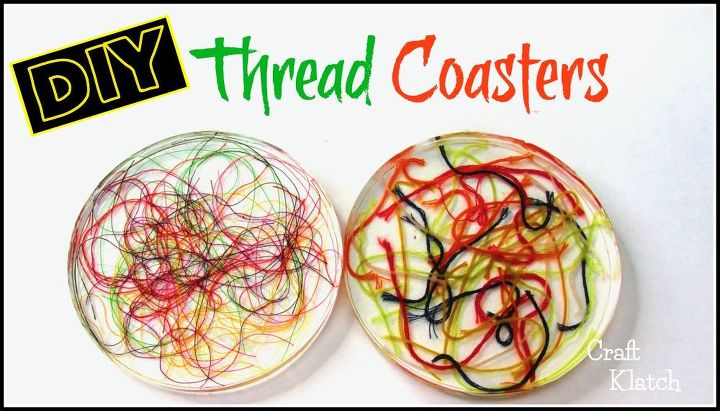
Resin Thread Coasters DIY
6 Materials
$10
30 Minutes
Easy
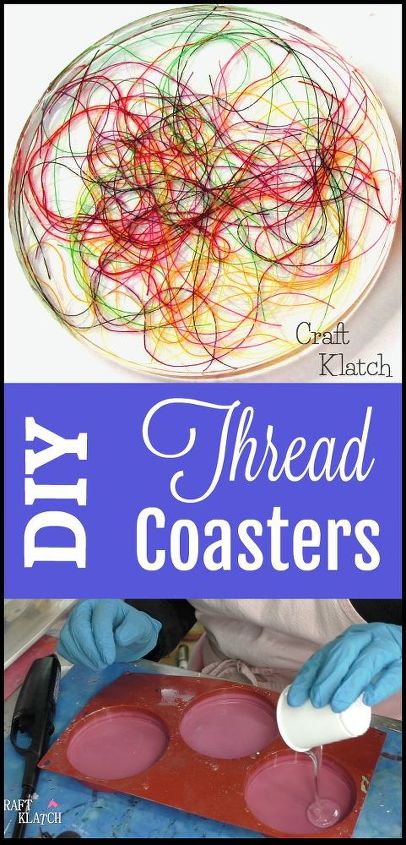
Today we are taking colorful string and/or embroidery thread, mixed with resin and turning it into coasters! Be sure to check out the quick video tutorial to see exactly how I made them!
{
"id": "5063209",
"alt": "",
"title": "",
"video_link": "https://www.youtube.com/embed/86df80e7Kfs",
"youtube_video_id": "86df80e7Kfs"
}
{
"width": 634,
"height": 357,
"showRelated": true
}
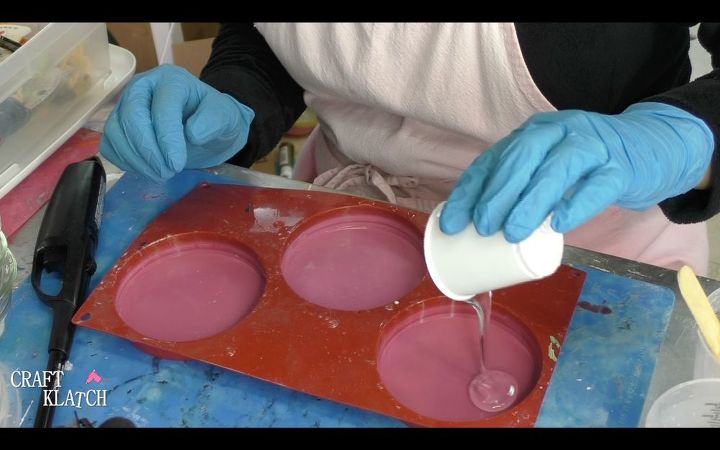
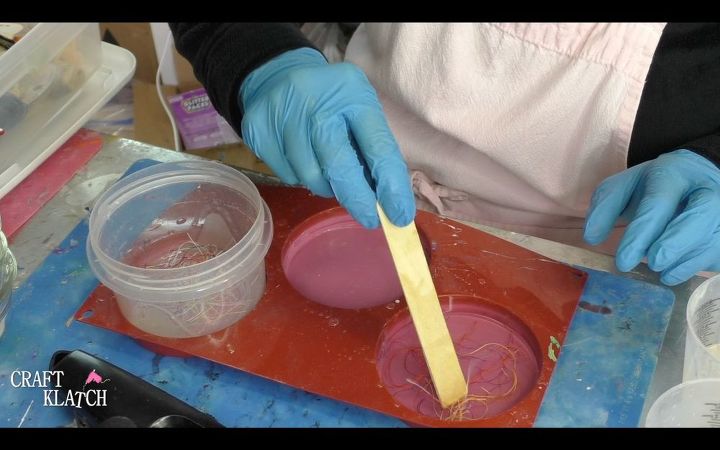
I mixed two ounces of resin and poured approximately one ounce into one cavity of the coaster mold.
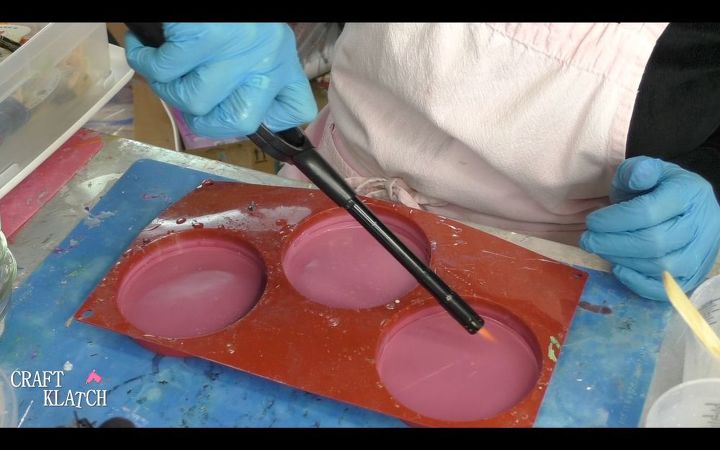
I popped the bubbles with my lighter.
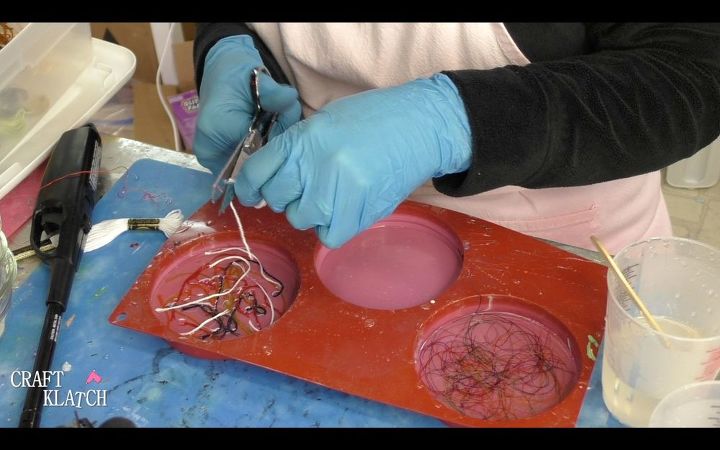
I cut a bunch of pieces of thread.
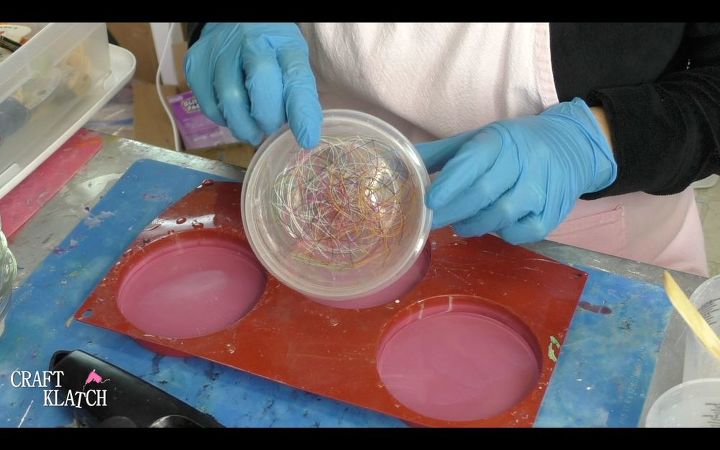
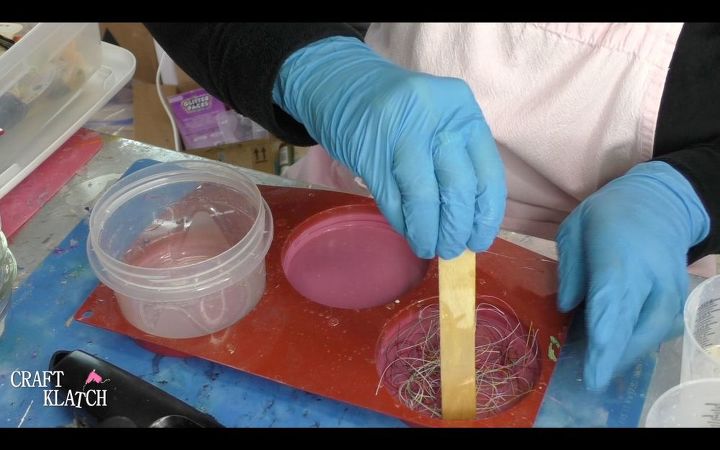
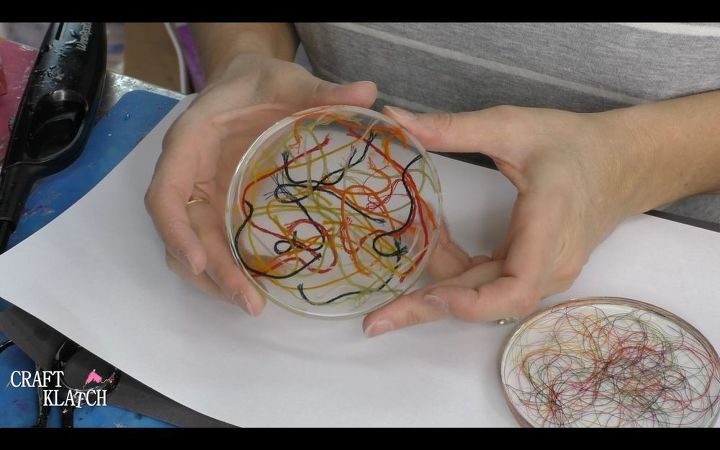
I began dropping the pieces of thread into the resin.
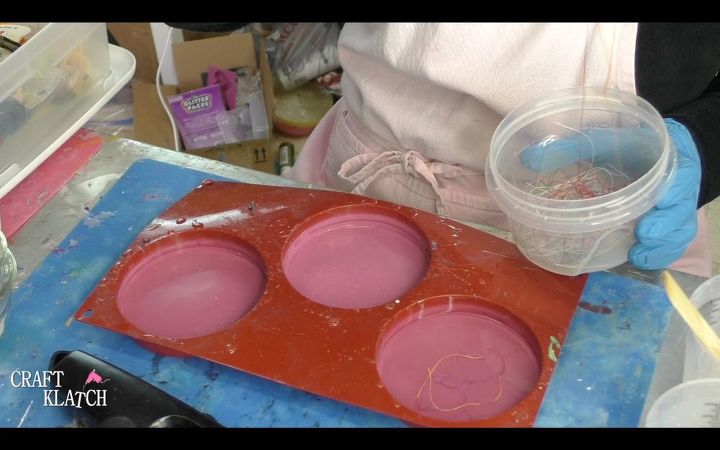
Then I pressed the string down, with my stir stick.
Once the thread was completely covered by resin, I used a lighter to pop the bubbles. Be careful, if the threads are not covered, you might set them on fire!
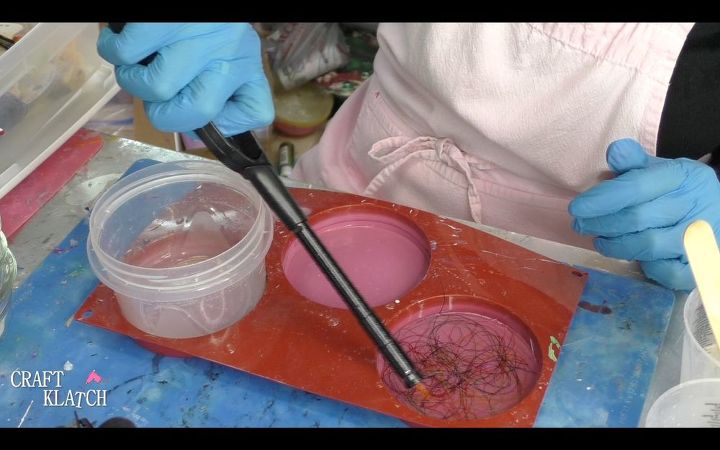
I then repeated the process with the other ounce of resin and the embroidery floss.
After both have the threads and the bubbles popped, I mixed two more ounces of resin and slowly poured it over both coasters. Then, I popped the bubbles and allowed it to cure a minimum of 12 hours.

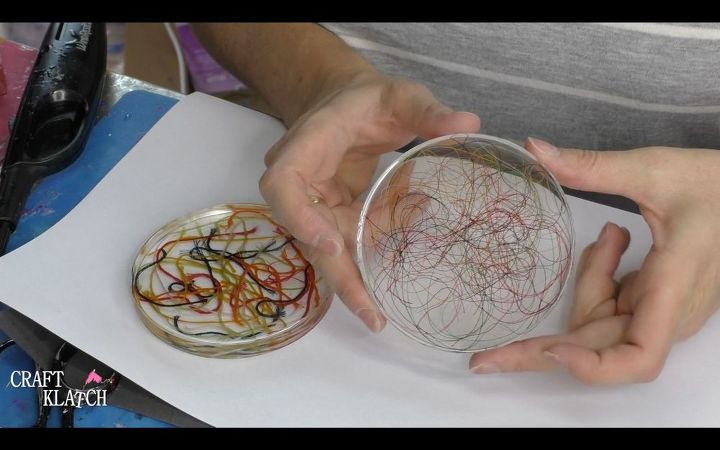
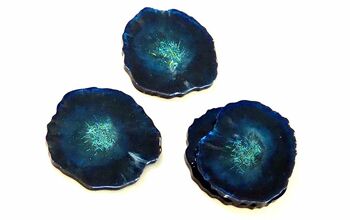
Once cured, you can remove them from the mold. Here is the embroidery floss.
Here is the thread.
They are just fun squiggly coasters! The actual time you will spend on the project will be 30 minutes or less. The cure time for the resin is a minimum of 12 hours.
If you want to find other fun Fall and Halloween coaster projects, you can find them HERE!
Resources for this project:
See all materials


Any price and availability information displayed on [relevant Amazon Site(s), as applicable] at the time of purchase will apply to the purchase of this product.
Hometalk may collect a small share of sales from the links on this page.More info

Want more details about this and other DIY projects? Check out my blog post!


Frequently asked questions
Have a question about this project?