


Easy Magazine Holder
by
Courtney
5 Materials
$10
1 Hour
Easy
This is a quick project or an easy gift idea for a family member or friend! You can really make this any size you want. If it’s going to be for a living room, maybe make it a tad bigger. Or if you want it to hold more magazines, a tad wider.
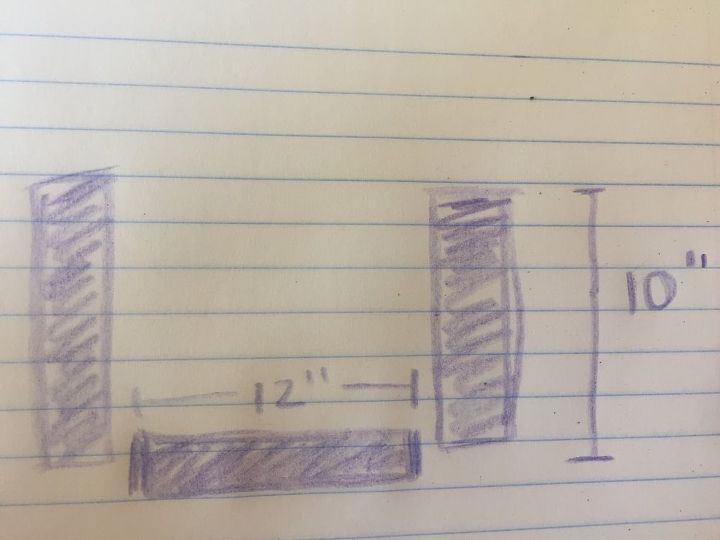
Before you begin, you'll want to draw out your pieces. Here is a quick sketch of the 2 sides and bottom piece of the magazine holder. The vertical pieces were 10 inches and the bottom piece was 12 inches.
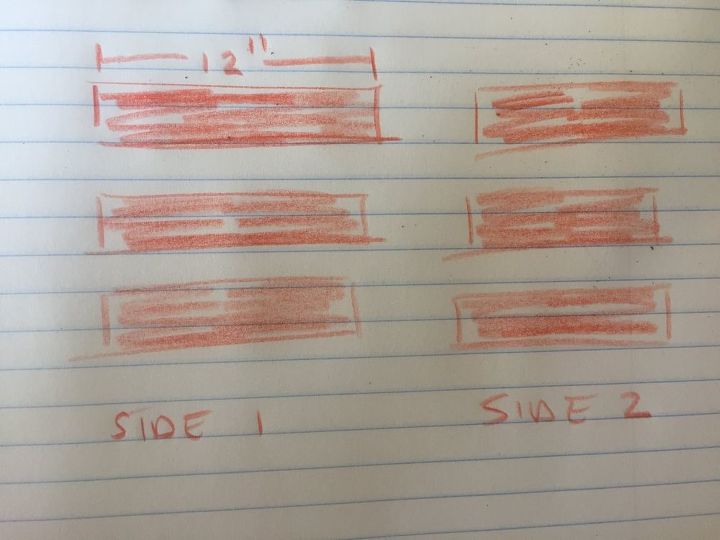
The orange drawing are the pieces of wood for each side (horizontal pieces) of the magazine holder. These were 12 inches long.
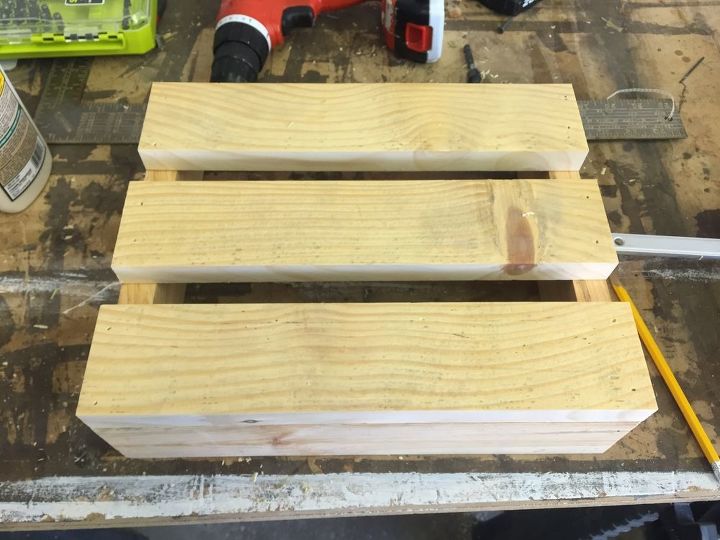
Once all of your pieces are cut to size, grab your wood glue and nail gun and you're ready to go! Start by attach the bottom piece to your two side pieces. Then start attaching the horizontal pieces - lining them up with the top and bottom and spacing them accordingly!
Using the wood glue will help make the holder stronger. Once all of your pieces are attached, give the holder a good sanding using sand paper to make it smooth.
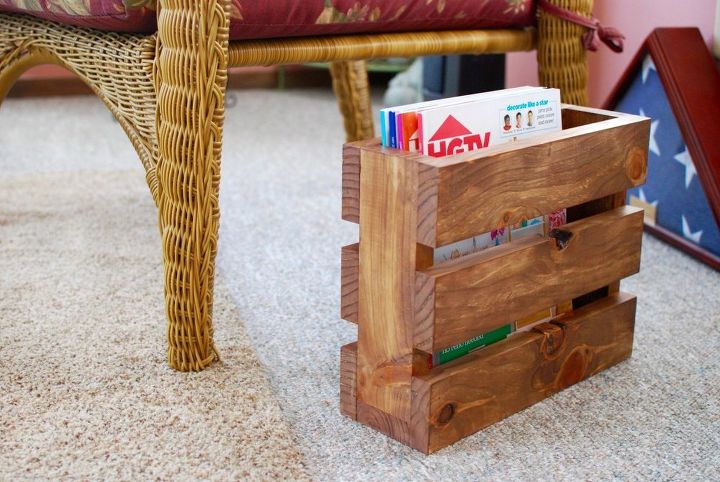
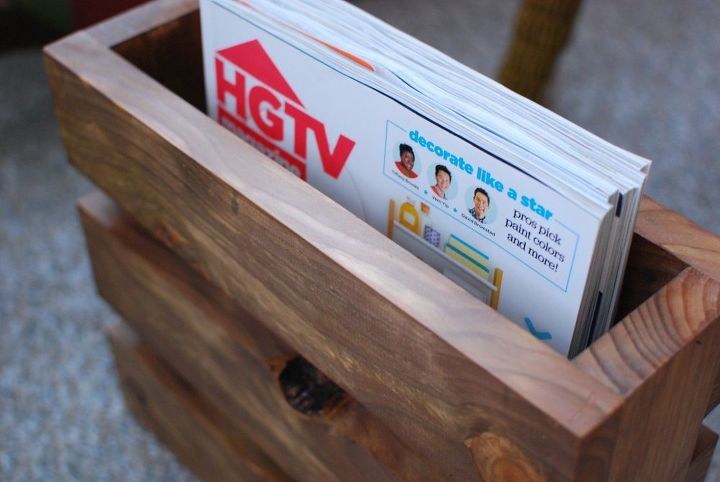
Once everything is set, you can paint or stain the wood. If you would rather paint or stain the pieces before attaching them all together, you can do that, too. I then added a polycrylic finish to the top and let it dry. That's it!
Want more details about this and other DIY projects? Check out my blog post!
Comments
Join the conversation
2 comments
-
Really nice! Love the simple straight lines. Nice choice for stain color too.


Frequently asked questions
Have a question about this project?