


Etched Recycled Wine Bottle
I love etching cream! It gives us the opportunity to give new life to things by recycling them. It also can make some amazing gifts. In this tutorial I'll show you how to etch a recycled wine bottle and turn it into a beautiful serving bottle.
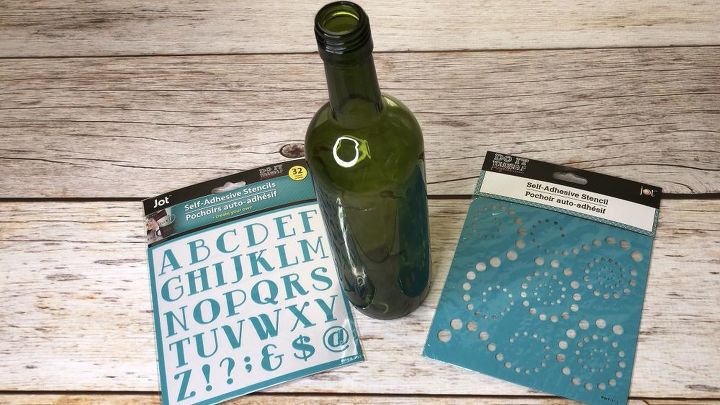
You'll need:
A recycled bottle with the labels removed
Self adhesive stencils of your choice (I got mine at Dollar Tree)
Etching Cream (I used Armor Etch)
A paint brush
Rubber gloves
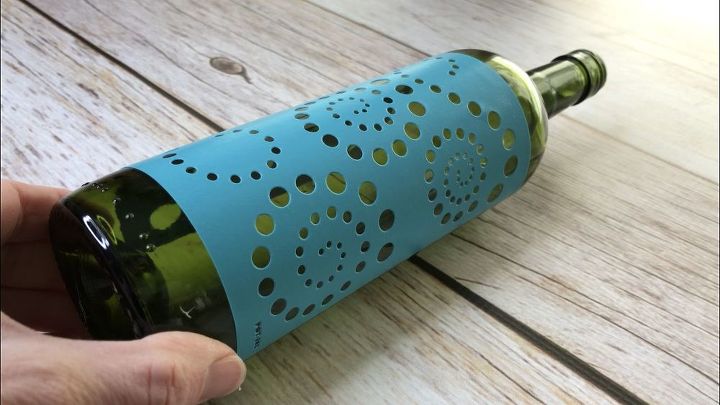
Start by putting your self adhesive stencil onto your bottle. Mine went 3/4 of the way around.
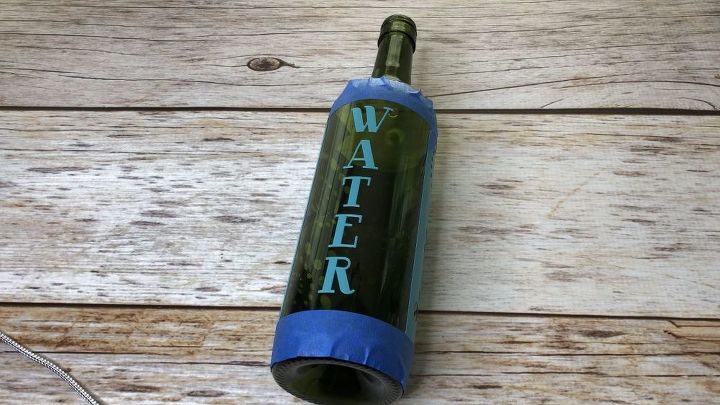
On the part that remained I placed self adhesive stencil letters and I taped off the edges with painters tape.
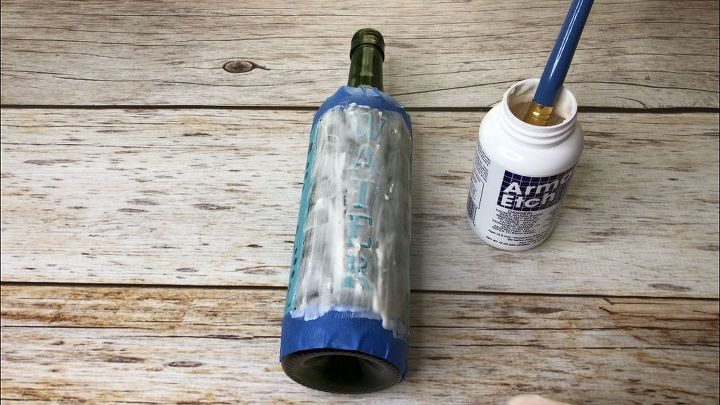
I put on rubber gloves to protect my hands and I coated the "water" side with the etching cream. Be sure to put it on thick.
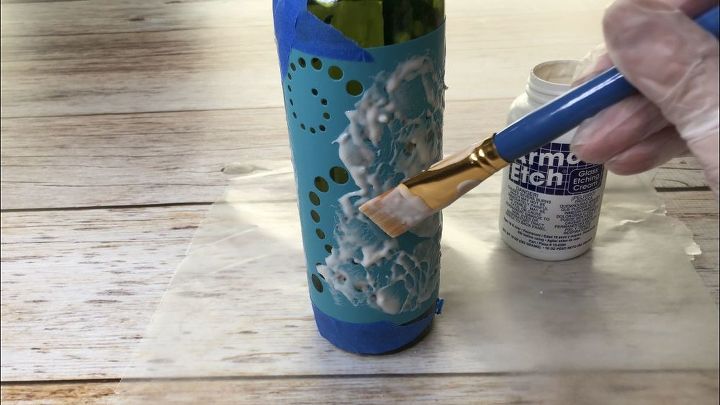
I then coated the other stencil design with the etching cream.
I let it set for 10 minutes as per the bottle's instructions.
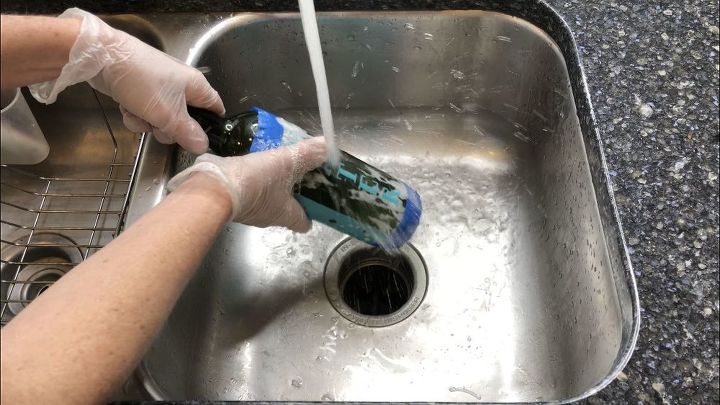
I rinsed off the etching cream rubbing at it lightly under the faucet.
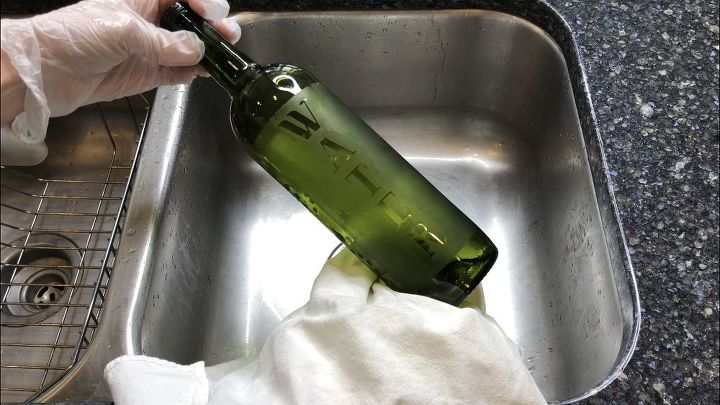
I then carefully peeled up the stencils and washed it again.
You can rinse off your stencils and place them back in their container as many of them are re-usable.
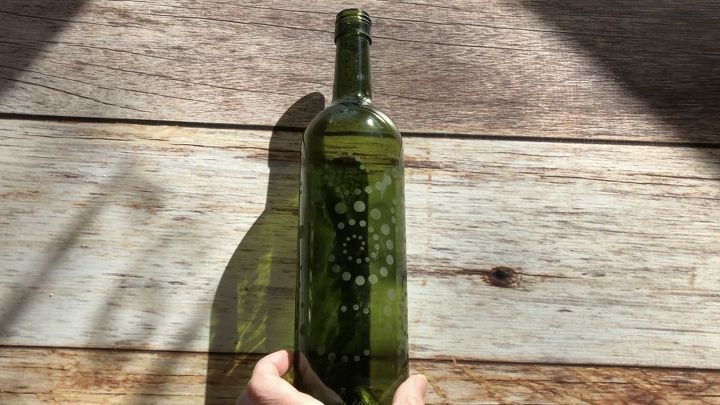
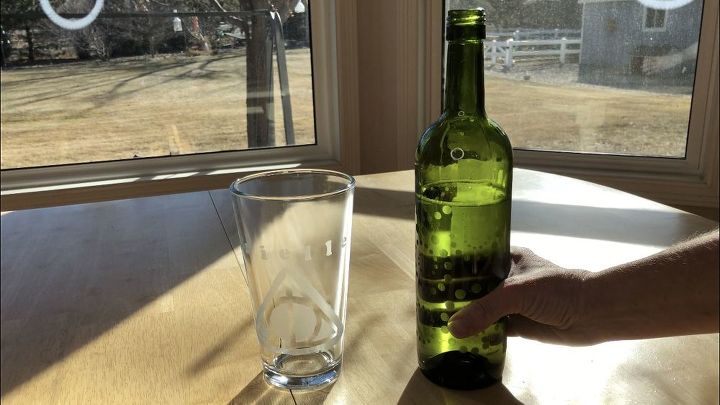
I dried it and you can see the design on both sides.
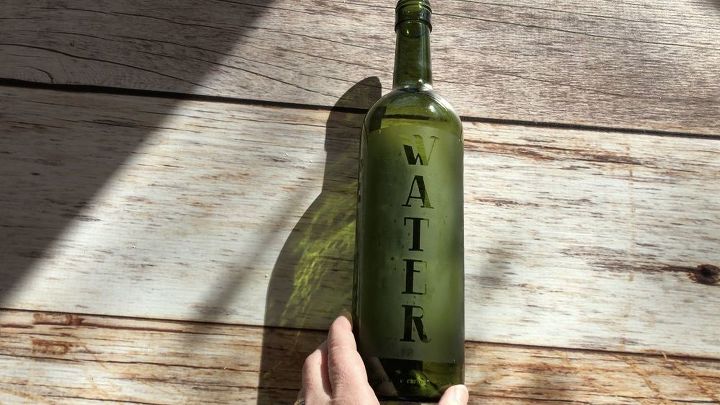
I love how this turned out and am excited for all we can use it for.
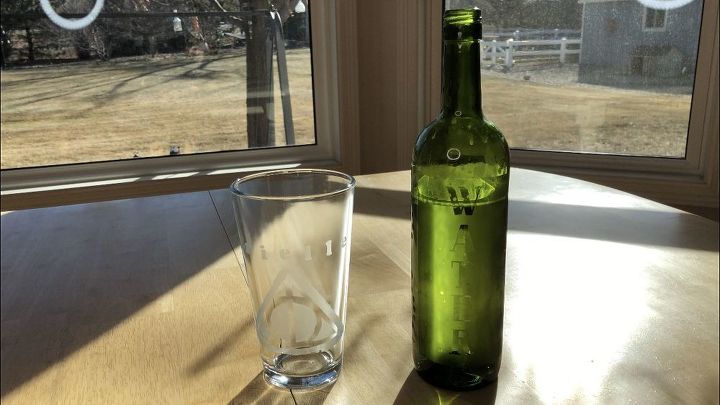
I also think this would make a great gift idea!
I would love to have you stop by my blog Chas' Crazy Creations for the full tutorial as well as sign up for my latest creations, posts, recipes, exclusives, and more...
I would love for you to subscribe to my YouTube channel to see more of my crazy creations - https://www.youtube.com/c/chascrazycreations


Frequently asked questions
Have a question about this project?