


What in the World is Reverse Canvas?
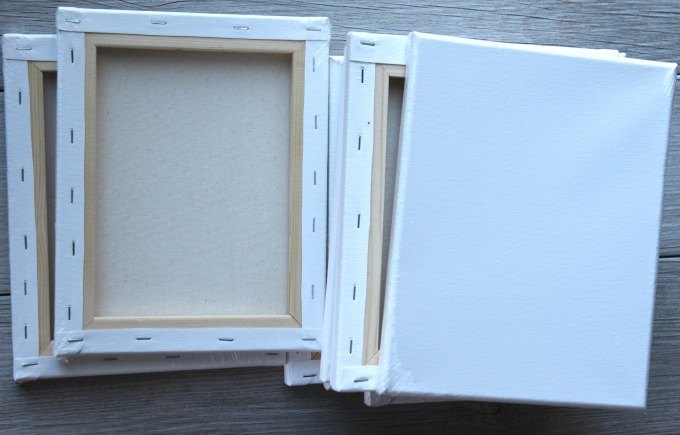
Hello fellow DIYers! I'm sure I'm not the only one who is hearing the buzz of the Reverse Canvas craze. If you are wondering what that even means, I'll tell you. I'll also show you how to make your own! Grab a simple canvas and I'll teach you how to make a gorgeous and expensive looking DIY sign!
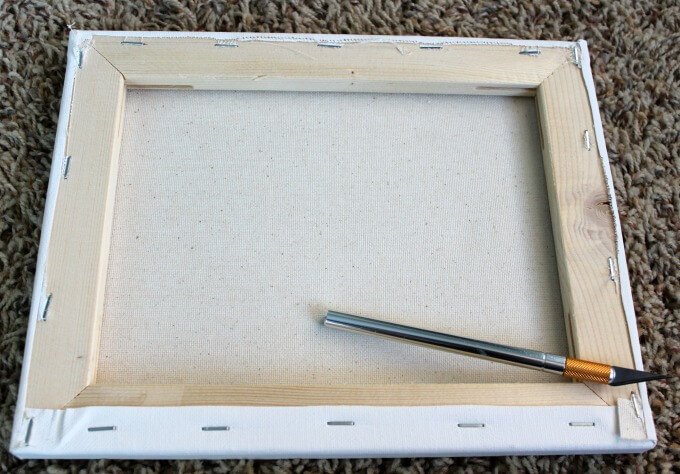
Step 1: Remove canvas from the wooden frame using a sharp knife (see below)
Cut on the outside of the staples, loosen and remove canvas. Put it aside and we'll get to the canvas in a minute!
Step 2: Stain the wooden frame with your favorite wood stain color.
My favorite as of now is Special Walnut by Minwax. Allow the frame to dry completely; I'd leave it over night to be sure as you don't want it to bleed onto your canvas!
Keep in mind staining the frame is optional. If you like the look of the bare wood, just use it that way!
If you need a little guidance using wood stain, see my process when I made DIY rustic wood shelves behind my bar.
Step 3: Create your "sign"
I used my Silhouette Cameo 3 (cutting machine) to print out a heat transferrable vinyl image "Faith" for my sign. BUT, it would be very easy to simply use chalk paint, a stencil of a saying you love, and a foam brush to paint on the front of the canvas.
Wal-Mart has several alphabet stencil options. Find a font you love and create any saying you'd like with paint!
I used one of the Wal-Mart stencils to create some really pretty terra cotta planters!
If using chalk paint, allow the paint to fully dry prior to the next step.
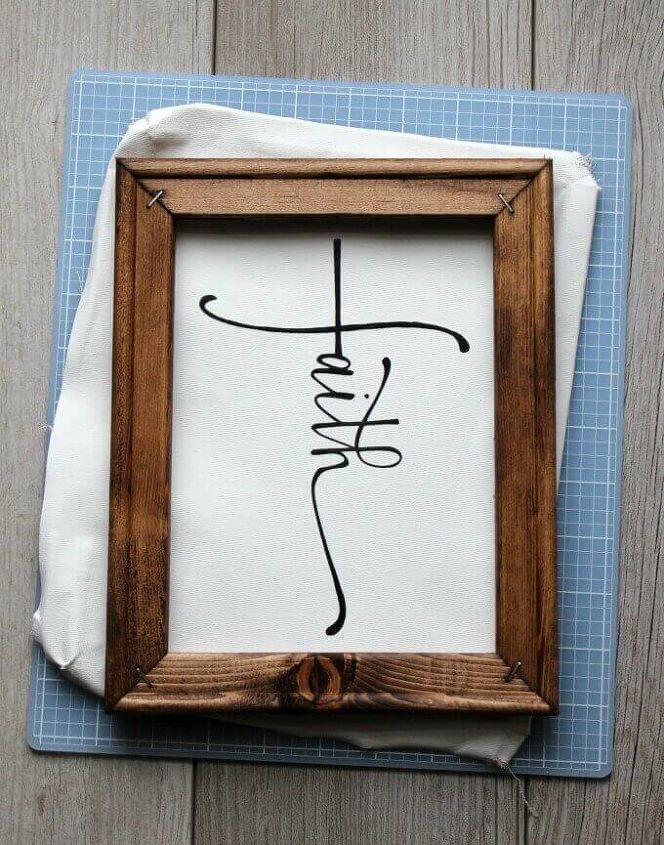
Step 4: Ensure your sign is aligned and staple the canvas to the backside of the frame.
At the time of this project, I did not have a staple gun. This would certainly make the back look prettier, but is not necessary! A regular stapler would work just fine!
Just be sure your canvas is taut when stapling onto the frame!

Ta Da! There you have it! Reverse Canvas! Time to make yours!
This is very inexpensive DIY home decor! Total cost is ~$5.00. Even less if you have some of the supplies already (I bet you do;-) Total hands on time was less than 30 minutes. This does not account for the wait time for stain and paint to dry.
Resources for this project:
See all materials


Comments
Join the conversation
-
April that's a good one. Will be doing that ASAP. I'm going to be paying closer attention to you. Anything and I mean anything green is for me. Everything's got prudential for recycle.
-
It seems that you exactly have it. Reuse the front or back of a used canvas, and reframe the canvas on a different frame or in a different way. Some of the Old Masters and many art students do this to save money on canvases and frames. Maybe you can do this, also. 😀


Frequently asked questions
Have a question about this project?
Ok , seems simple enough , but I don't get what makes this "reverse canvas" are you using the back of the original canvas to print on or the front ? Is it just called that because you have taken it and put it in a frame instead of using the wood frame the canvas came attached to ? I just don't get it .
Couldn't you just staple the canvas to the other side from which it started out and cut with Razer knife the piece that wraps around and remove the original staples?
New to this type of crafting and I’m excited to try this! Thanks for the easy to follow directions. Can you tell me what font you used one the word Faith?
Thanks!