


Two, Two, 2 Shelves Out of One.

We picked up an over the toilet cabinet similar to this one and thought about taking it apart and using the top as a shelf. Little did we know both sections would be used!

Taking the top off the bottom section was easy as it was held together with screws. I didn’t get pictures doing that, sorry!
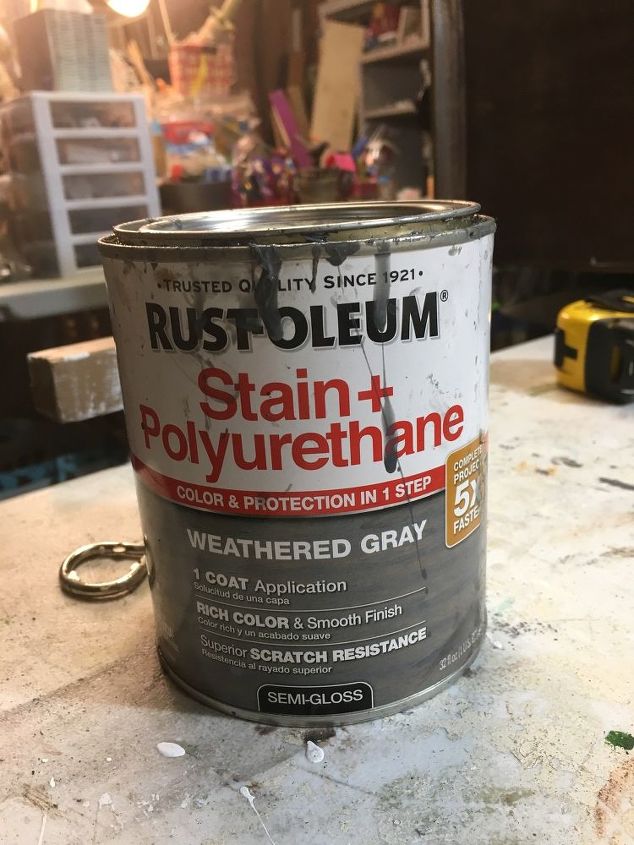
This is the stain we used on the barn wood that covered the sides, back and top of the dismantled cabinet. I love, love this stain. We found this stain a while back and have used it on many of our projects. It covers sanded barn wood very well and seals it all in one. The look is rustic but with a finished look.
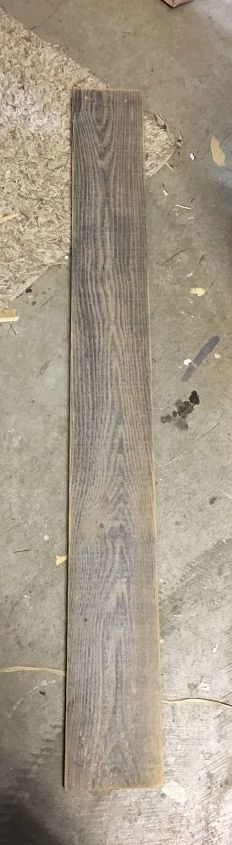
Here is the barnwood before the stain.
After staining the barn wood it was attached to the top and sides using a pneumatic nailer. You could also use a hammer and nails if you didn’t have the nailer.
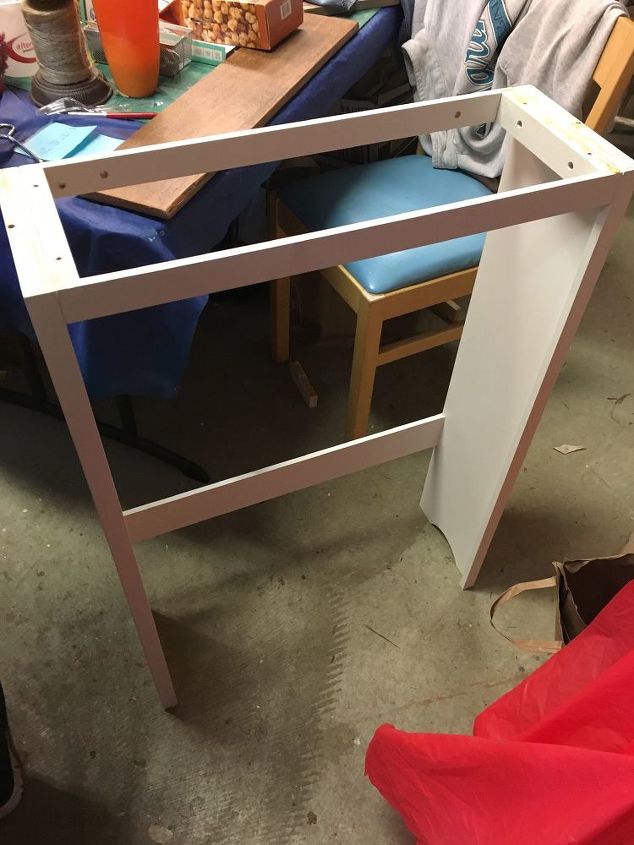
Then I turned around and this was just sitting to the side when we realized this also could become a shelving unit.
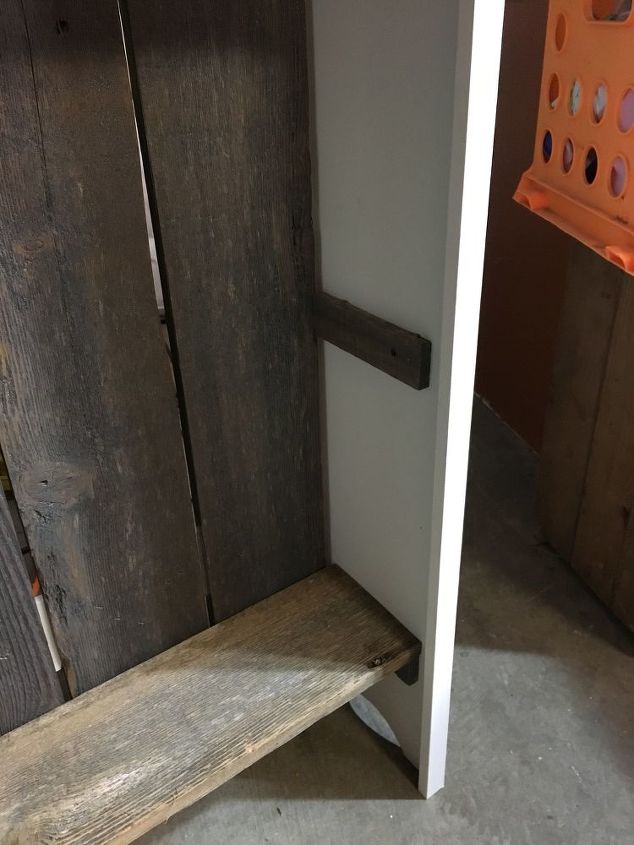
The boards were cut, stained and nailed to back of the bottom unit. The small slat is for a shelf to rest on.

The back corners had to be notched out for the barn wood to fit snuggly. To do this I used a small hand saw to cut through the grain and a chisel to cut the section going with the grain. It came out pretty easy!
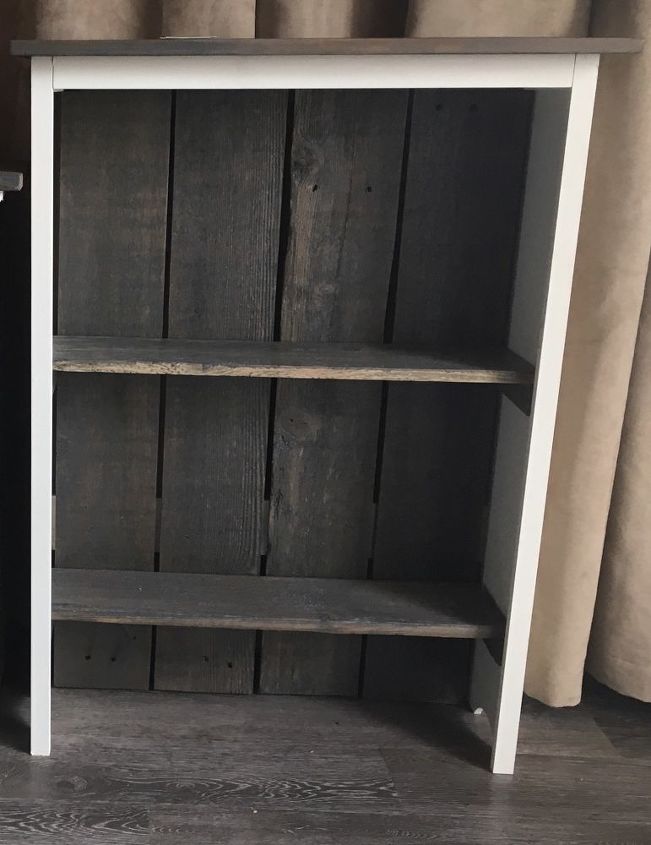
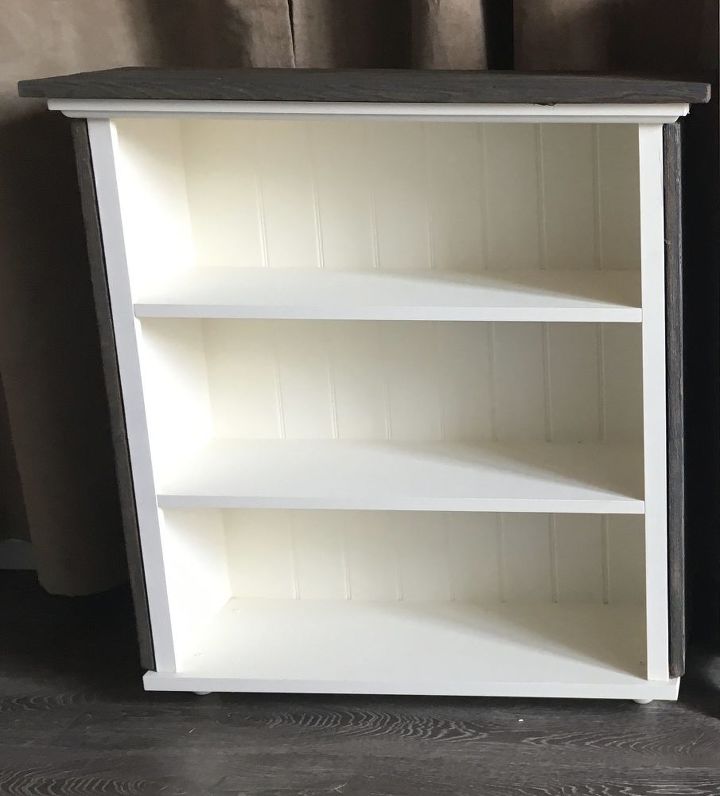
Here it is all done. The top boards are cut with a 1 inch overhang on the sides.

I put them together just to show how they looked after. See the cute little feet we put on the top one.

Here is the top section as a DVD holder.
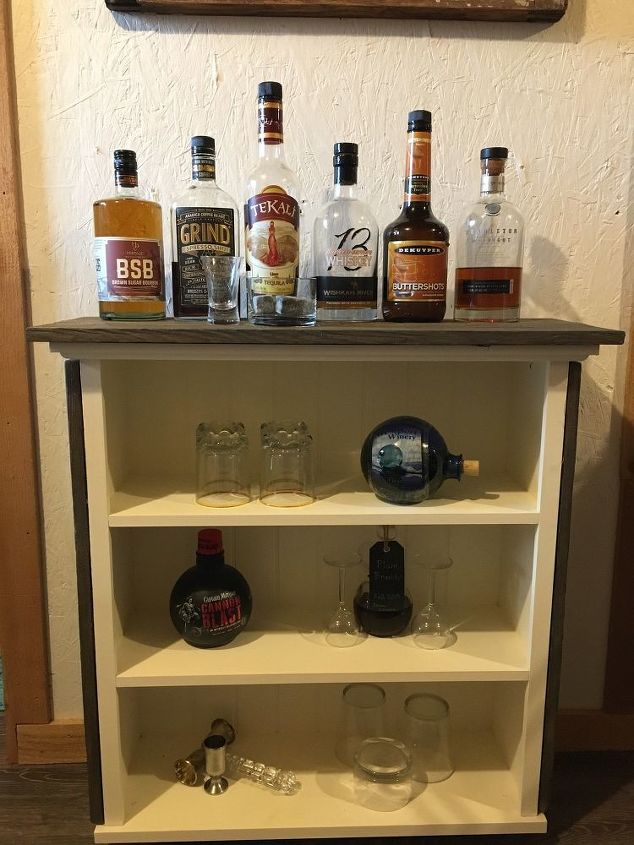
And here as a mini bar.
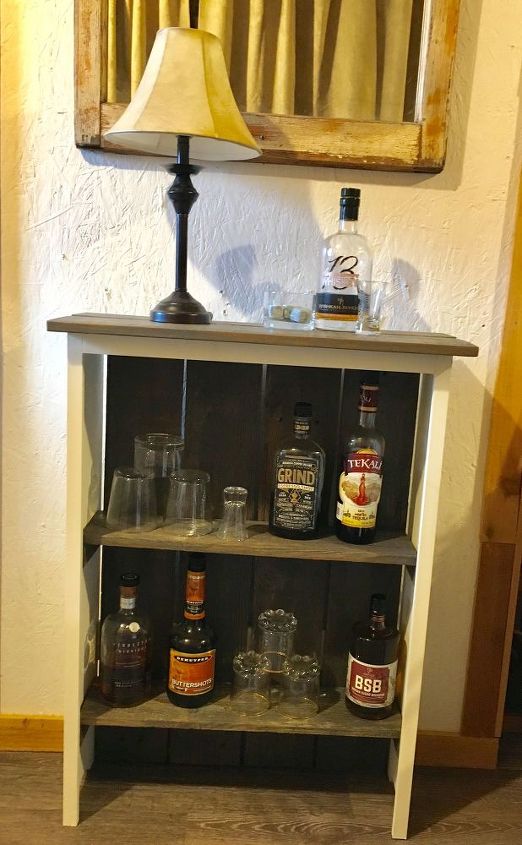
Same set up but the bottom section set up as a mini bar.
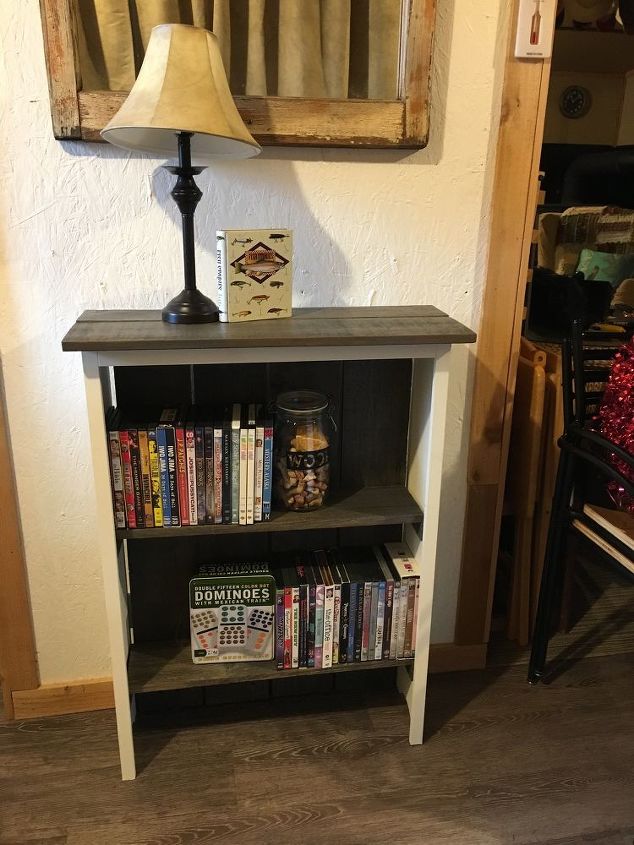
And as the DVD shelving unit. These can be used in almost any room. The possibilities are endless. Even back in the bathroom!
Resources for this project:
See all materials


Comments
Join the conversation
-
Great stuff
-
Great stuff


Frequently asked questions
Have a question about this project?