


Design Your Own Wood Crate Coffee Table for Under $150

Do you like to add fresh and unique design elements to your home without spending a ton of money?
I do, too! Keep reading because your'e not going to believe this crate coffee table.
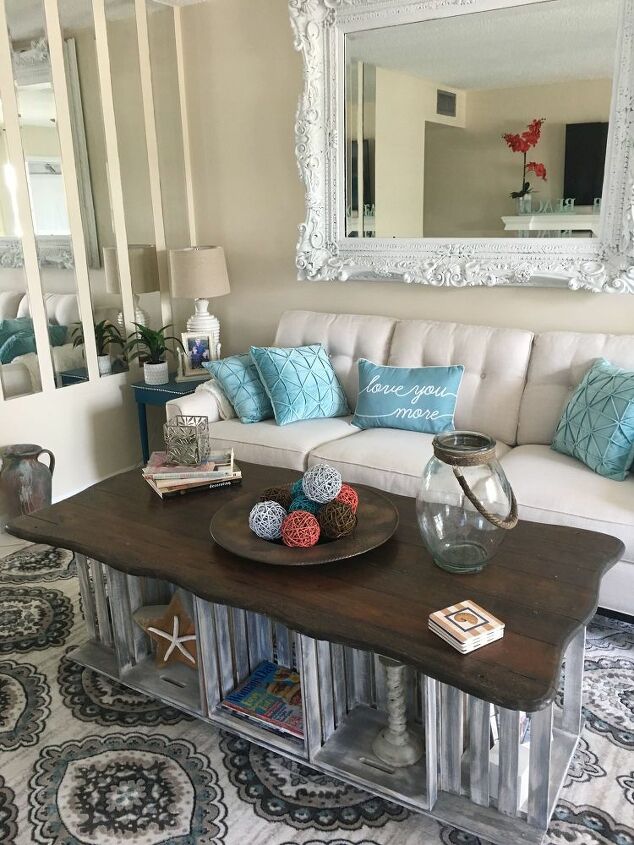
Who would have thought that these crates could make something so beautiful? With a little imagination and a little paint, you can create your own custom coffee table for under $150.
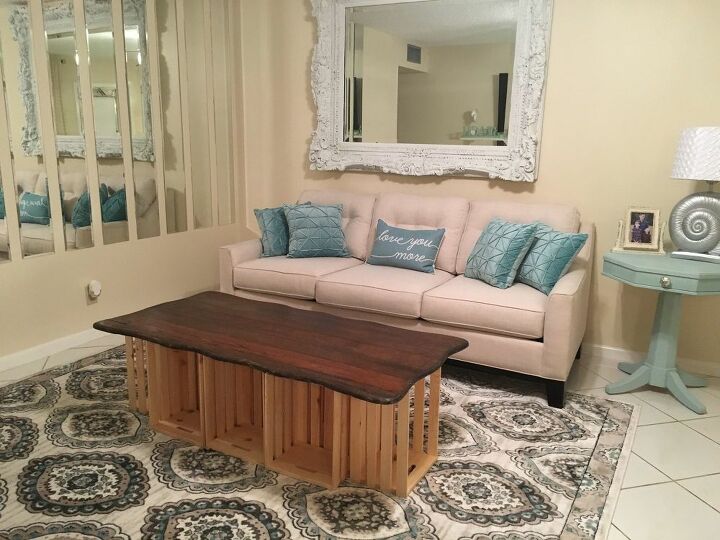
I had this beautiful wood top from a past project that I wanted to repurpose. It may look familiar to some of you. About two years ago, I found a desk sitting next to a dumpster that someone was throwing away. I snatched it up and did a complete makeover on the desk. You can see it HERE. Not to brag, but it did turn out beautiful. Unfortunately, my movers broke it beyond repair, so I salvaged the top and stored it so I could use it again.
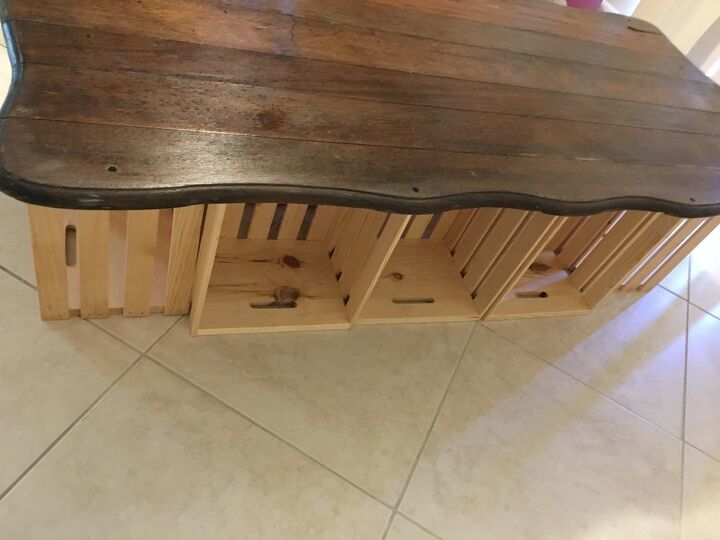
I started out with eight crates that fit perfectly underneath the top. The idea was to create extra storage and create a custom piece of furniture.
My initial thought was to line them up side by side but the crates were longer than the top, so I positioned them to face out at the end. I’m glad it worked out that way because I like it better.
I was going for a distressed weathered look because the theme for the house is coastal/beachy.
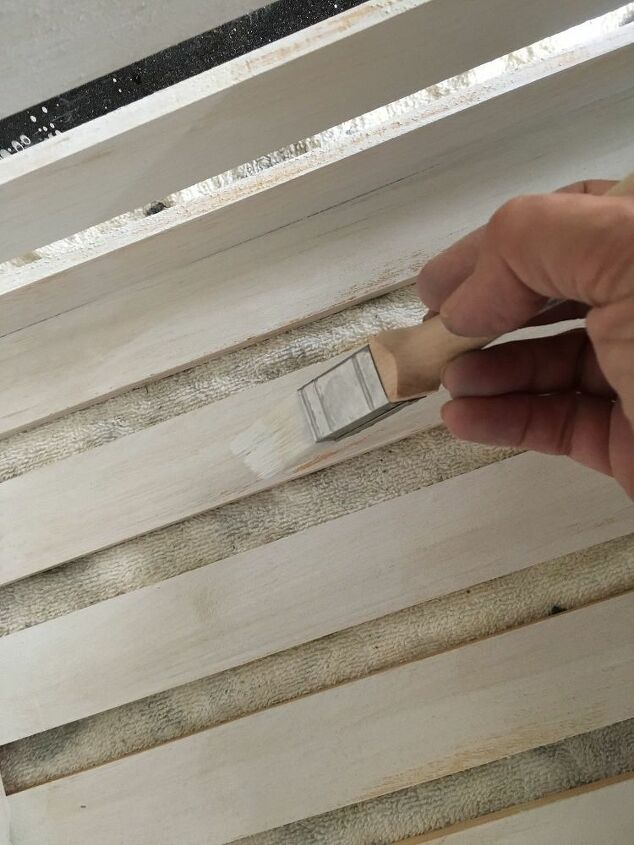
The first step was to paint the crates white. I used flat white paint and thinned it down with water. I just did a heavy dry brush technique; I still wanted some of the natural wood coming through. Once it dried, I sanded it lightly with an electric sander using 320 grit sandpaper
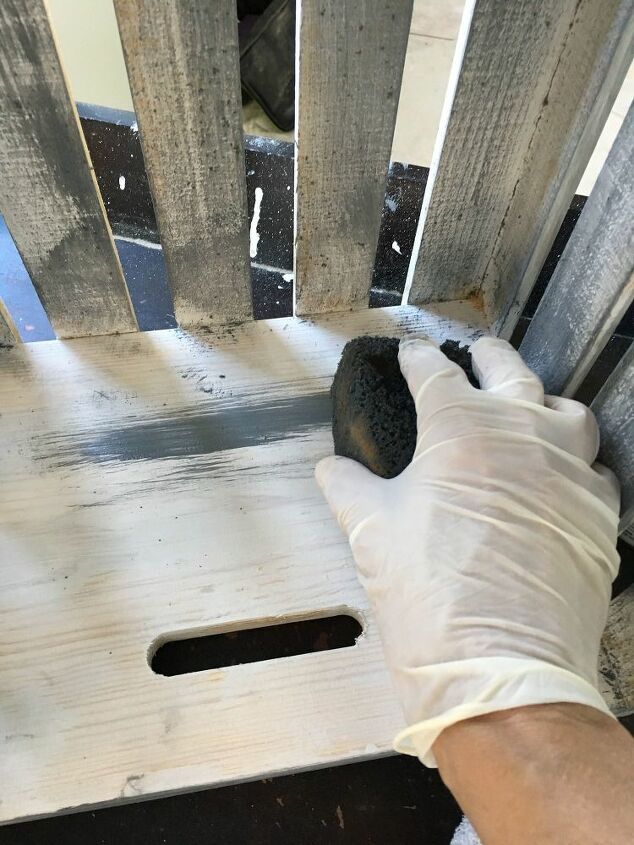
Then I took a car sponge and randomly applied gray wood stain in the same fashion.
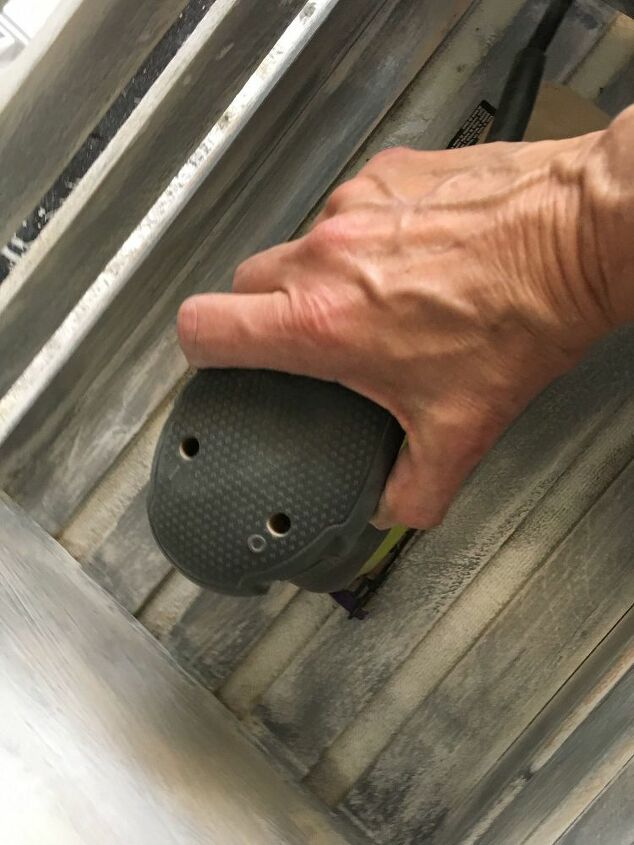
To achieve an authentic weathered look, I used an electric sander and 320 grit sandpaper and lightly sanded the crates.
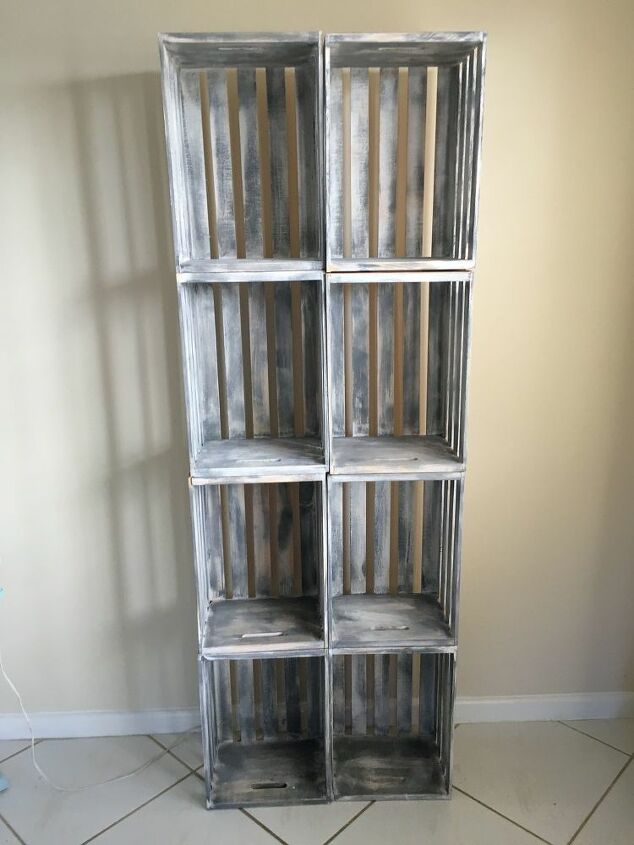
There’s what they looked like when I was done. You are not going for perfection. You want them to look like they have been outside and weathered.
There was also a flat piece of plywood I painted to use for the bottom. You will see it in the video.
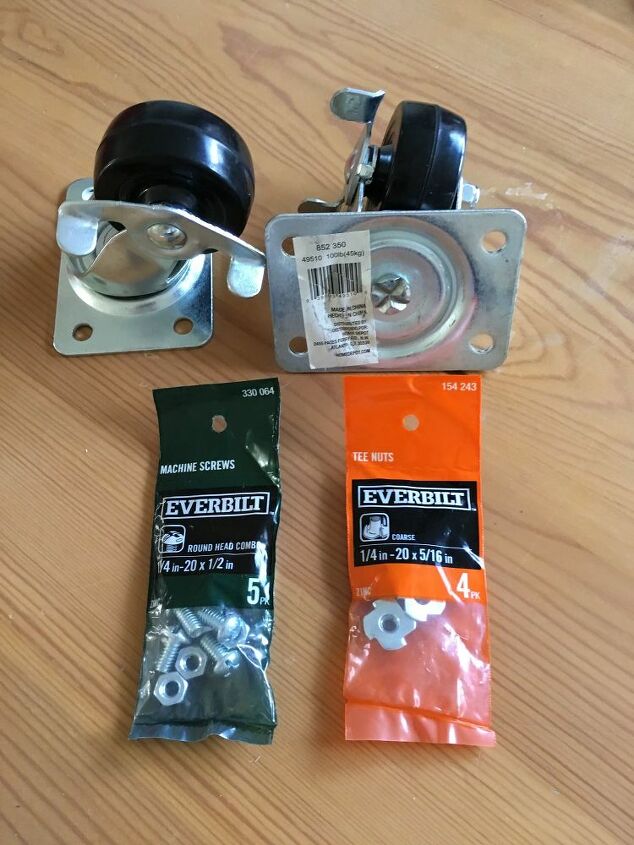
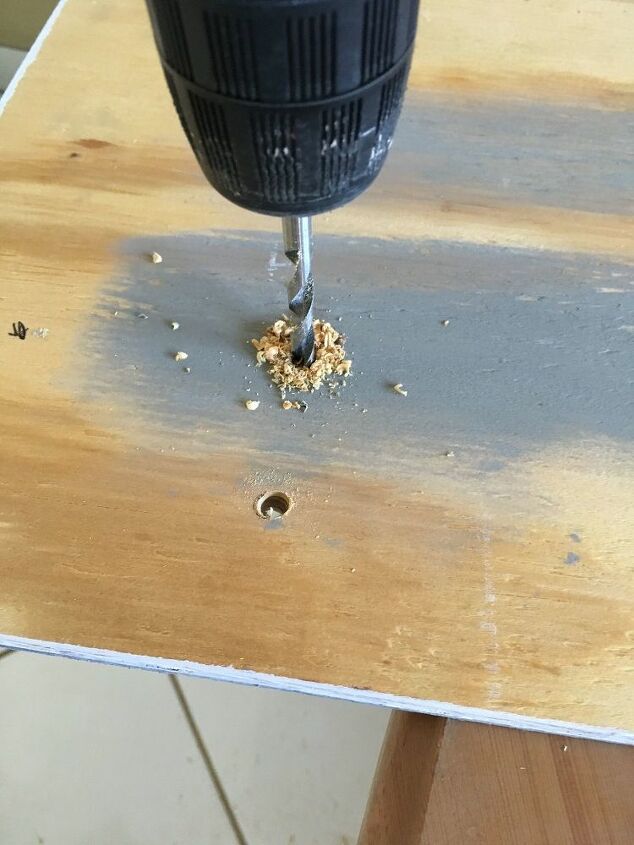
Measure where you want the casters to go and use a pencil to mark the holes. Drill the holes so you can apply the T- Nuts.
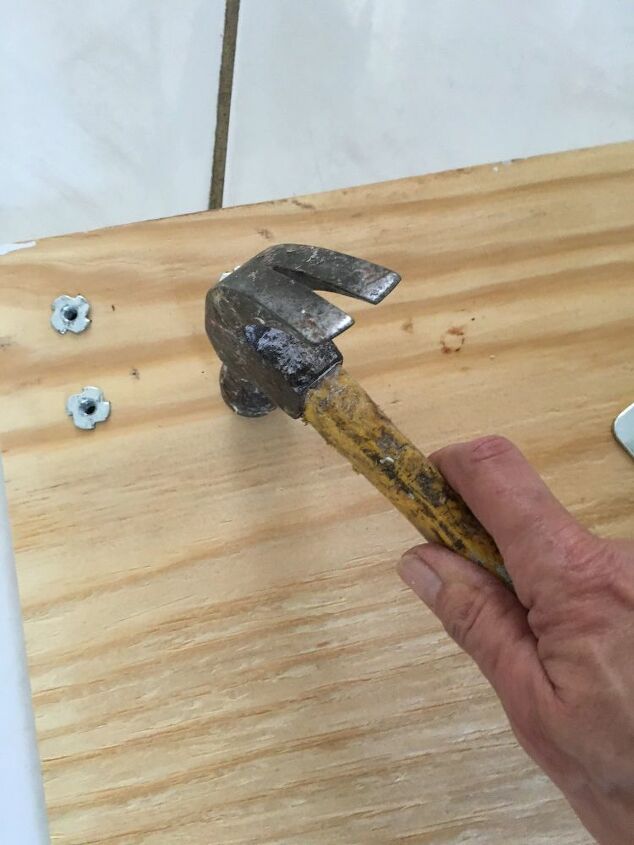
Hammer the T-Nuts in the holes. Then screw the casters on.
Watch the step-by-step tutorial here:
Watch the tutorial
Resources for this project:
See all materials


Comments
Join the conversation
-
Thanks Carla: I did a couple of budget friendly Home makeover blogs with some fun DIY projects if you would like to check them out. Here's the link to get my weekly blogs. https://www.subscribepage.com/diy-projects
Have blessed day
Cheryl
-
Beautifully done!


Frequently asked questions
Have a question about this project?