


How to Build a Pallet Table for the Patio

We are on a roll with pallet projects yall! Before the table I'm about to tell you about, we did this project. CLICK HERE!
Last weekend it was finally warm enough to clean off the patio and get it ready to use this year! Last year, my honey bought that cute little grill. It's from Buc-ee's. We love it because although it looks small, it holds quite a lot of food! Anywhoobs! He wanted a stand for it so he didn't have to set it on our awesome table that he also put together for us. The table is just too low to stand comfortably at anyway.
Note: When I say "we" in this post, I mean my honey! He took all the pictures and built this table alone. I was there, but I had my own projects going on. Now back to the program. ;)
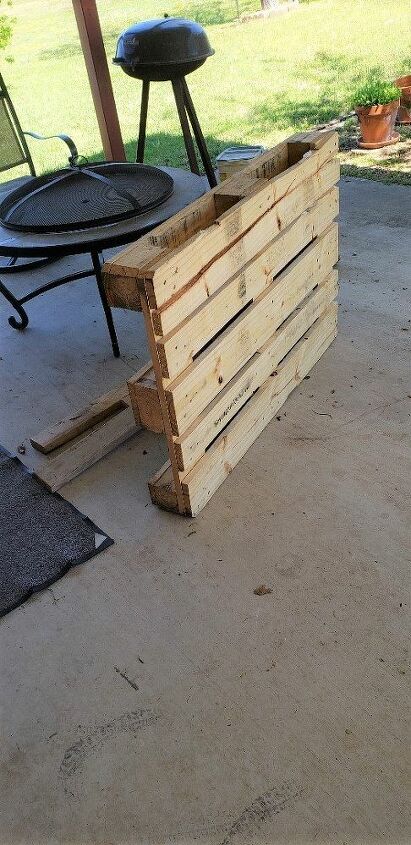
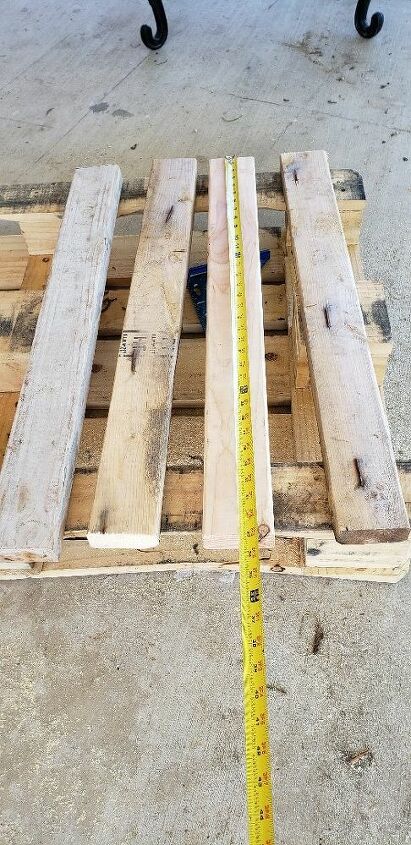
This is just a standard sized pallet and the wood its made out of is pretty sturdy.
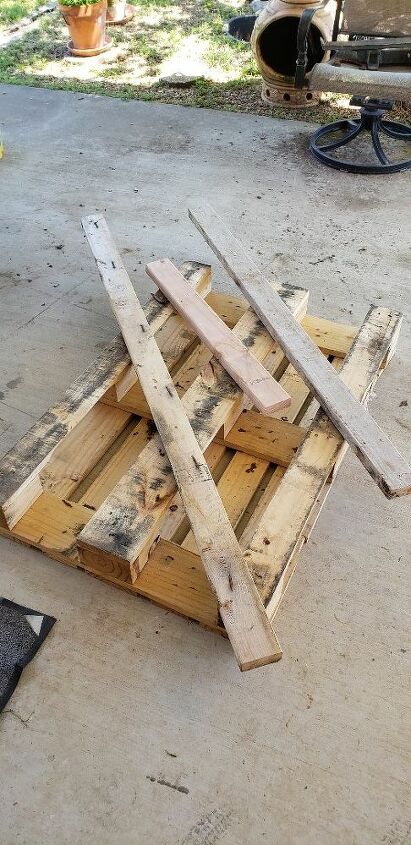
We used some scrap 2 x 4 for the legs. I believe most tables are 36 inches tall, this one ended up 32 inches tall so we wouldn't have to go buy any wood. We just used what we had.
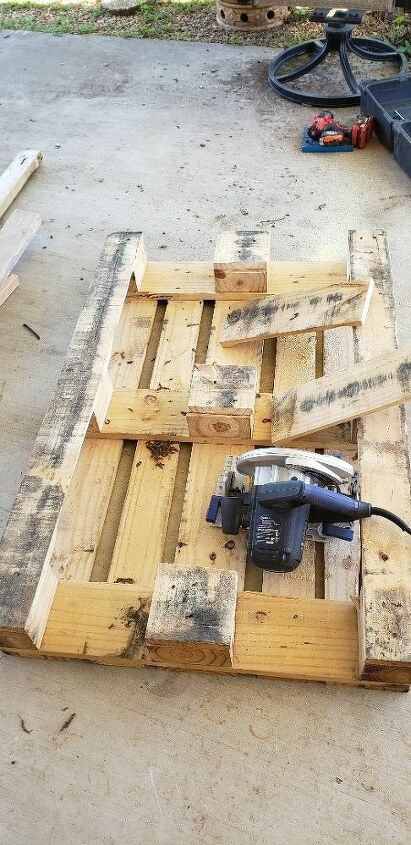
He removed the center board from underneath the pallet using the circular saw. Save these pieces, you'll need them later.
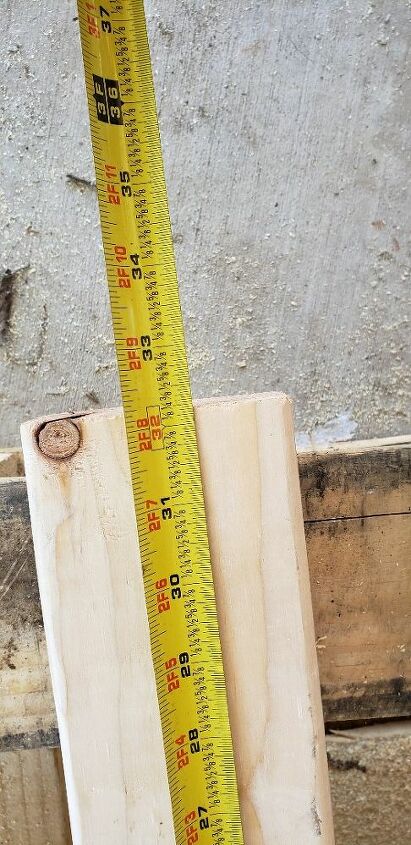
We cut the 2 x 4s used for the legs at 32 inches long, times 4. Four legs. We used the chop saw for that.
Here are the four legs cut at 32 inches each.
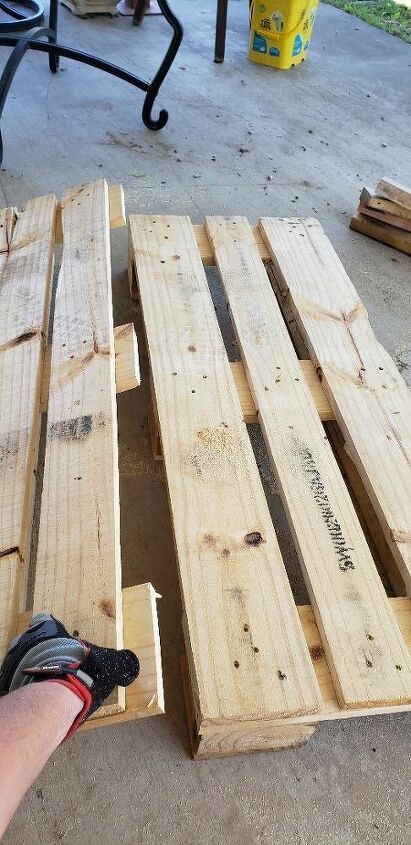
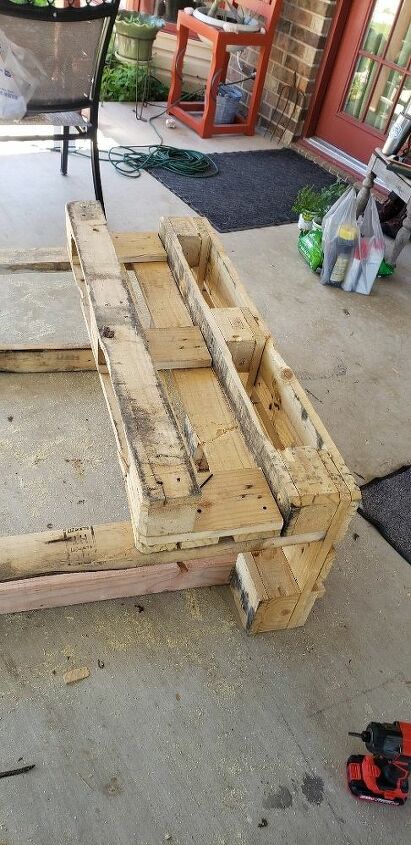
Next, using the circular saw again, we cut the pallet into two pieces. This makes the top and the front shelf.
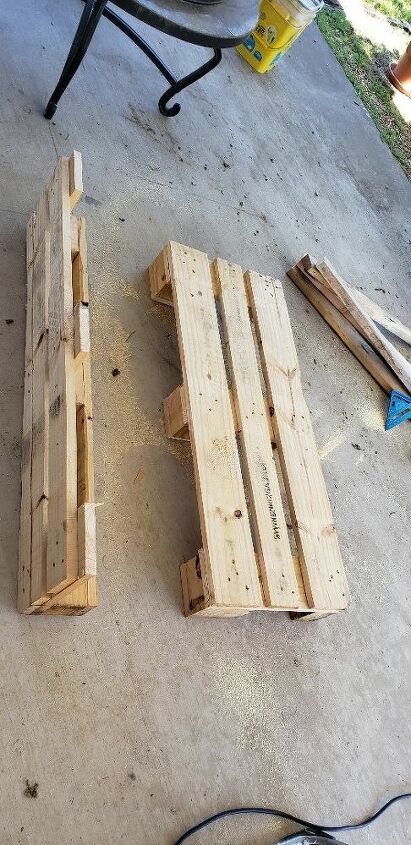
There is still three boards on the table top and only two on the shelf.
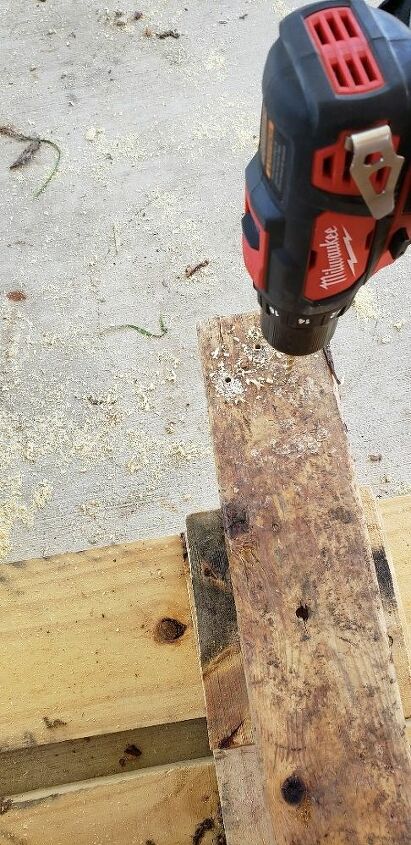
Next, we grabbed the four legs and pre-drilled holes for the screws that will hold them onto the table.
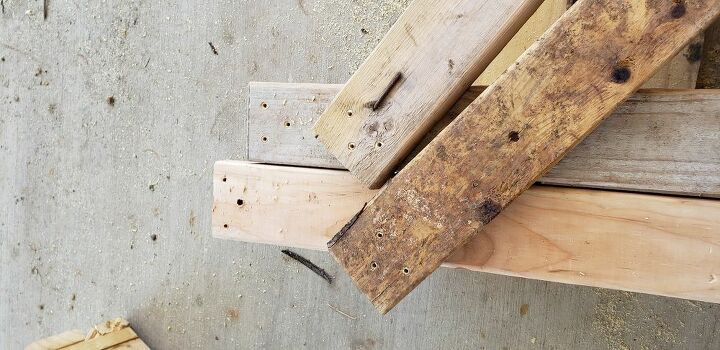
Three holes in each leg top.
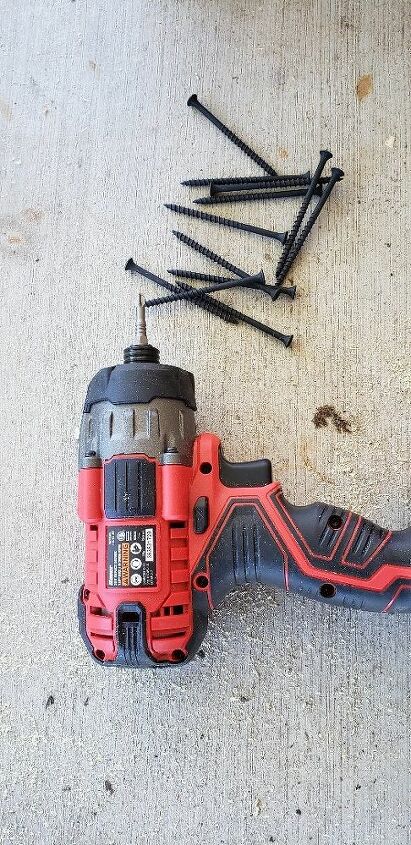
We used 2" wood screws and the hand drill to attach the legs.
We added the back to legs first, then laid it down and added the shelf using the same 2" wood screws.
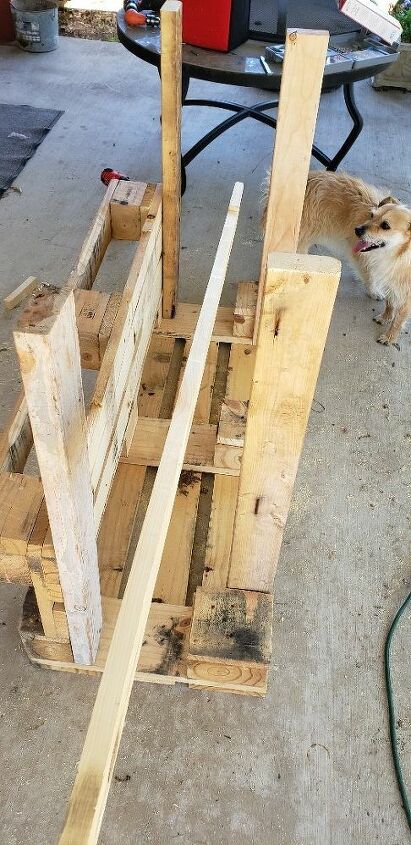
Next we added the front legs, directly behind the shelf.

We used a scrap piece of pallet wood and added a brace between the back legs for sturdiness. And then the rest of our 2 x 4s to go from the front leg to the back leg to make it even more sturdy.
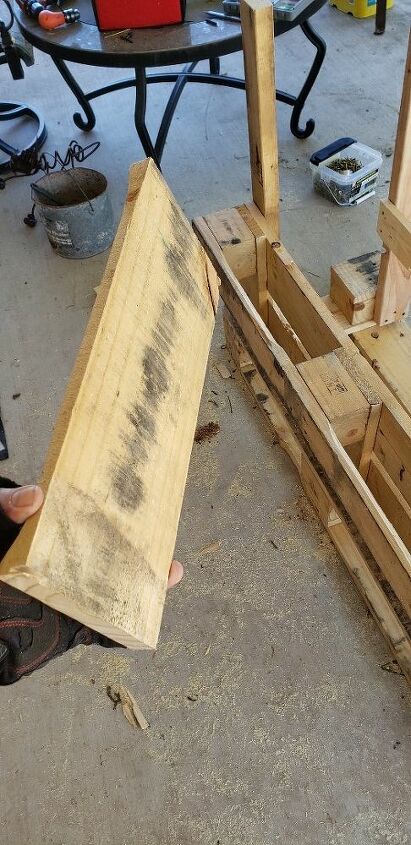
Since our shelf has no bottom to hold things, we used more scrap wood to add the bottom. Remember the pieces we cut off in the beginning? The shelf bottoms were added using more wood screws.
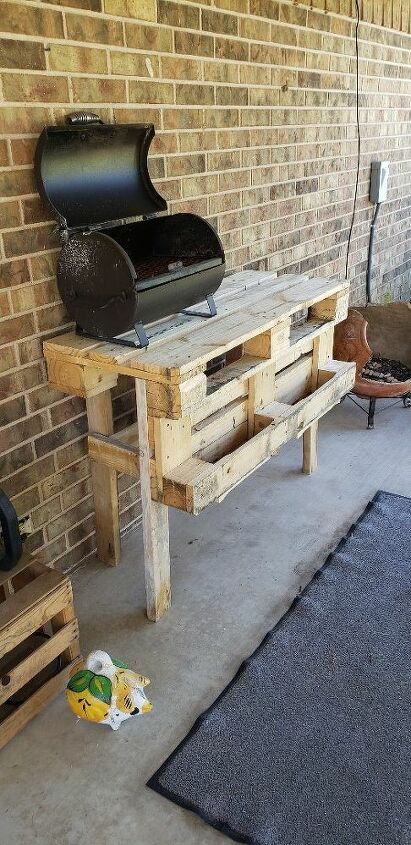
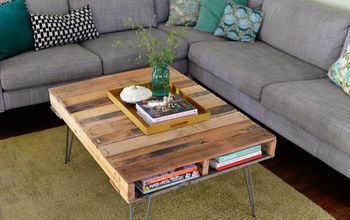
Now we have the perfect little table for the grill. We can also use it for potting plants when the grill isn't in use. My honey wants to paint it bright colors, but I kind of like it the way it is! What do you think?
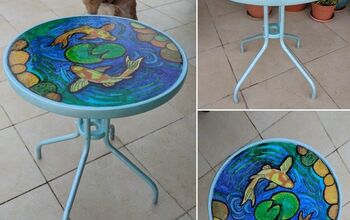
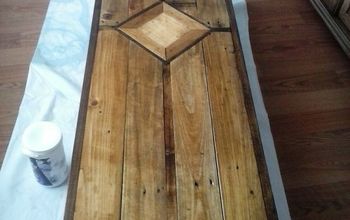
Click here to pop over to our blog to see the other table he made for our patio. It's made using an old wooden spool top and its GORGEOUS!
Thanks for looking! :)


Comments
Join the conversation
-
Paint it, nice work.
-
Nice little project, useful and repurposing some wood. Great job !!


Frequently asked questions
Have a question about this project?
Shouldn’t you have a non combustible surface under the grill, like ceramic tile?
I like this.......it's pretty cool!! R U gonna stain or paint it or leave it the way it is???