


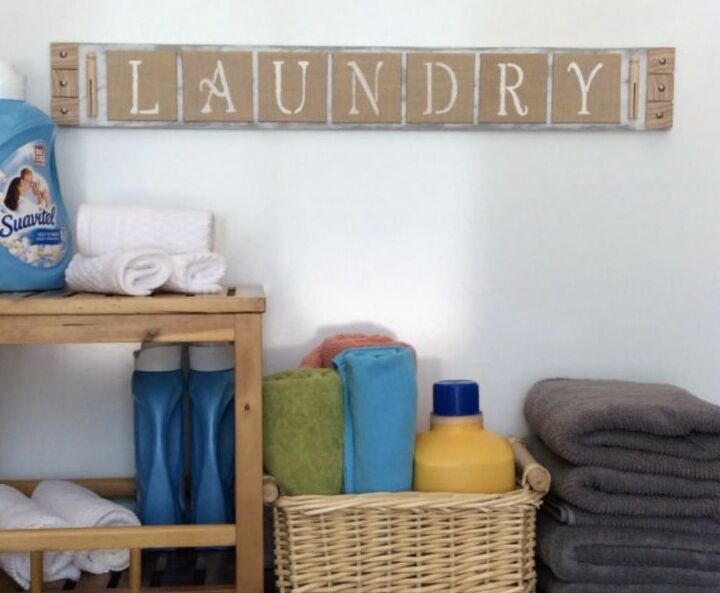
How to Make a Laundry Sign
How to make a sign for your laundry? Today we will be doing a very simple tutorial. We are going to create a sign for your laundry. We will be working the letters individually to form the word L A U N D R Y in a small canvas and then assemble them in a wooden base.
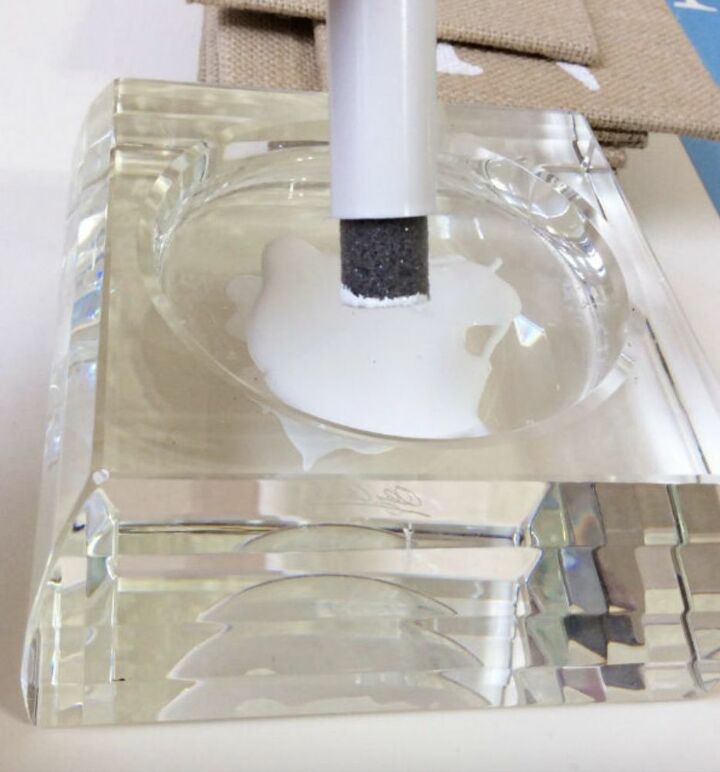
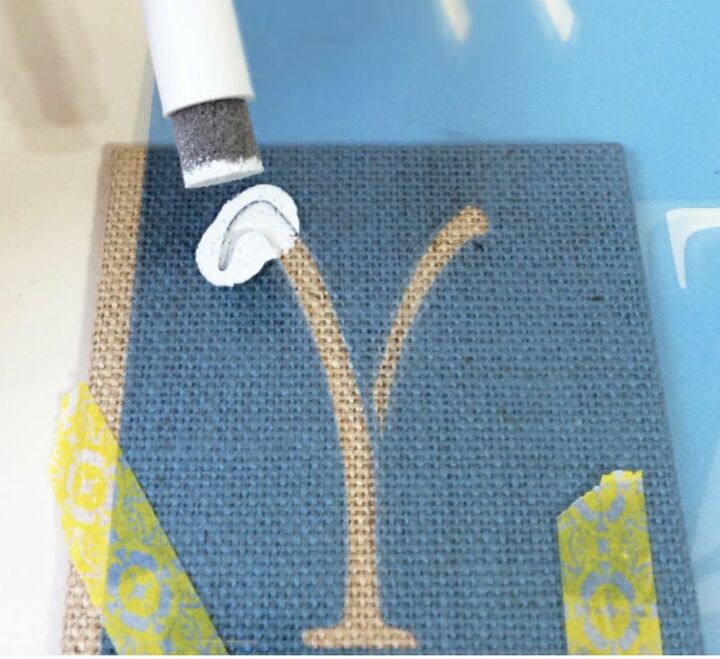
Pour a little of the acrylic paint in a container, place the stencil on the canvas, centralize the letter you are going to paint and fix the stencil with the adhesive tape so that it does not move when you are painting. Take the sponge brush or the stencil brush and apply the paint by tapping until you cover the entire letter. Make sure you paint the edges of the letter well.
Begin by individually painting on each canvas the letters that make up the word L A U N D R Y.
Use the adhesive tape to fix the stencil and do not move.
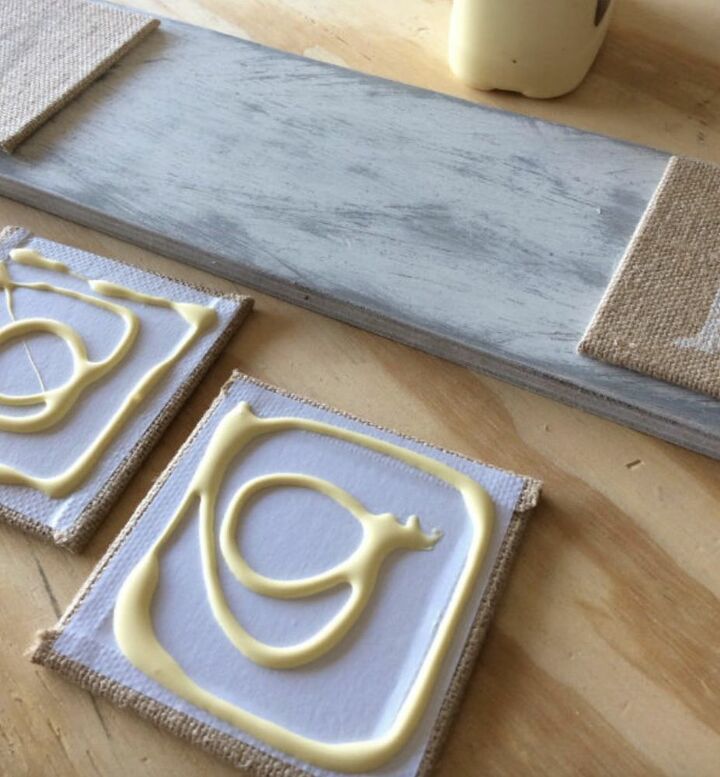
Once you have all the letters ready, let them dry and so as not to lose time, in what they dry we will make the base where we will assemble them.

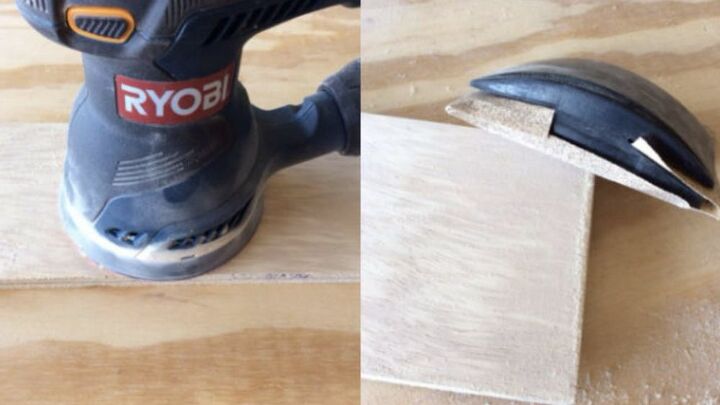
Cut a piece of wood, keeping in mind the size of the canvas and be able to accommodate them leaving an extra space on both sides if you want to decorate with something else.
Sand the wood
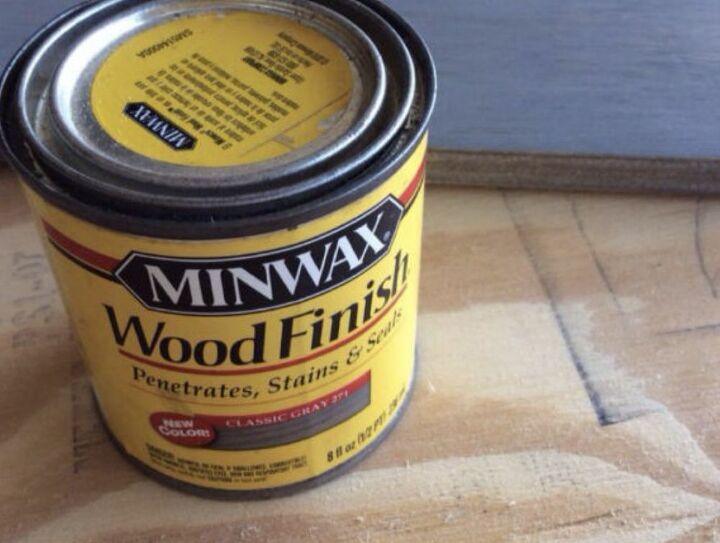
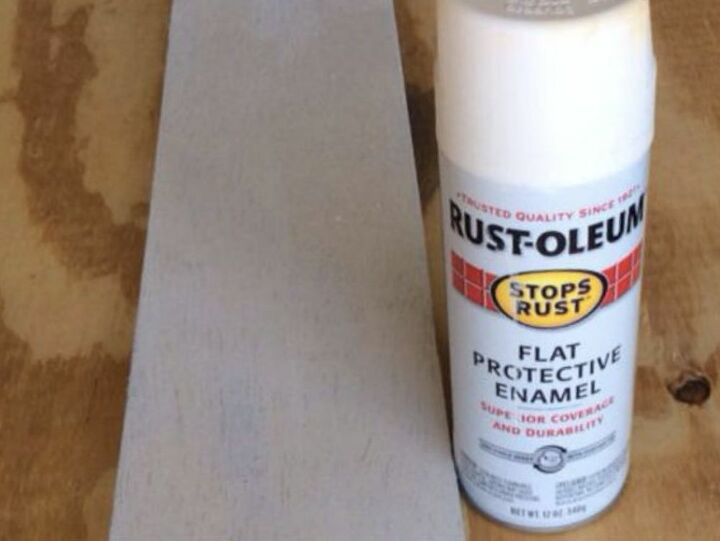
Paint the piece of wood in the color you have selected, in my case I'm using the Min Wax in color gray. Once it's dry, apply a coat of white Rust-Oleum spray paint.
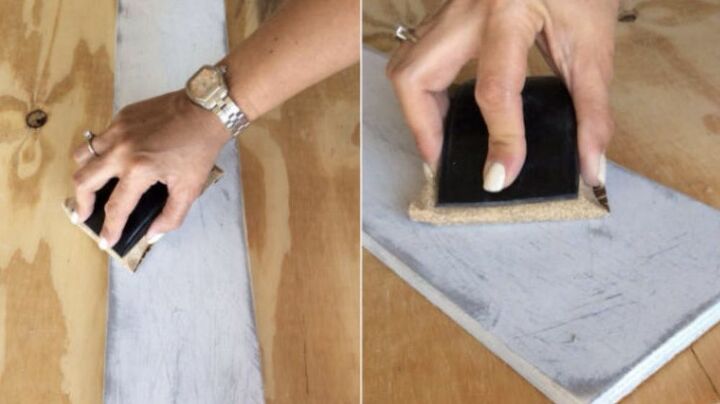
It doesn't have to be white, the idea is that the color you apply first is darker than the second layer you are going to apply, because then we will sand it to give it a different look to the wood, making it look like old wood.
Sand the wood irregularly, the idea is to remove part of the white paint and make the somewhat old wood look.
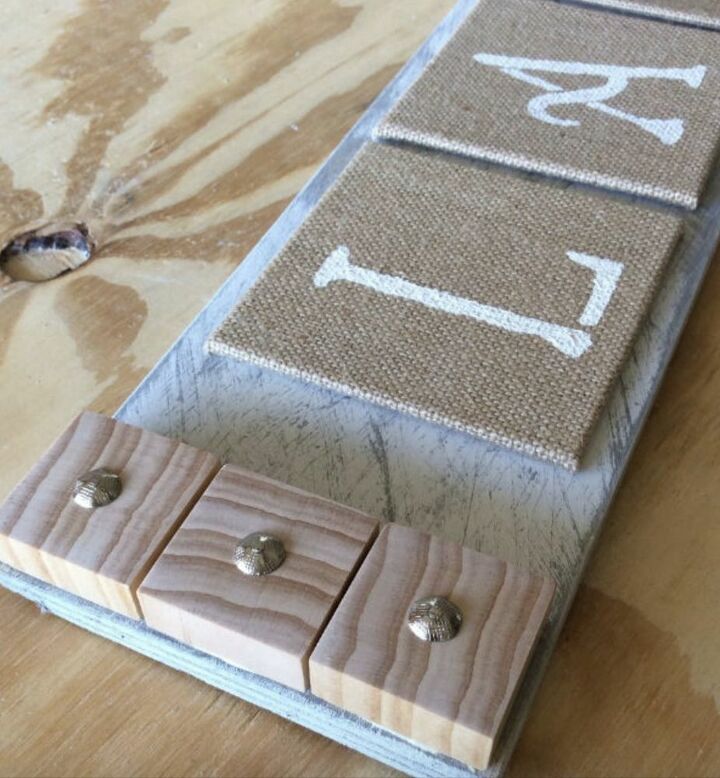
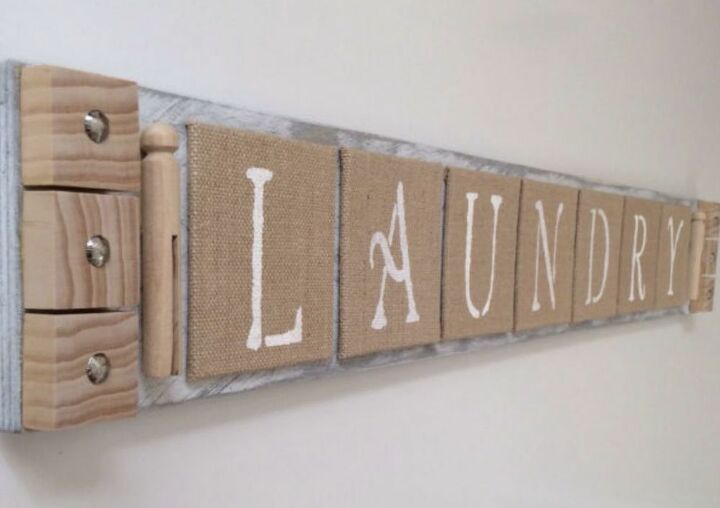
Since we have the aged wood look and dried completely, we began to glue the letters leaving a space of equal size at both ends, since on that edge we will place some pieces of wood to finish decorating this fabulous sign. Do you like it? GREAT!!!
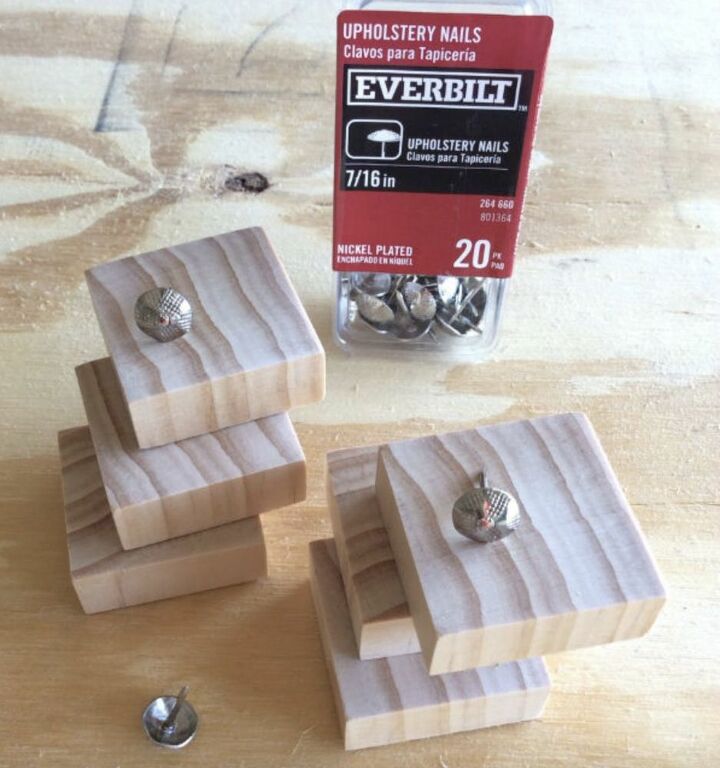
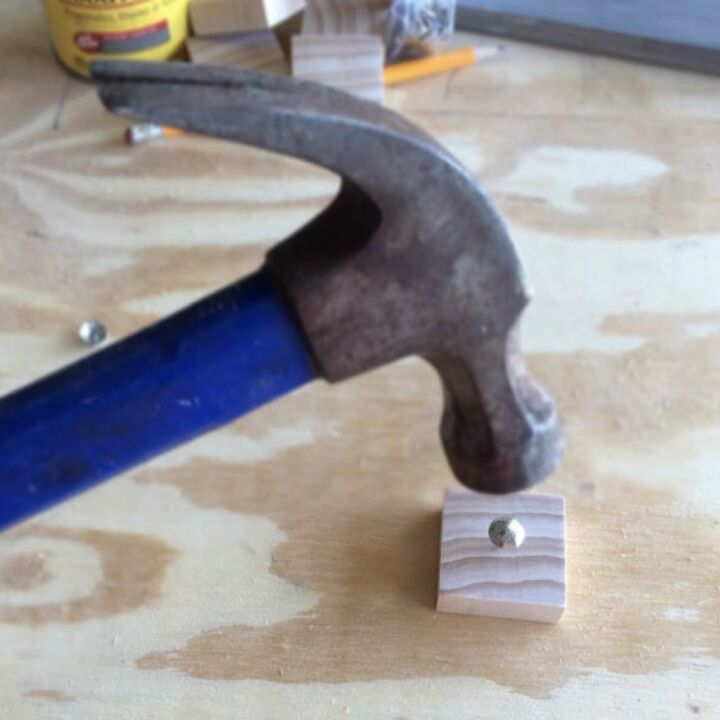
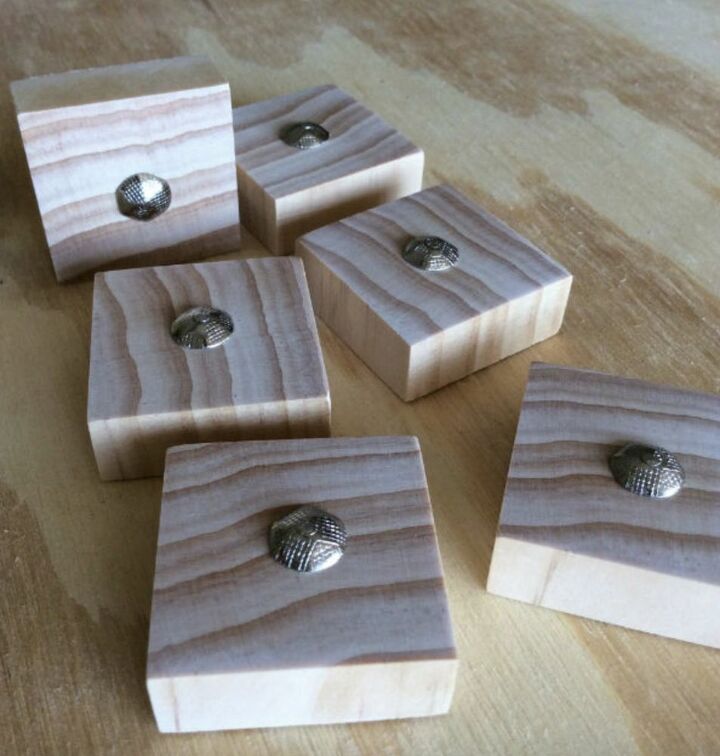
Cut 6 pieces of wood of the same size and place some decorative nails in the center
Arrange and glue the three pieces of wood on the left edge and the other three on the right edge. I cut some extra pieces of wood of equal size and you have to see the Christmas Ornaments I made with them HERE.
In this space between the pieces of wood and the beginning of the letters you can use it to place any decorative piece to your sign. Since it is a sign for the laundry, I opted to use some old clothes that I had and I thought they were perfect for this project.
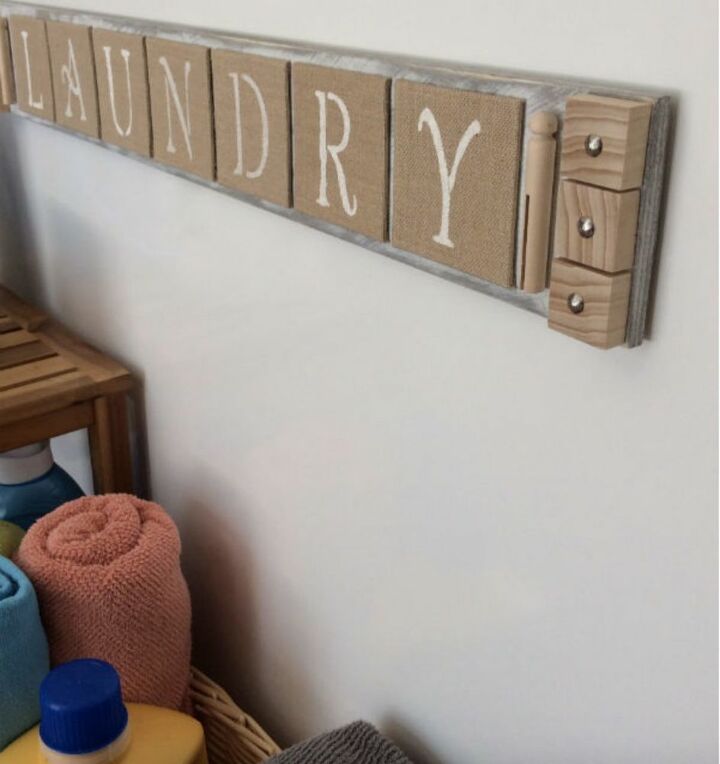
Well, that's how our fabulous LAUNDRY sign ended up. Hope you have enjoyed this little tutorial and do not forget to follow us on our social networks. Have a nice day!!!
Resources for this project:
See all materials


Comments
Join the conversation
-
Love this! So clever!!!!
-
What a great EASY idea!!!!


Frequently asked questions
Have a question about this project?