


How to Build Picture Ledges

This is such a fun project you can finish in an afternoon. They sell these same picture ledges at high end stores---but you can make your own for about $11. Here's the step-by-step instructions on how to make a picture ledge.
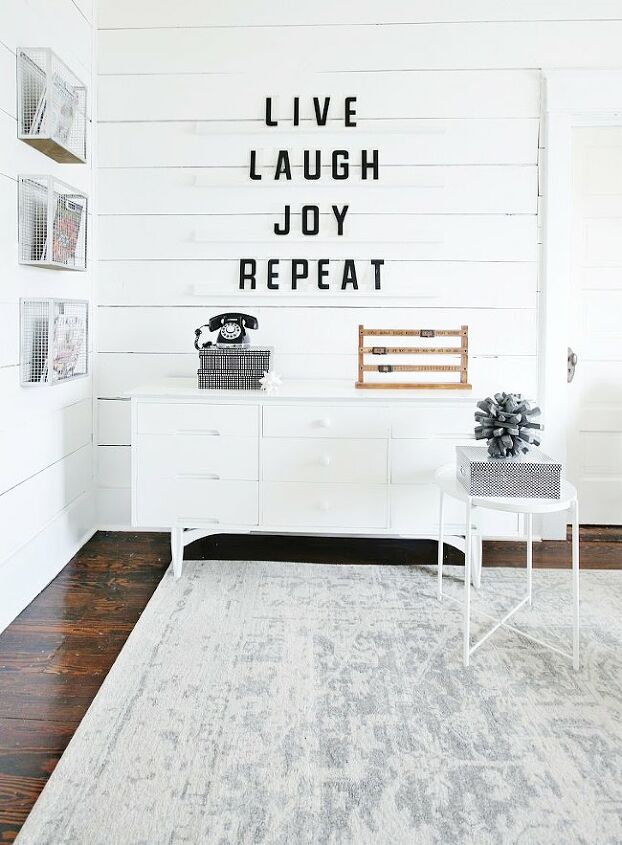
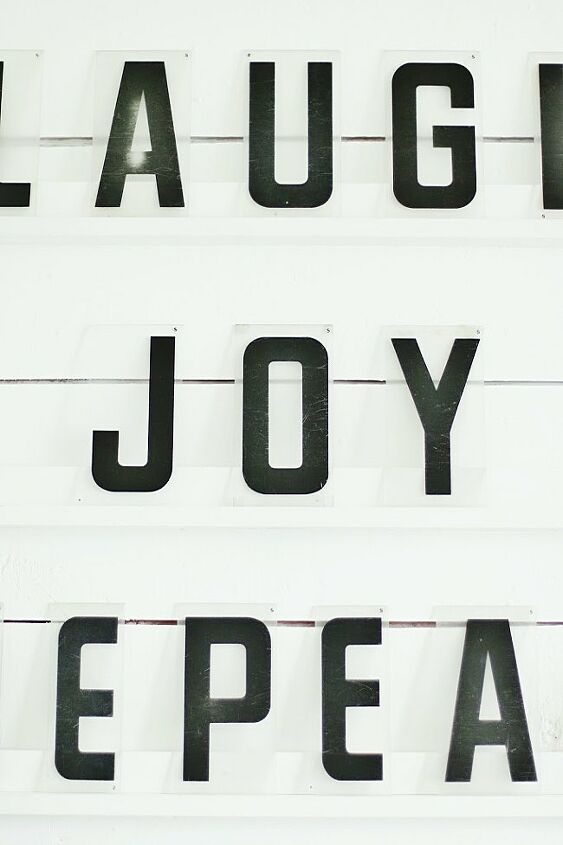
It all started with these marquee letters. You can find them anywhere. I put them on the picture ledge instead of pictures. They helped create one of my favorite projects to date.
This is a quote wall with marquee letters sitting on picture ledges we made out of 1″x 2″ boards.
The entire project cost about $11 to make.
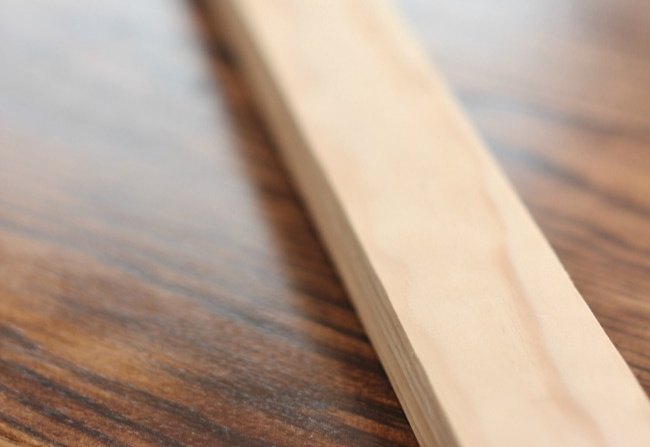
1. Purchase your lumber
I bought four of these boards from Lowe’s.
They measure 1″ x 2″ by 8′.
They were $2.48 each.
2. Cut boards to size
We cut each of the boards in half. Each of the shelves measures 1″ x 2″ x 4′.
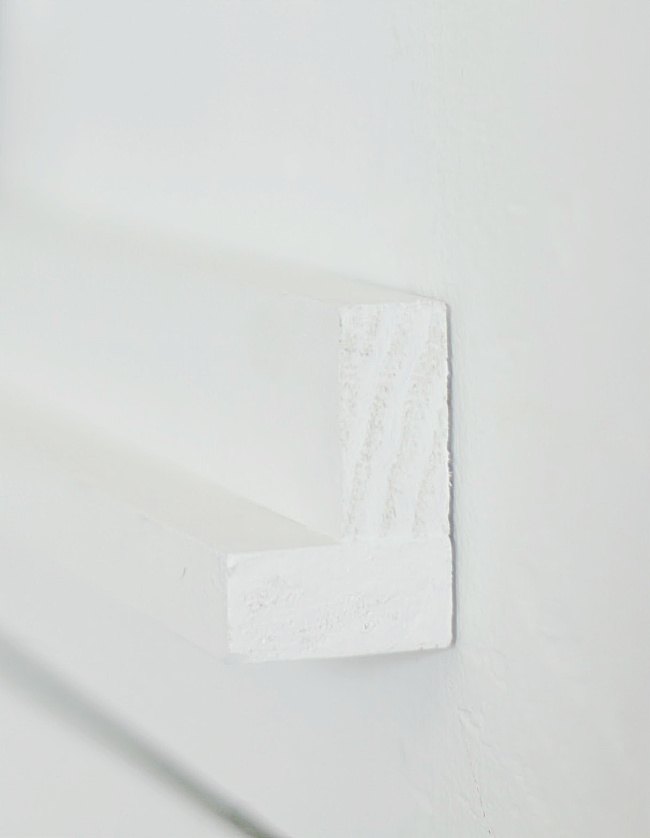
3. Attach boards together
Here’s a close-up of what the picture ledges that we made look like.
We just attached one board to the other and then nailed them directly into the wall.
Together they form a backwards L.
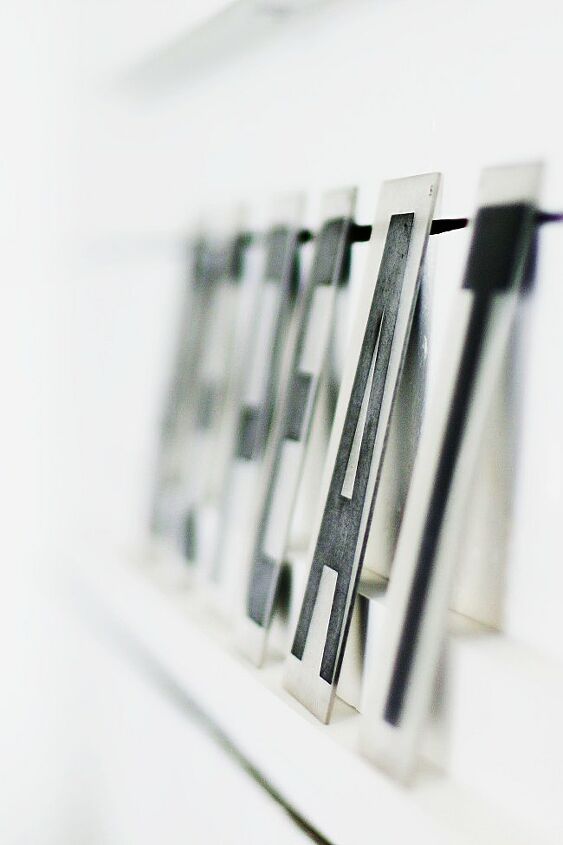
4. Add your picture or a message
I took those same marquee letters that have traveled across the Mississippi river with me and created a quote wall.
It reads:
Live
Laugh
Joy
Repeat.
I love how it turned out and it was such a simple project! You can make your own this weekend! One quick tip---you could also add a board to the front of them to hold the pictures in place!
Here are a couple of other fun projects I created with the marquee letters:


Frequently asked questions
Have a question about this project?
Where did you get the beautiful rug?
What a creative way to display marquee letters in your home! That whole area is beautiful. I am curious as to the sliding ruler piece. Did you make that yourself? I would love to recreate that as well!