


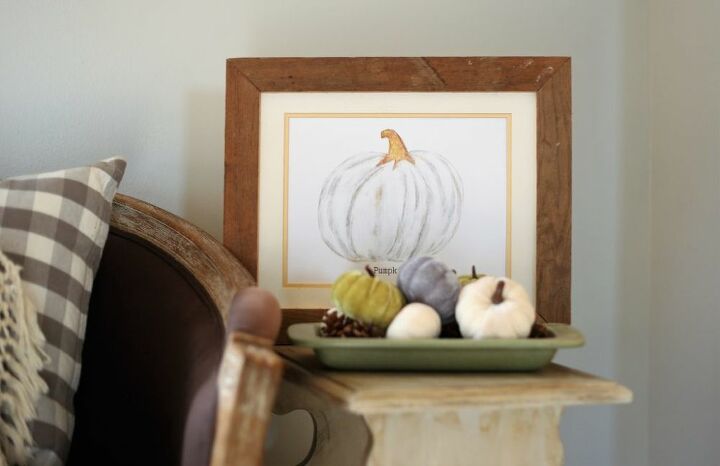
DIY Picture Frame From Scrap Flooring
In this post, I show you how to make picture frames from either hardwood floor or laminate flooring. If you have done any flooring projects around your home, most likely you have some scrap flooring. Put that flooring to use and make a custom picture frame!
This project could be made for free if you already have a scrap pile and some power tools. For this project you can use hardwood flooring or even laminate flooring. A thin piece of plywood, or even cardboard for the back. A little piece of metal and a screw to hold the back on.
The tools you will need are:
-A table saw for ripping the tongue and groove off of the boards.
-A mitre saw for cutting the corners.
-A stapler or brad nailer for holding the corners together.
-A router for making the groove for the matte and back to sit in.
-A screwdriver for screwing the metal piece onto the back
-A radial arm saw if you choose to use our method for laminate flooring.
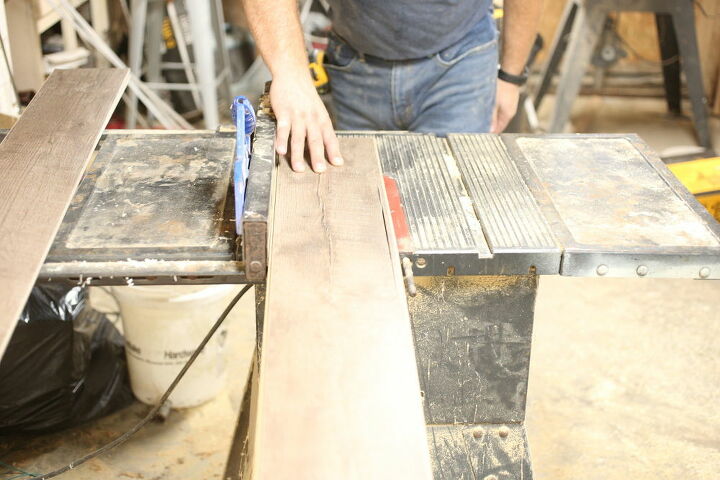
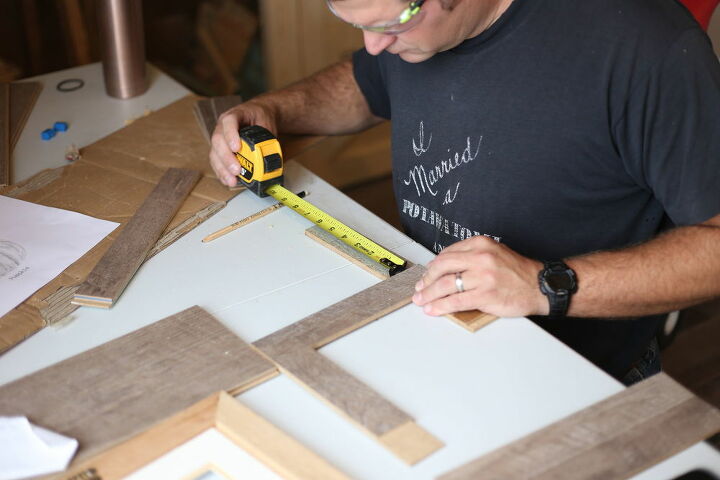
Step one: Using a table saw, rip the tongue and the groove off of the flooring.
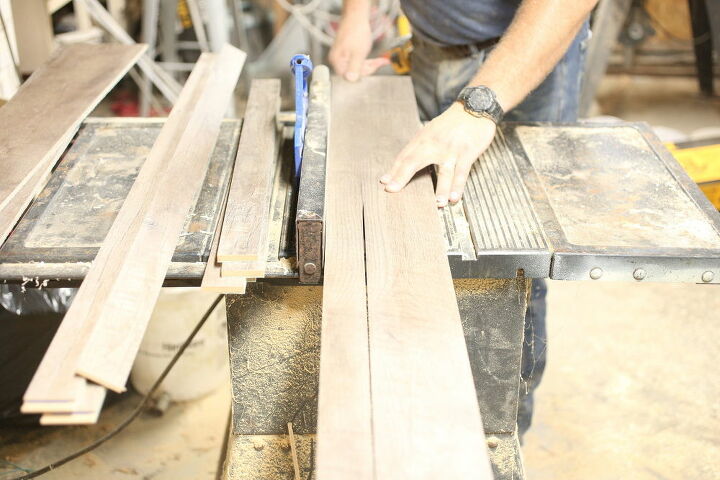
Step 2: Rip the flooring to the the width you would like. We ripped ours to 1 3/4". This is totally personal preference.
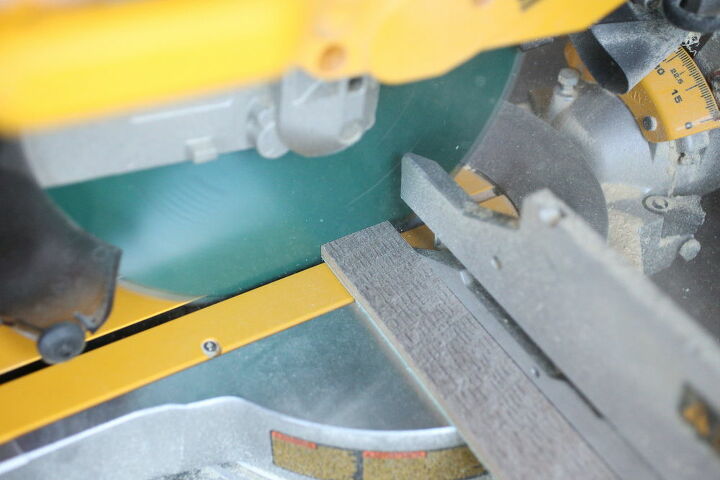
Step 3: Using a mitre saw, cut your strips to the width you would like for your frame. You can do either straight cuts for a more rustic frame, or you can use a 45 cut for a mitred corner. This looks a little bit fancier!
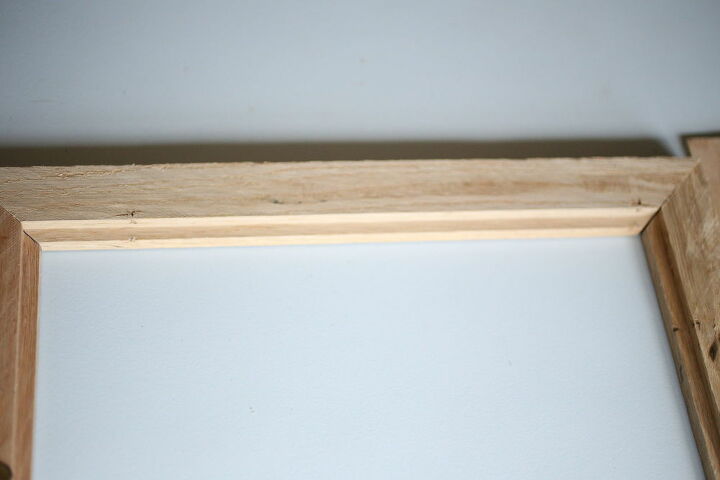
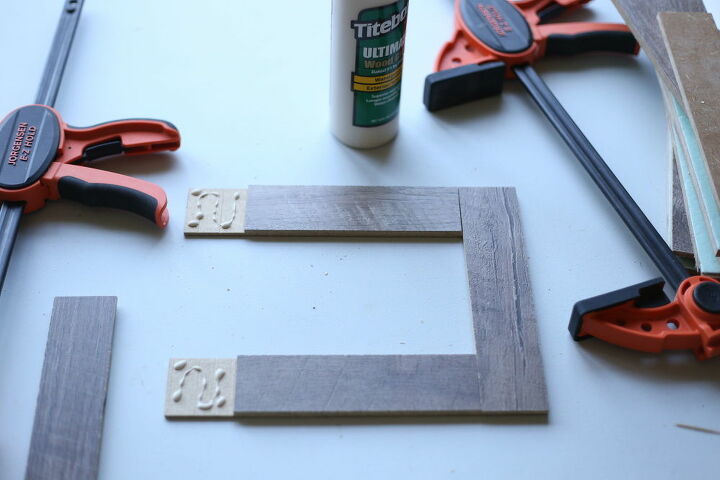
Step 4: After cutting your corners, and before assembling, route a ledge in the board. This is where your photos, matte and backing will rest. We used a rabbet bit.
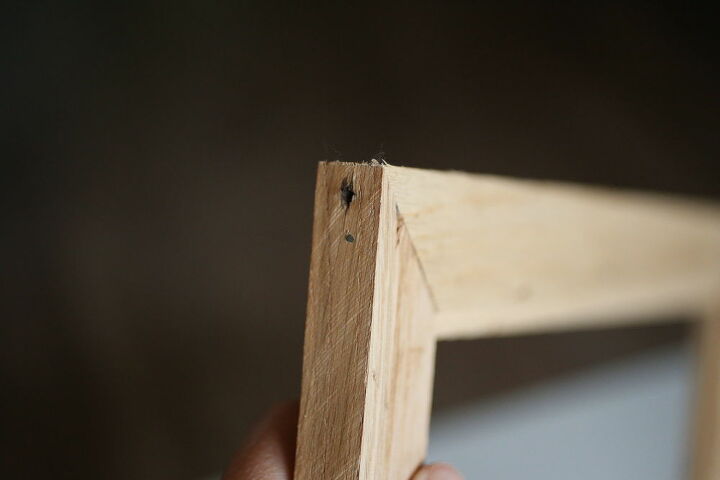
Step 5: Using a brad nailer or a stapler, shoot one in each corner.
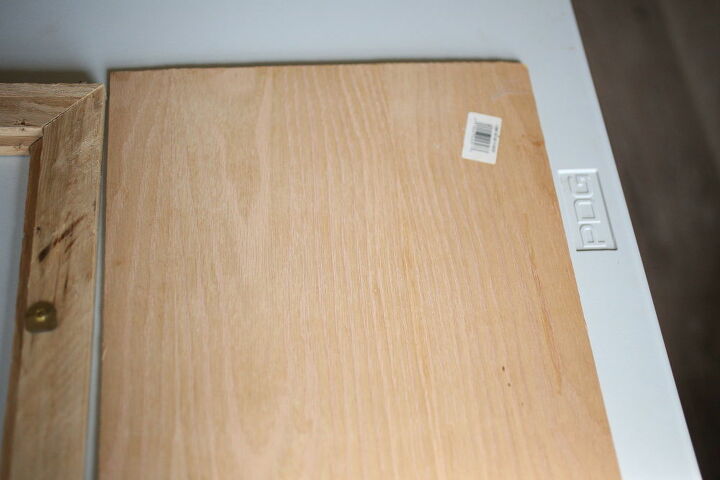
Step 6: Cut a piece of plywood to fit inside your frame. Here are the measurements we used. The matte measured 11×14, so the frame itself is 17×14″ with a 13 1/4 ” opening in the front. The routed edge is 1/4″x 1/4,” and the mitred cuts are 45 degree angles. The thin plywood is also 11×14 and is 5.2mm thick.
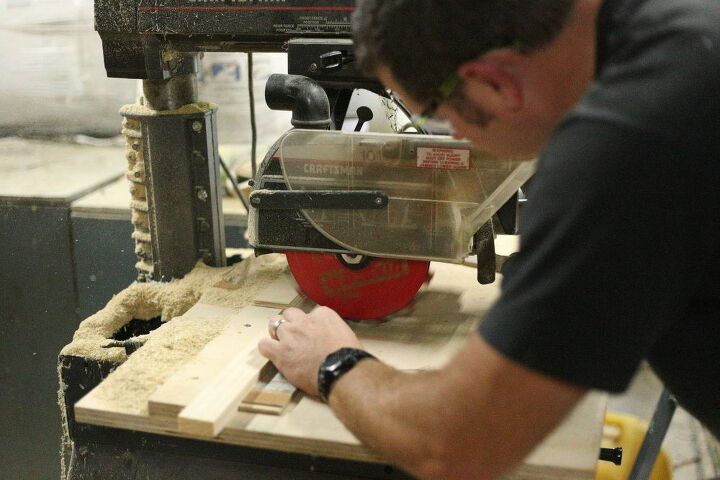
For laminate flooring, the directions are different. Remember, this frame will not be as nice either. For this you will use a radial arm saw to turn this into a bit of a puzzle to fit together. This will make sense after you see the next pictures. Then just glue it all together. You will also want to route a ledge like you would in a hardwood frame.
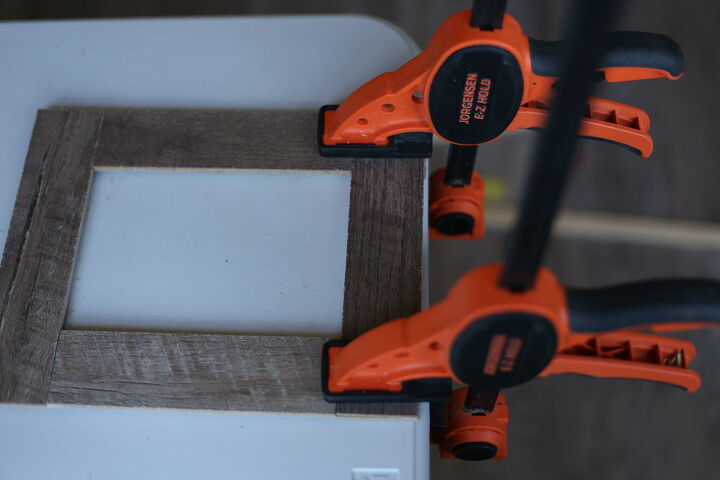
Clamp it until it dries.
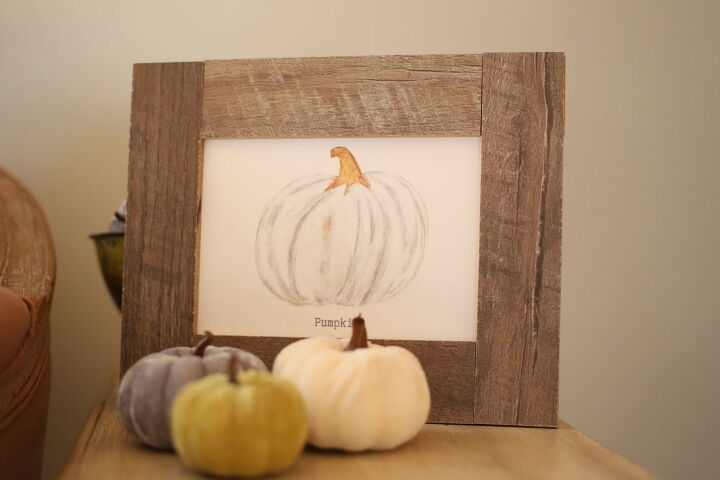
This frame is definitely more rustic, and best for just leaning up against something. The flooring is so thin that it would be difficult to put hooks on the back.
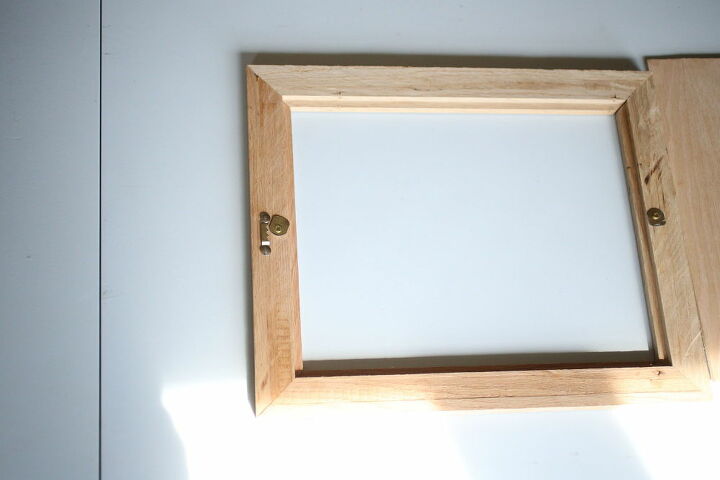
To hold it all together, you could buy special little picture holder things, but we just cut some scrap metal and held it loosely with a screw so that it will pivot and hold the plywood in place.
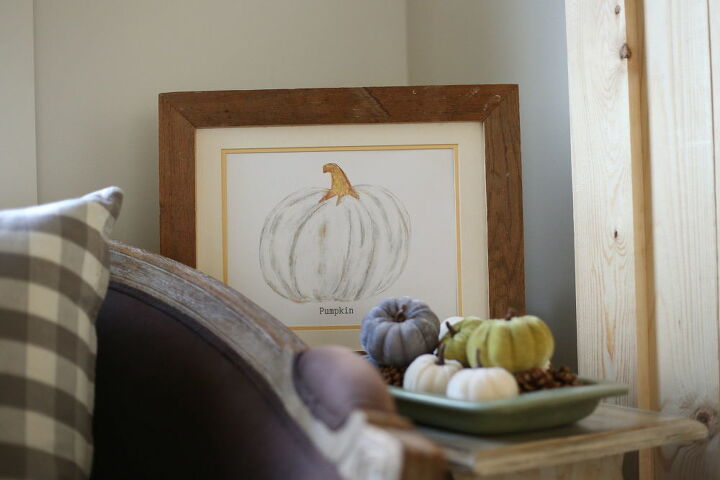
I hope this inspires you to do something special with the scrap flooring that you may have on hand. A custom frame could definitely come in handy! Find more details and pictures on my blog at The Everyday Farmhouse.


Comments
Join the conversation
-
That is difficult!
-
I guess depending on a persons experience and skill level it could be difficult. It really wasn't a hard project, but we use these materials all the time. Thanks for reading!


Frequently asked questions
Have a question about this project?